800-447-8638
Using Your Kreg Jig
®
R3
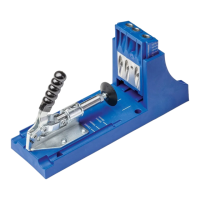
Clamping
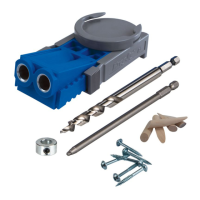
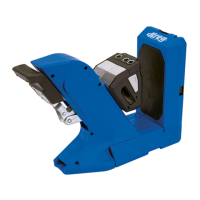
To drill pocket holes
inside an existing or
already assembled
cabinet, remove the
sliders, ip them over
so the positioning
lugs will be on the
top of the jig, switch
each slider from one
side of the jig to the
other, and reinstall
them. Adjust the
sliders so the mark
on the slider that matches the thickness of the workpiece
aligns with the index mark on the jig body. (The thinnest
workpiece you can drill in this mode is ¾" [19mm].)
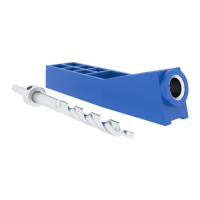
In situations where it is not possible to clamp the jig in place,
secure the jig to the workpiece by driving a wood screw
through the mounting hole. Remember to position the drill-bit
stop collar to match the thickness of your workpiece.
Position the jig with the
slider lugs hooked on the
edge of the workpiece.
A bar clamp or C-clamp
works just ne to secure
the jig to the workpiece.
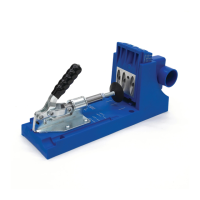
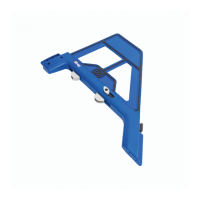
With the included
clamp pad adapter,
the Kreg Jig
®
R3
can be connected
to any Kreg face
clamp for faster
positioning and
clamping.
 Loading...