Status September 2018 Page 8 © Krick Modelltechnik, Knittlingen, Germany
Stage 4, cockpit and sliding hatch parts 4.1
- 4.18
Fig. cockpit
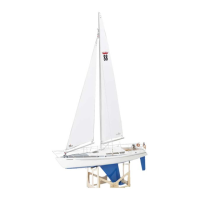
Trim the cockpit 4.1 according to the markings.
A Lexan scissor with short, stable cutting
edges (e.g. order no. 455533) is best suited for
cutting out.
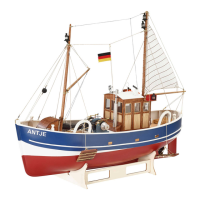
Fig. cockpit fitted in hull
Insert the cockpit into the hull opening and fit. If
necessary, regrind the edges.
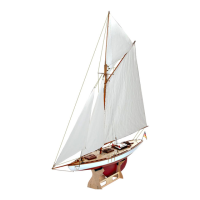
Screw the cockpit to the hull using 6
countersunk screws 4.23. Slightly countersink
the 6 holes with a countersink or a larger drill
so that the screws are flat.
Fig. cockpit mounting
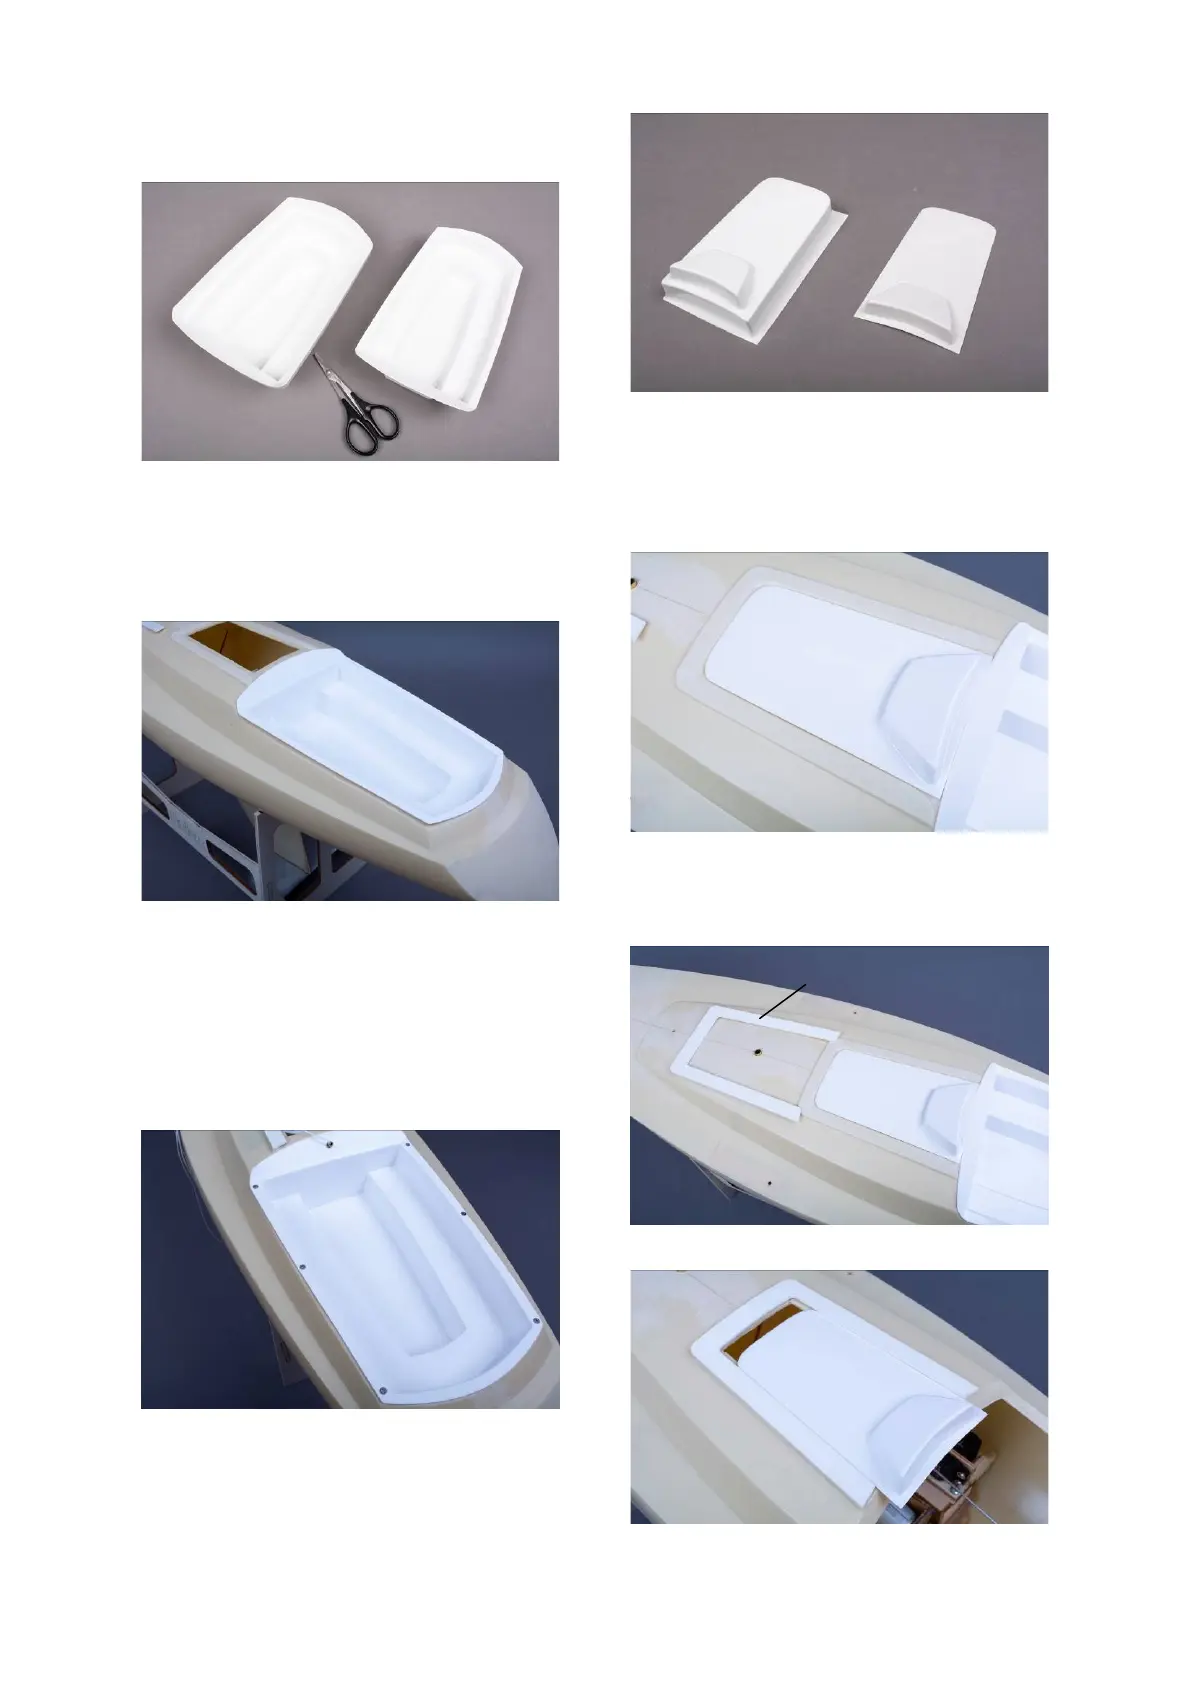
Fig. sliding hatch
Cut the sliding hatch 4.13 according to the
markings and place it over the hull opening.
Check that the sliding hatch fits into the recess,
otherwise sand the edges.
Fig. fitting the sliding hatch
Adjust the frame 4.14 and glue it on e.g. with
UHU Allpast (order no. 48410).
Fig. sliding hatch and frame
Fig. glued frame, fit sliding hatch