Status September 2018 Page 11 © Krick Modelltechnik, Knittlingen, Germany
Stage 6, Booms, parts 6.1 – 6.15
Provide the main boom 6.1 with 2 holes 2 mm
according to drawing "6A".
Screw one nut M 2 part 6.4 each on 2 ring
bolts 6.2 up to the end of the thread. Insert the
eyebolts through the holes and tighten with 2
nuts M 2.
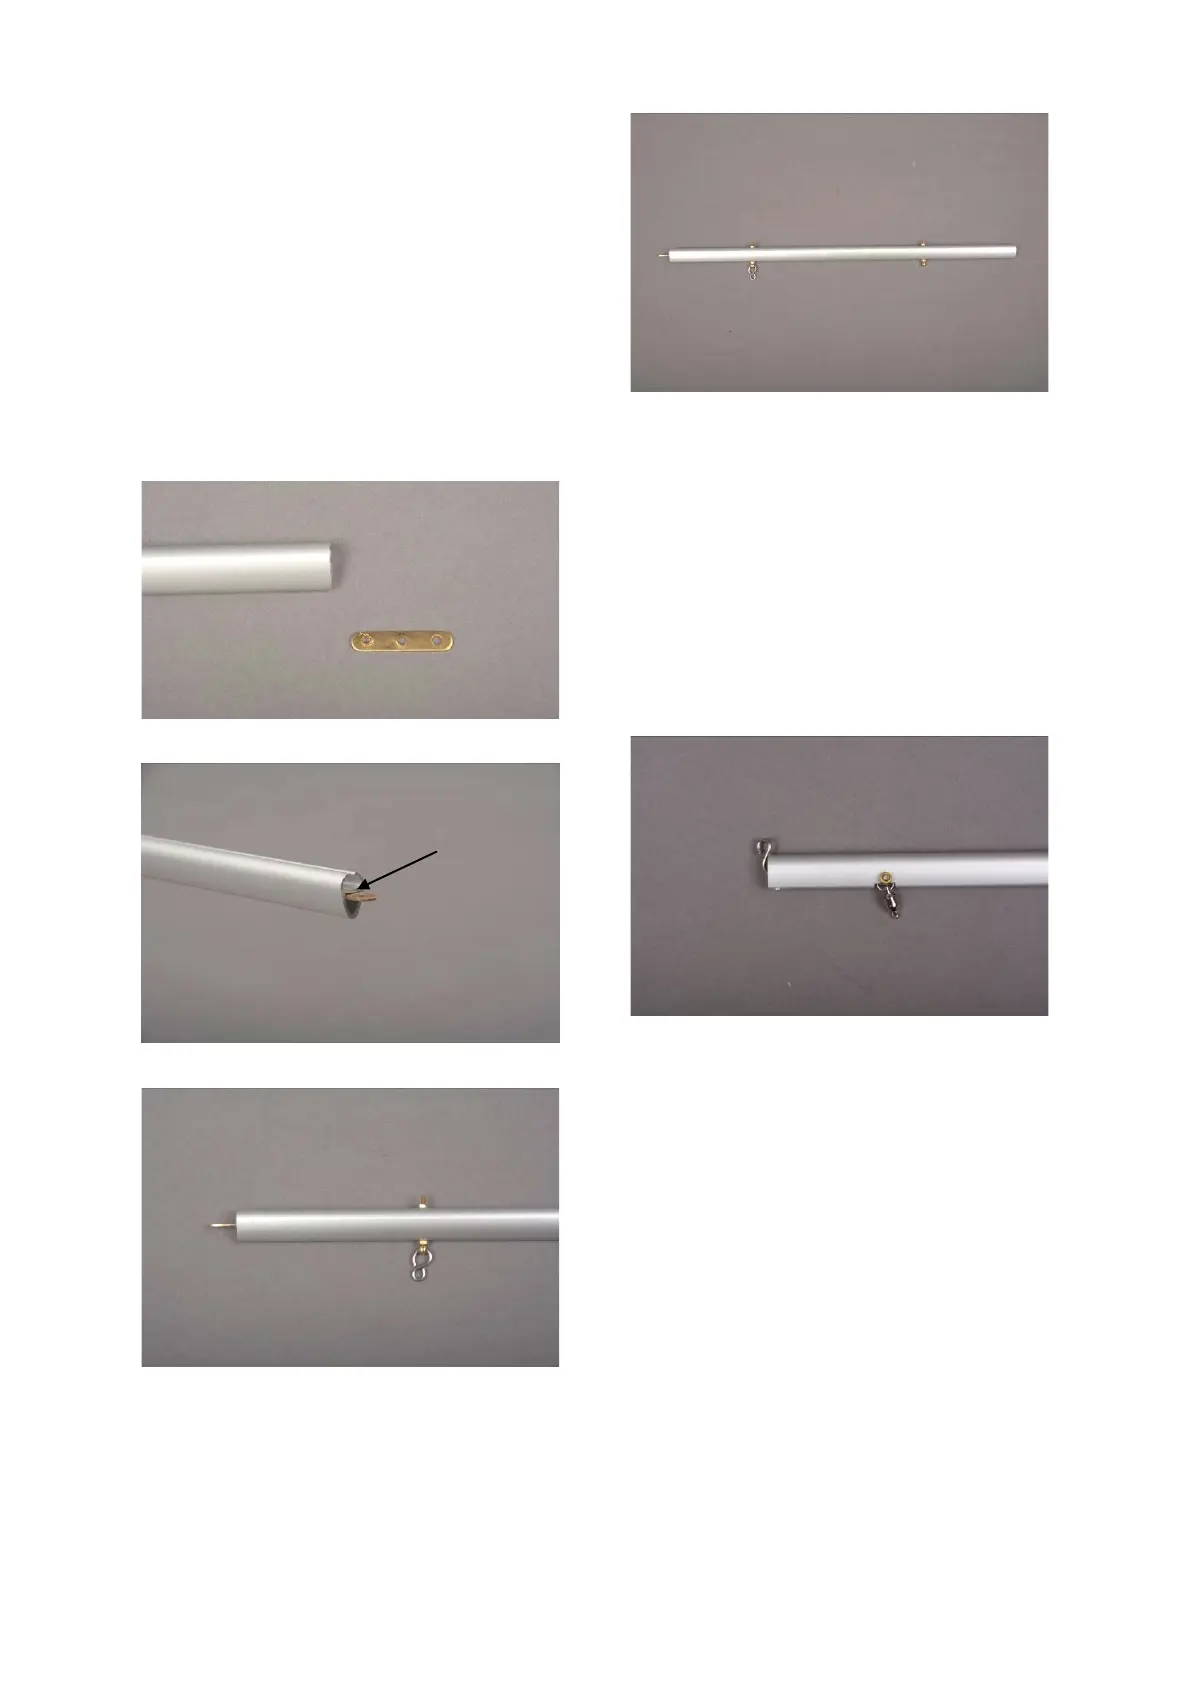
Glue the plate 5.6 with 5 min epoxy on the side
with the hole spacing 68 mm.
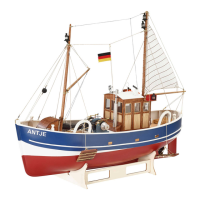
Now push the plate with the side, not deburred
for the eye-screw, into the boom below the bar
and glue it in place.
Fig. Position plate
Fig. Position plate
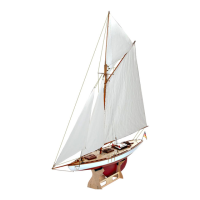
Fig. S-hook
Hook an S hook 6.5 into the front eyebolt.
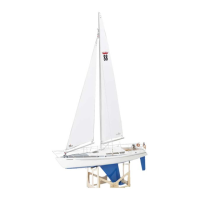
Fig. boom complete
Drill the jib boom 6.6 according to detail draw-
ing "6B". File a rectangular slot 2 x 5 mm under
the front cross hole.
Mount the eyebolt with the nuts M 2 as de-
scribed for the main boom.
Push a swivel from below into the slot of the
boom and fix it with the screw 6.11 and nut
6.12.
Hook an S-hook part 6.13 into the front end of
the boom.
Fig. Swivel and S-hook