Replacing a European LNB
1. Using a
7
⁄16" wrench, carefully disconnect the RF
connectors from the LNB.
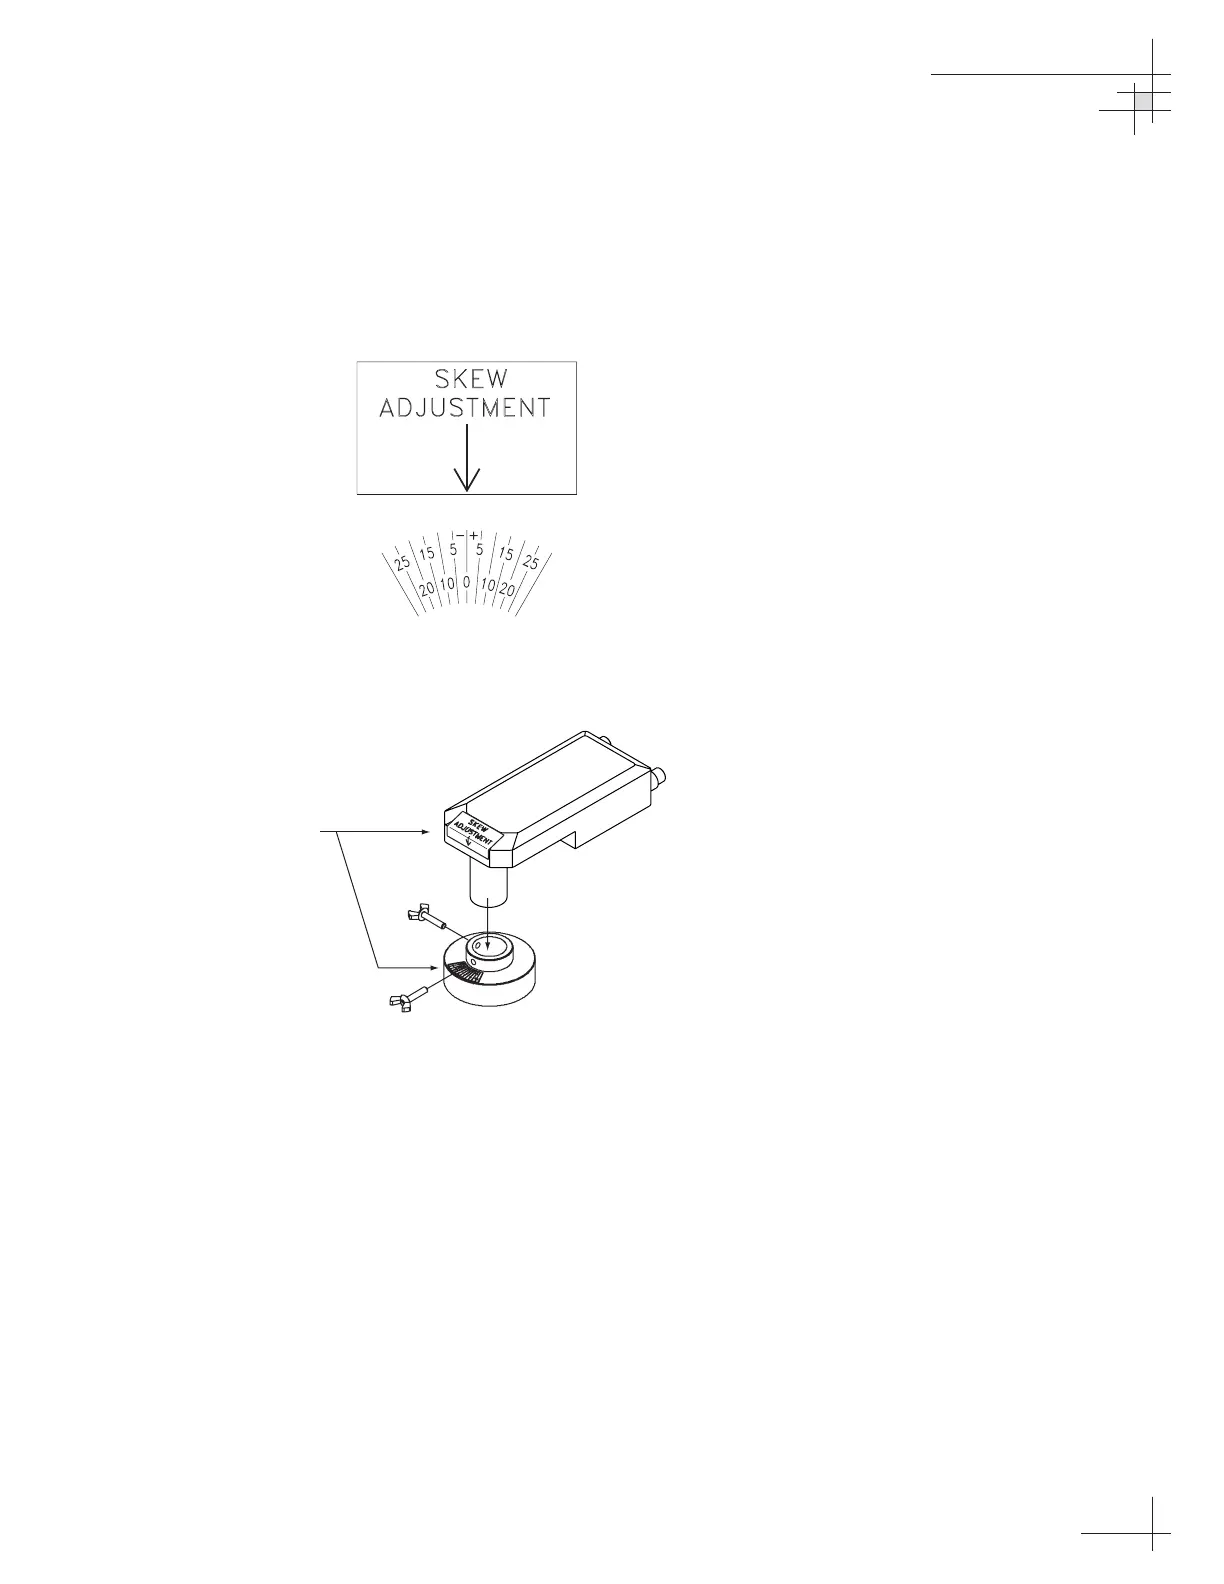
2. Note the currently set skew value, as indicated by
the stickers on the LNB and choke assembly (see
Figure 4-11).
3. Loosen the wing screws and remove the LNB from
the choke assembly as shown in Figure 4-12.
4. Insert the replacement LNB as far as it will go,
ensuring it reaches the bottom of the feedhorn. Be
careful not to puncture or dislodge the plastic seal
covering the LNB throat. Adjust the LNB’s
position so that it has the same skew value noted
in Step 2.
5. Apply a small amount of thread-locking
compound (e.g., Loctite 425 or equivalent) to the
wing screw threads and tighten the screws to
secure the LNB in position.
6. Reattach the RF connectors to the LNB.
Maintenance
54-0150
65
Figure 4-12
European LNB Removal
Figure 4-11
Skew Angle Labels
 Loading...