Do you have a question about the Kwikset Smartcode 915 and is the answer not in the manual?
Verify door hole diameter (2-1/8" or 1-1/2") and backset (2-3/8" or 2-3/4").
Confirm door edge hole is 1" and door thickness is between 1-3/8" and 2".
Select and install latch A or B based on whether the door edge is chiseled.
Check latch hole centering and install the strike on the door frame.
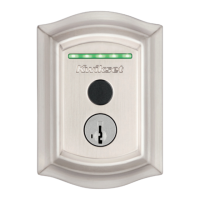
Ensure the door hole diameter is suitable for exterior touchscreen installation.
Install the mounting plate and attach the exterior touchscreen assembly.
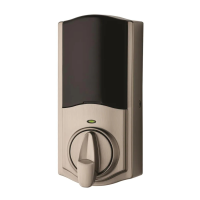
Set the turnpiece to vertical and rotate the turnpiece shaft as shown.
Route cable and secure the interior assembly to the mounting plate.
Install 4 AA batteries into the battery pack, ensuring correct polarity.
The lock learns door orientation as the latch bolt retracts and extends.
Step-by-step guide to programming new user codes for the lock.
Understanding programming timeouts and success/failure feedback.
Information on using a mastercode for enhanced security and management.
Various methods to wake up the lock's touchscreen interface.
Instructions for locking and unlocking the door using the touchscreen.
Details on the SecureScreen feature for enhanced code entry security.
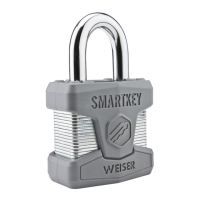
Instructions for re-keying the lock to work with an existing key.
Steps to properly install the interior battery cover.
Overview of system alerts, their reasons, and recommended solutions.
Explanation of switch functions and the meaning of status LED colors.
Procedure to manually initiate the door handing process.
Steps to delete a specific user code from the lock's memory.
Instructions to reset the lock to its original factory settings.
Key safety warnings and advice for using the lock.
| Type | Electronic Deadbolt |
|---|---|
| Keypad | Yes |
| Smart Home Compatibility | Z-Wave |
| Wireless Protocol | Z-Wave |
| Battery Life | Up to 1 year |
| Power Source | Battery |
| Battery Type | 4 AA batteries |
| User Codes | Up to 30 |
| Backlit Keypad | Yes |
| Auto-Lock | Yes |
| Backset | 2-3/8" or 2-3/4" |
| Door Thickness | 1-3/8" to 2" |
| Security | Grade 2 |
| Operation Temperature | 140°F |
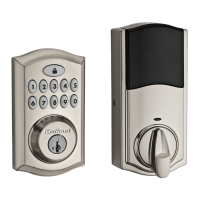
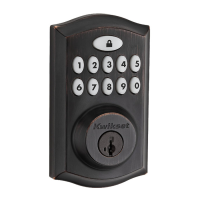
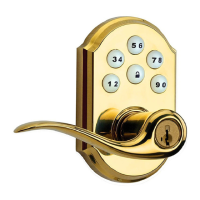
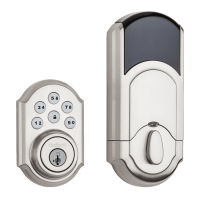
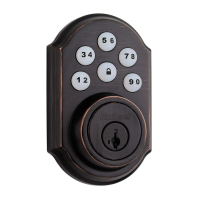
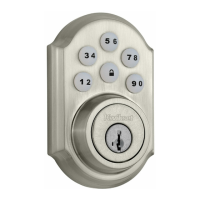
| Finish | Satin Nickel, Venetian Bronze, Polished Brass |
| Voice Control | Yes |
| Security Standard | ANSI/BHMA Grade 2 |