Why does my Kwikset lock keypad flash red 10 times?
- JjohnmaysJul 27, 2025
If your Kwikset lock keypad flashes red 10 times accompanied by 10 beeps, this indicates a low battery. You should replace the batteries as soon as possible.
Why does my Kwikset lock keypad flash red 10 times?
If your Kwikset lock keypad flashes red 10 times accompanied by 10 beeps, this indicates a low battery. You should replace the batteries as soon as possible.
What to do if my Kwikset lock keypad flashes red 15 times?
If your Kwikset lock keypad flashes red 15 times and beeps 15 times, it means three incorrect codes were entered within one minute. Wait for 60 seconds due to the keypad lockout before re-entering the code.
Why does my Kwikset lock flash red 3 times?
Your Kwikset lock flashes red 3 times for a few reasons: - An incorrect code was entered. - No user code is programmed. To resolve this: 1. Re-enter the code. 2. Program at least one user code. 3. Attempt the programming procedure again.
What to do if Kwikset lock beeps 2 times and keypad flashes red 3 times?
If your Kwikset lock beeps 2 times and the keypad flashes red 3 times, this indicates a programming timeout. Try the programming procedure again, ensuring you do not pause for more than 5 seconds.
How to fix Kwikset lock when keypad flashes red 1 time?
If the Kwikset lock keypad flashes red once and beeps once, it means the door jammed while attempting to lock. Manually re-lock the door. If needed, reposition the strike.
Confirm the hole diameter is 2-1/8" (54 mm) or 1-1/2" (38 mm).
Confirm the backset is 2-3/8" or 2-3/4" (60 or 70 mm).
Confirm the hole in the door edge is 1" (25 mm).
Confirm door thickness is between 1-3/8" and 1-3/4" (35-44 mm).
Determine if the door edge is chiseled to select the correct latch.
Hold the latch flush against the door edge, aligned with the hole.
Choose between latch 'A' or 'B' based on door edge condition.
Mount the strike on the door frame, ensuring minimum hole depth.
Insert the cylinder into the exterior keypad assembly.
Mount the exterior assembly, routing the cable through the correct holes.
Remove battery cover and pack; ensure turnpiece is vertical.
Connect cable, lay flat, attach turnpiece shaft, and secure interior assembly.
Install batteries while holding the Lock button to start process.
Confirm latch bolt retraction/extension for successful orientation.
Open door, press Program button corresponding to code position.
Enter a unique user code between 4 and 8 digits.
Press Lock button to finalize the programming of the user code.
Understand LED flashes and beeps for success or failure.
Press the Lock button to verify the door locks.
Enter a user code to verify the door unlocks.
Follow instructions to re-key using the SmartKey tool if needed.
Secure the battery cover after completing other installation steps.
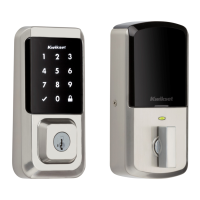
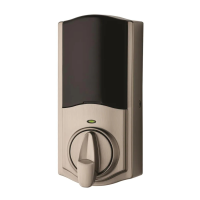
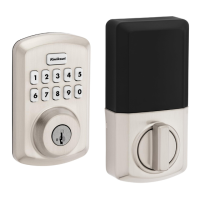
Locate and identify the main components of the lock from the exterior and interior.
Review alert types, their reasons, and suggested solutions for lock issues.
Refer to the online guide for comprehensive programming and troubleshooting support.
Understand the function of each switch for lock behavior customization.
Learn the meaning of LED colors indicating lock status or battery level.
Override existing user codes to delete them from the lock's memory.
Reset the lock to its default settings following specific button and battery steps.
Read and follow all safety instructions for proper and secure lock operation.
Be aware of security risks and limitations; use common sense for property security.
Align round edges, twist to catch screws, then push while twisting.
Push knobs up while tightening screws to keep latch horizontal and centered.
Check latch fit in strike; adjust strike tab for better grip if needed.
Keep the emergency unlock tool (G) for future use on privacy locks.
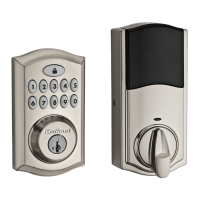
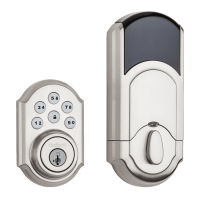
| Type | Electronic Deadbolt |
|---|---|
| Keypad | Yes |
| Battery | 4 AA batteries |
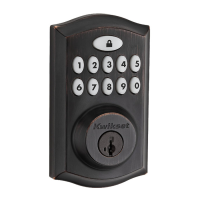
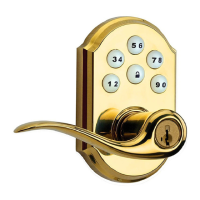
| Finish Options | Satin Nickel, Venetian Bronze, Polished Brass |
| Door Thickness | 1-3/8" to 1-3/4" |
| Handing | Reversible |
| Locking Mechanism | Motorized Deadbolt |
| Style | Traditional |
| Re-key Technology | SmartKey |
| Connectivity | No |
| Voice Guidance | No |
| Security Grade | Grade 2 |
| Battery Life | 1 year |
| Backup Power | No |
| Security | BumpGuard |
| Number of User Codes | Up to 30 |

 Loading...