Do you have a question about the Kwikset Powerbolt 250 and is the answer not in the manual?
Confirms door hole diameter is 2-1/8 in (54 mm) or 1-1/2 in (38 mm).
Verifies backset is 2-3/8 or 2-3/4 in (60 or 70 mm) for proper latch fit.
Ensures the hole in the door edge is 1 in (25 mm) deep.
Confirms door thickness is between 1-3/8 and 1-3/4 in (35-44 mm).
Hold latch flush against the door edge, centering it in the hole.
Mounts the strike plate onto the door frame.
Confirms the latch bolt is fully retracted before proceeding.
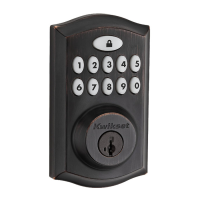
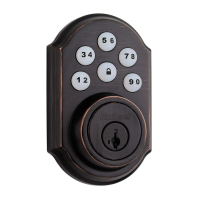
Attaches the exterior keypad and mounting plate to the door.
Mounts the interior assembly onto the exterior mounting plate.
Installs four AA batteries into the interior assembly.
Program user codes (4-8 digits) for lock access.
Deletes all codes and resets programming to factory defaults.
| Lock Type | Electronic Deadbolt |
|---|---|
| Keypad | Yes |
| Keyless Entry | Yes |
| Battery | 4 AA batteries |
| SmartKey Security | Yes |
| Backset | Adjustable 2-3/8" or 2-3/4" |
| Connectivity | No |
| Backup Power | No |
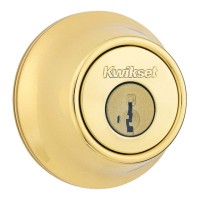
| Key Override | Yes |
| Compatibility | Standard doors |
| Auto-Lock | Yes |
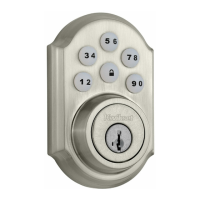
| Finish Options | Satin Nickel, Venetian Bronze |
| Grade | BHMA Grade 3 |
| Door Thickness | 1-3/8" to 2" |
| Warranty | 1-Year Electronics Warranty |
| Battery Life | Up to 1 year |