Do you have a question about the Kwikset Powerbolt 240 and is the answer not in the manual?
Position the latch with its face flush against the door edge.
Install the strike on the door frame, ensuring a minimum 1 in (25 mm) depth.
Ensure the latch bolt is fully retracted (unlocked) before proceeding.
Install the exterior keypad and mounting plate, routing the cable correctly.
Attach the interior assembly to the mounting plate and connect the cable.
Add up to 12 user codes, each 4-8 digits long, following programming steps.
Verify lock and unlock functionality using created user codes.
Key safety guidelines for lock installation and usage.
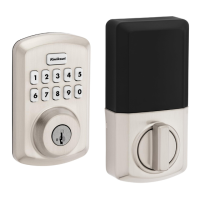
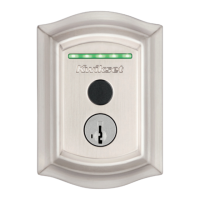
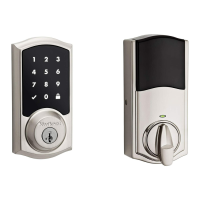
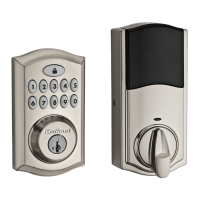
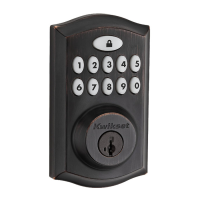
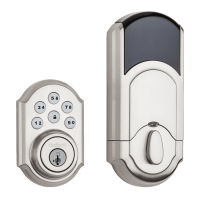
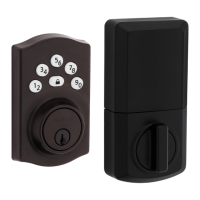
The Kwikset Powerbolt 240 is a keypad electronic deadbolt lock designed for residential use, offering a blend of security and convenience through its keyless entry features. This device allows users to lock and unlock their doors using a personalized code on a backlit keypad, eliminating the need for traditional keys in many situations. It also retains the option for manual key override, ensuring access even in the event of power loss or forgotten codes.
The primary function of the Powerbolt 240 is to provide secure, keyless access to a property. It operates by extending and retracting a deadbolt latch, which is controlled electronically via the keypad or mechanically with a key. The lock supports multiple user codes, allowing different individuals to have unique access codes, which can be easily added or deleted as needed. This flexibility is particularly useful for managing access for family members, guests, or service providers.
One of the core features is the ability to program up to 12 unique user codes, each ranging from 4 to 8 digits in length. These codes are stored in the lock's memory and can be managed through a simple programming sequence initiated from the interior assembly. For enhanced security, the first four digits of each user code must be unique, preventing easy guessing of related codes.
The lock also includes a "one-time user code" feature, which is ideal for temporary access. These codes are automatically deleted after a single use, making them perfect for deliveries, short-term guests, or maintenance personnel. Up to two one-time user codes can be saved at any given time.
An optional "auto-lock" feature provides an added layer of security and convenience. When enabled, the lock will automatically re-lock the door after a set period (30 seconds, 1 minute, 3 minutes, 5 minutes, or 10 minutes) once it has been unlocked. This ensures that the door is always secured, even if a user forgets to manually lock it. The auto-lock time delay can be adjusted to suit individual preferences.
For situations where audible feedback is not desired, the lock offers an "enable/disable audio" feature. This allows users to mute the beeps that typically accompany button presses and lock operations, providing a quieter user experience. The LED status indicator, however, will continue to function regardless of the audio setting.
The Powerbolt 240 can also be configured with an optional "programming code." This feature allows for programming changes without needing to access the interior programming button, which is particularly useful for landlords or property managers who need to manage access remotely or without physical access to the interior assembly. Once a programming code is enabled, the interior programming button is disabled, and only a factory reset can re-enable it.
Operating the Powerbolt 240 is straightforward. To lock the door, users simply press the lock button on the keypad. The lock will beep twice, and the lock button will flash amber as the deadbolt extends. To unlock the door, a valid user code is entered on the keypad. Upon successful entry, the lock will beep twice, and the lock button will flash green as the deadbolt retracts.
The lock provides clear visual and audible feedback for various operations and alerts. For instance, a successful unlock or lock operation is indicated by green or amber flashes, respectively, accompanied by two beeps. Low battery is signaled by ten red flashes and ten beeps, prompting users to replace the batteries. Incorrect user code attempts result in three red flashes and three beeps. After three incorrect attempts, the keypad will flash red 15 times and beep 15 times, indicating a temporary lockout. A stuck or jammed bolt will trigger alternating red and white flashes with five beeps, suggesting a need to clear any obstruction.
The device is designed for easy installation, with clear instructions provided for preparing the door and installing the various components. It accommodates standard door preparations, including different backset measurements and door thicknesses. The "door rehanding" process, which involves extending and retracting the latch bolt, allows the lock to learn the orientation of the door (left- or right-handed), ensuring smooth operation.
Maintenance of the Powerbolt 240 primarily involves battery replacement and occasional troubleshooting. The lock operates on four AA alkaline batteries, which are not included with the device. Users are advised to use new, non-rechargeable alkaline batteries for best results and to ensure correct polarity during installation. The low battery alert serves as a timely reminder to replace the batteries, preventing unexpected lockouts.
In case of operational issues, the manual provides a troubleshooting guide. For example, if the latch does not extend or retract smoothly during installation, users are instructed to adjust the mounting screws. If a stuck/jammed bolt error persists, users should ensure there is no obstruction from the strike or door jamb.
A "factory reset" feature is available to restore the lock to its original settings. This process deletes all user codes, programming codes, and changes all programming to default settings. It is performed by pressing and holding the programming button for 15 seconds until a long beep is heard, followed by a quick press of the programming button. After a factory reset, the lock can only be operated manually with a key until new user codes are programmed. This feature is useful for resolving persistent issues or when transferring ownership of the lock.
Regular checks of user codes are recommended to prevent unauthorized entry, especially if multiple individuals have access to the interior assembly. If a programming code is used, it helps protect the system's settings from unauthorized changes. The lock's design emphasizes user-friendliness, with clear indicators and simple programming sequences to facilitate ongoing management and maintenance.
| Type | Electronic Deadbolt |
|---|---|
| Keypad | Yes |
| Power Source | Battery |
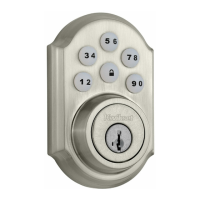
| Finish | Satin Nickel |
| Smart Home Compatibility | No |
| Backlit Keypad | Yes |
| Auto-Lock | Yes |
| Warranty | Limited Lifetime Mechanical; 1-Year Electronics |
| Lock Mechanism | Deadbolt |
| Backup Power Option | No |
| Voice Prompts | No |
| Weather Resistance | Yes |
| Compatibility | Standard doors |
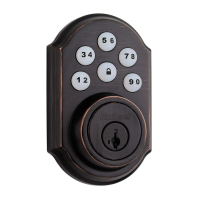
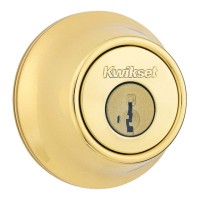
| Finish Options | Polished Brass, Satin Nickel, Venetian Bronze |
| Battery Type | 4 AA Batteries |
| ANSI Grade | 2 |
| Battery Life | 1 year |
| Programming | Keypad |