Do you have a question about the Kwikset SmartCode Series and is the answer not in the manual?
Determine door backset and adjust the latch bolt as needed.
Secure the latch with screws, checking for smooth operation in the door hole.
Mount the strike plate on the door frame using wood screws.
Press and hold LOCK button while inserting battery pack to determine door handing.
Release the LOCK button when the unit begins to operate the bolt.
Do not disturb the unit for 20 seconds while it determines door handing and initializes.
Press program button once, enter code, press LOCK to save, then test.
Press program button twice, enter code, press LOCK to save, then test.
Re-run 'Bolt Direction Determination' if the unit does not operate correctly.
Perform 'Bolt Direction' routine again if manual operation is difficult.
Re-sync by performing lock/unlock operations after door alignment.
Re-initialize by removing battery, pressing program button, and reinserting.
| Battery | 4 AA batteries |
|---|---|
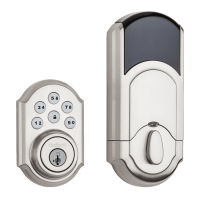
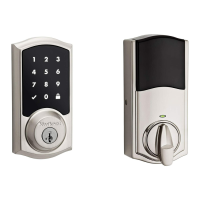
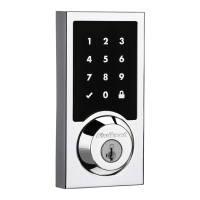
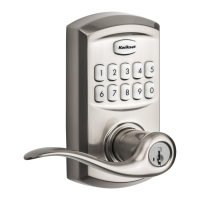
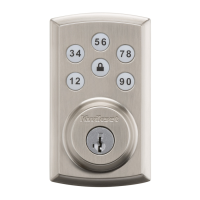
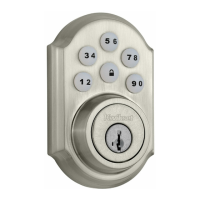
| Type | Electronic Deadbolt |
| Locking Mechanism | Motorized Deadbolt |
| Smart Home Compatibility | Varies by model (Zigbee, Z-Wave, or Wi-Fi) |
| User Codes | Up to 30 |
| Auto-Lock | Yes, programmable |
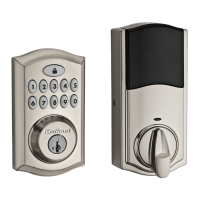
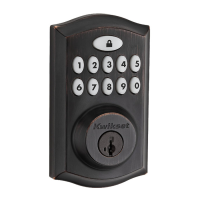
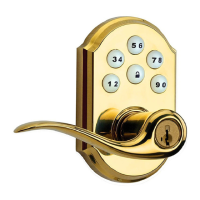
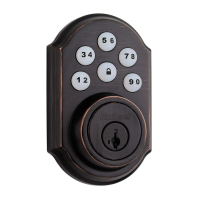
| Finish Options | Satin Nickel, Venetian Bronze, Polished Brass |
| Re-key Technology | SmartKey |
| Keyway | Kwikset |
| Voice Control | Varies by model and smart home system |
| Compatibility | Varies by model and smart home system |