Do you have a question about the Kwikset SMARTCODE 916 and is the answer not in the manual?
Verify door hole diameter, backset, edge bore, and door thickness for compatibility.
Install the correct latch (A or B) ensuring proper alignment and extension.
Install the strike plate on the door frame, ensuring proper depth and alignment.
Confirm the door hole diameter (2-1/8" or 1-1/2") for touchscreen installation.
Install the exterior touchscreen and mounting plate, routing the cable correctly.
Prepare the interior assembly by removing the battery pack and setting the turnpiece.
Mount the interior assembly onto the mounting plate, ensuring cable connection and alignment.
Install 4 AA batteries into the battery pack, ensuring correct polarity.
Allow the lock to learn door orientation by retracting/extending the latch bolt.
Start pairing via smart home controller, then press interior button 'A' four times.
Re-name the lock on success or press button 'B' nine times on failure.
Add and delete user codes directly via the lock or through the smart home system.
Checkmark symbol indicates success; 'X' pattern indicates failure for code programming.
Illuminate the touchscreen by touching it with your palm, fingers, or back of hand.
Learn how to lock the door and unlock it using user codes and SecureScreen.
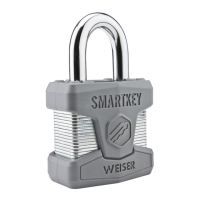
Re-key the lock to work with your existing key using the SmartKey tool.
Install the battery cover after re-keying and installing batteries.
Understand display alerts for common issues like incorrect codes or low battery.
Manually initiate door handing if the automatic process fails or lock is moved.
Remove individual user codes from the lock's memory.
Reset the lock to factory defaults, deleting all codes and smart home connections.
Details on switch 1-4 for door lock status LED, auto-re-lock, audio, and SecureScreen.
Understand LED colors for Unlocked (green), Locked (amber), and Low Battery (red).
Information on ZigBee network range, performance, and enhancement strategies.
Procedure to remove the lock from a ZigBee network by pressing button 'B'.
Instructions for re-keying the lock to match an existing key.
Read all instructions, warnings, and cautions for safe product use.
Protect user codes, restrict back panel access, and check for unauthorized code changes.
No lock provides complete security; supplement with caution, awareness, and professional advice.
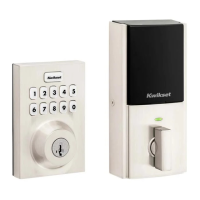
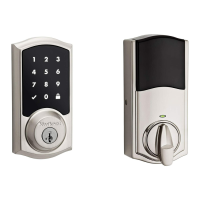
| Type | Electronic Deadbolt |
|---|---|
| Keypad | Yes |
| Battery | 4 AA batteries |
| User Codes | Up to 30 |
| Security Grade | ANSI/BHMA Grade 2 |
| Re-key Technology | SmartKey Security |
| Auto-Lock | Yes |
| Keyway | Kwikset |
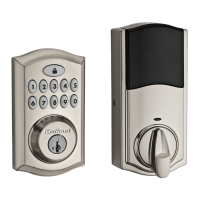
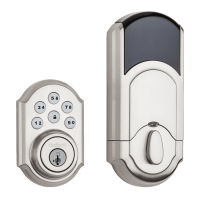
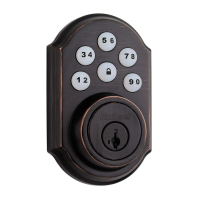
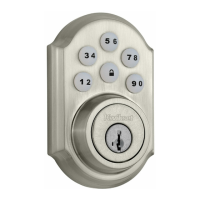
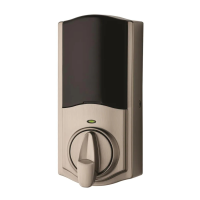
| Finish Options | Satin Nickel, Venetian Bronze |
| Backup Power | 9V battery |
| Voice Control | Yes, via compatible smart home system |
| Remote Access | Yes, via compatible smart home systems |
| Alarm | Tamper alarm |
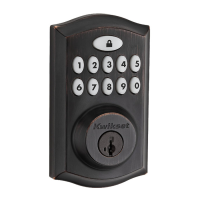
| Finish | Venetian Bronze |