Do you have a question about the Kwikset HALO and is the answer not in the manual?
Verify door hole diameter and prepare for lock installation, checking measurements for compatibility.
Install the latch mechanism and strike plate into the door and frame according to instructions.
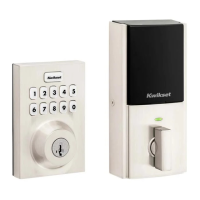
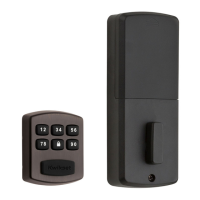
Install the exterior keypad and its mounting plate, ensuring proper cable routing.
Mount the interior assembly onto the exterior mounting plate, connecting cables.
Install batteries and initiate the auto-handing process for correct door orientation.
Test lock functionality, including latch extension, retraction, and door locking alignment.
Install the interior cover and understand how to access the battery pack.
Download the Kwikset app and create an account for lock functionality.
Understand the different system alerts, their reasons, and solutions.
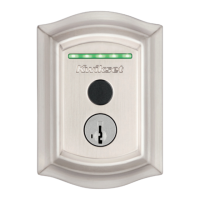
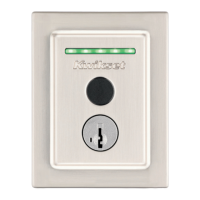
Interpret the status LED colors for lock status and operations.
Manually initiate the door handing process if needed.
Learn how to perform network, system, and factory resets.
Find troubleshooting tips and SmartKey re-keying instructions.
Review critical safety instructions and warnings for lock usage.
| Connectivity | Wi-Fi |
|---|---|
| Keyless Entry | Yes |
| App Compatibility | Kwikset App |
| Voice Assistant Support | Amazon Alexa, Google Assistant |
| Battery Type | 4 AA batteries |
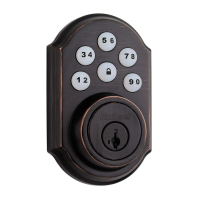
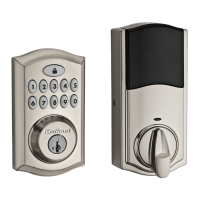
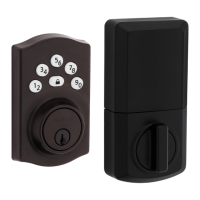
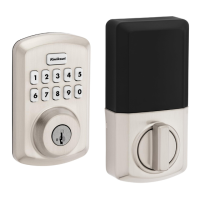
| Finish Options | Satin Nickel, Venetian Bronze, Matte Black |
| Power Source | Battery Powered |
| Door Thickness | 1-3/8" to 2" |
| Backset | Adjustable 2-3/8" or 2-3/4" |
| ANSI Grade | Grade 2 |
| Keypad | Yes |
| User Codes | Up to 250 |
| Lock Mechanism | Deadbolt |
| Auto-Lock | Yes |
| Remote Access | Yes |
| Voice Control | Yes |
| Type | Smart Lock |