EasyManua.ls Logo

Kwikset PL1 User Manual

Kwikset PL1
16 pages
To Next Page IconTo Next Page
Page #1 background imageLoading...
Page #1 background image
K P
ELECTRONIC DEADB LT LOCKO
1
2
3
4
5
6
7
8
9
0
USER MANUAL
Product : KEYPAD ELECTRONIC DEADBOLT LOCK
Purchase Date :
Limited Warranty Statements
TEMPLATE
45 40 35
1-3/4" 1-9/16" 1-3/8"
Fit here on door edge
FOR 70mm (2-3/4”) BACKSET
FOR 60mm (2-3/8”) BACKSET
51
2"
Mark Ø1" (25.4mm) hole at
center of door edge.
Ø54mm (2-1/8")
1. Warranty
The manufacturer warrants the Product to be free from defects in material and
workmanship for a period of 12 months from the original date of purchase.
If you discover a defect in the Product covered by this warranty,
we will repair or replace the item at our option using new or refurbished
components.
2. Exclusions
This warranty covers defects in manufacturing discovered while using the
Products as recommended by the manufacturer rather than occurred by
the act of God, and damages caused by misuse, abuse, and
unauthorized modification.
3. Limited Liability
The manufacturer will not be held liable for incidental or consequential
losses or damages to any act of God.
4. Reminder
Service requirement shall subject to the presentation of this Warranty Card.
The Warranty Card will not be reissued if lost.
Question and Answer IconNeed help?

Do you have a question about the Kwikset PL1 and is the answer not in the manual?

Kwikset PL1 Specifications

General IconGeneral
MaterialMetal
Door Thickness1-3/8" to 1-3/4"
ADA CompliantYes
HandingReversible
KeywayKW1
Backset2-3/8" or 2-3/4"
SecurityANSI Grade 2

Summary

Limited Warranty Statements

Warranty Details

Covers manufacturer's warranty period, repair, and replacement policy for defects in material and workmanship.

Warranty Exclusions and Liability

Outlines conditions not covered by warranty, such as misuse or acts of God, and manufacturer's limited liability for losses.

Warranty Reminder

Notes on service requirements, presentation of the warranty card, and its non-reissue if lost.

Installation Guide

Prepare Door for Installation

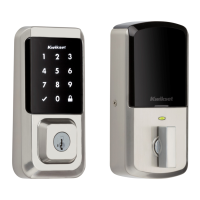
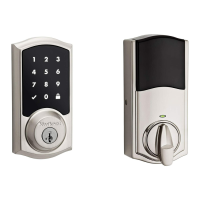
Instructions for marking and drilling door holes using the provided template for latch and cylinder.

Install Latch and Strike

Steps for fitting the latch mechanism into the door edge and the strike plate into the door frame.

Assemble Keypad and Interior Components

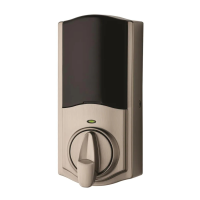
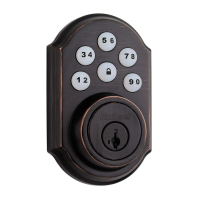
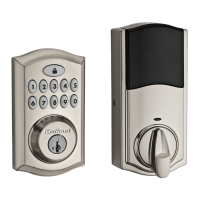
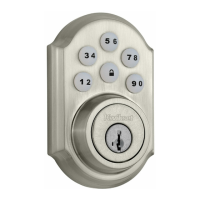
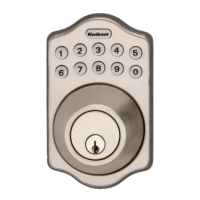
Guide for installing the keypad assembly, inside mounting plate, and receiver module.

Set Door Handing and Turn Piece

Steps to identify door handing and adjust the turn piece for correct operation.

Specifications and Functions

Battery and Low Battery Indicators

Information on battery type, replacement, and alerts for low battery status.

LED and Audio Indicators

Explanation of LED flashes and beep sounds for various operational statuses and errors.

Programming and User Codes

Details on the preset programming code, user code length, and their usage.

Function Programming

Door Handing Detection Setup

Process for identifying the door's handing for correct initial setup and operation.

Manage User Codes

Instructions for adding, deleting, and managing user codes for access.

Change Programming Code

Steps to modify the primary programming code for security and customization.

Configure Auto-Lock Function

How to enable, disable, and set the delay time for the auto-locking feature.

Troubleshooting and Setup Notes

Simple Troubleshooting Scenarios

Addresses common issues like failure to lock, no response, or latch bolt problems with potential solutions.

User Code and Function Setup Reminders

Key points and reminders for successful programming, code management, and operation.

Related product manuals