Do you have a question about the Kwikset Aura and is the answer not in the manual?
Verify door compatibility and measure hole diameter, backset, edge hole, and thickness for installation.
Install the latch based on door edge condition and ensure proper strike placement on the door frame.
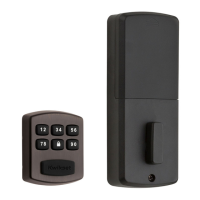
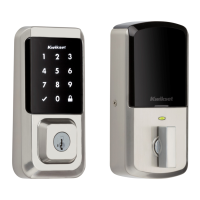
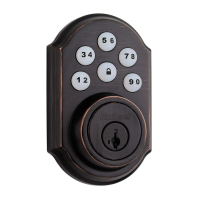
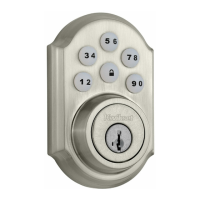
Install the exterior keypad, ensuring correct hole diameter and proper mounting plate attachment.
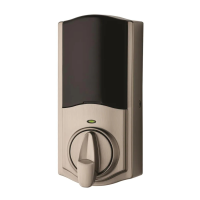
Prepare the interior assembly by removing the cover and battery pack, then mount it securely.
Install batteries to initiate auto-handing and learn door orientation.
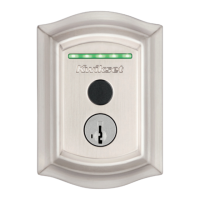
Understand LED signals indicating success or failure of the door handing process.
Test the smooth extension, retraction, locking, and unlocking of the door latch.
Install the interior cover, with options for security screw, and explain battery pack access.
Guide to downloading the Kwikset app and creating a user account for lock functionality.
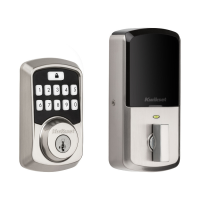
Overview of exterior/interior components and status LED color interpretations.
List of system alerts, their reasons, and suggested solutions for troubleshooting.
Steps to manually initiate the door handing process if needed.
Instructions for resetting network, system, or performing a full factory reset.
References for troubleshooting and SmartKey re-keying instructions.
Essential safety information, warnings, and manufacturer advice for lock usage.
| Connectivity | Bluetooth |
|---|---|
| Keyless Entry | Yes |
| App Compatibility | Kwikset App |
| Battery Type | 4 AA batteries |
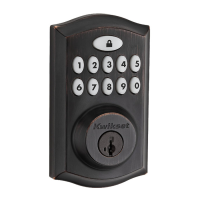
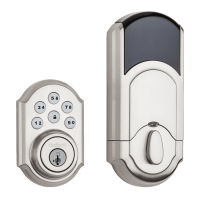
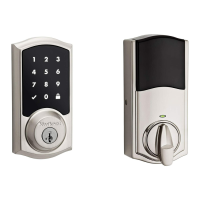
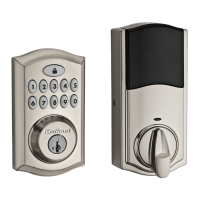
| Finish Options | Satin Nickel, Venetian Bronze, Matte Black |
| User Codes | Up to 250 |
| Keypad | Yes |
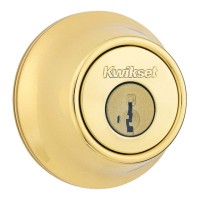
| Rekey Technology | SmartKey Security |
| Auto-Lock | Yes |
| Keyway | KW1 |
| Smart Home Integration | Amazon Alexa, Google Assistant |