6-16
NOTE: The recess of the bearing must face
toward the housing.
CD022
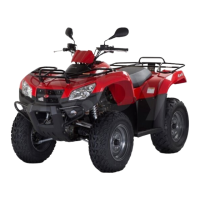
5. Inspect the splines of the shaft, the bearing ring,
and the housing for damage.
NOTE: If any damage is apparent to the splines,
the bearing ring, and/or the housing, the drive axle
must be replaced as an assembly.
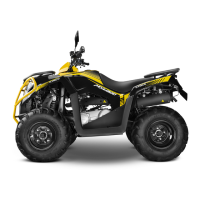
6. Using a side-cutters (or suitable substitute),
remove the small clamp from the shaft.
CD752
NOTE: At this point if the outside boot is dam-
aged, continue with step 7.
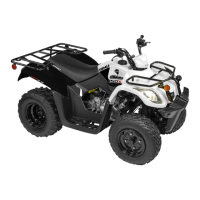
7. Using a side-cutters (or suitable substitute),
remove both outside boot clamps from the shaft.
Note the position of the different-sized clamps for
assembling purposes.
CD751
8. Apply 40 grams (1/3 of contents) of grease from
the Grease Pack into the knuckles and the new out-
side boot.
ATV-1052
NOTE: Grease Pack contains 120 grams of
grease. The inside joint (double-offset) requires
approximately 70-90 grams of grease and the out-
side (bell-type) requires approximately 35-55
grams. When replacing boots, use 2/3 of the pack
for inside boots and 1/3 of the pack for outside
boots.
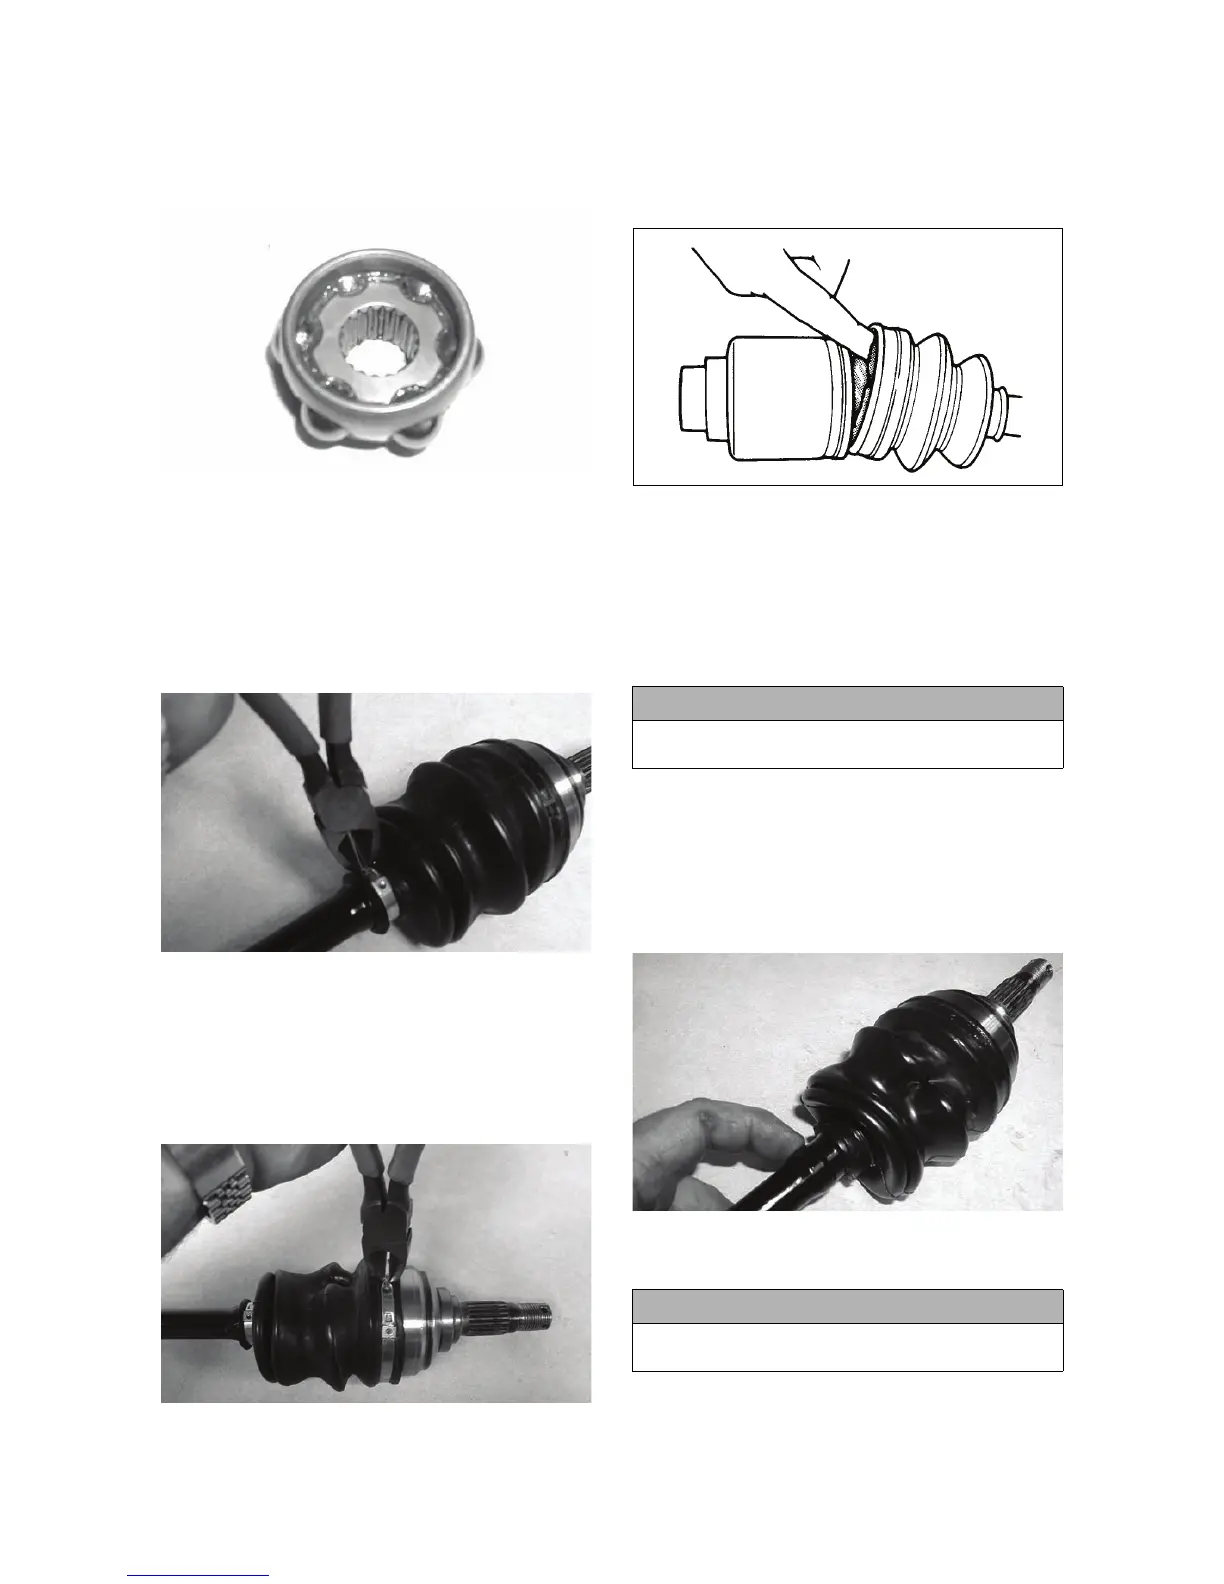
9. Slide the new outside boot onto the shaft with the
new clamps positioned as shown. Note the differ-
ent-sized clamps from removal.
NOTE: The boot is positioned correctly when the
small end of the boot seats down into the recessed
groove.
CD754
10. Using the CV Boot Clamp Tool, secure both out-
side boot clamps.
! CAUTION
Do no over-fill the joint as boot damage may occur
resulting in joint failure.
! CAUTION
It is important that the clamps are positioned cor-
rectly or they may loosen when in motion.