4-9
4
KC219A
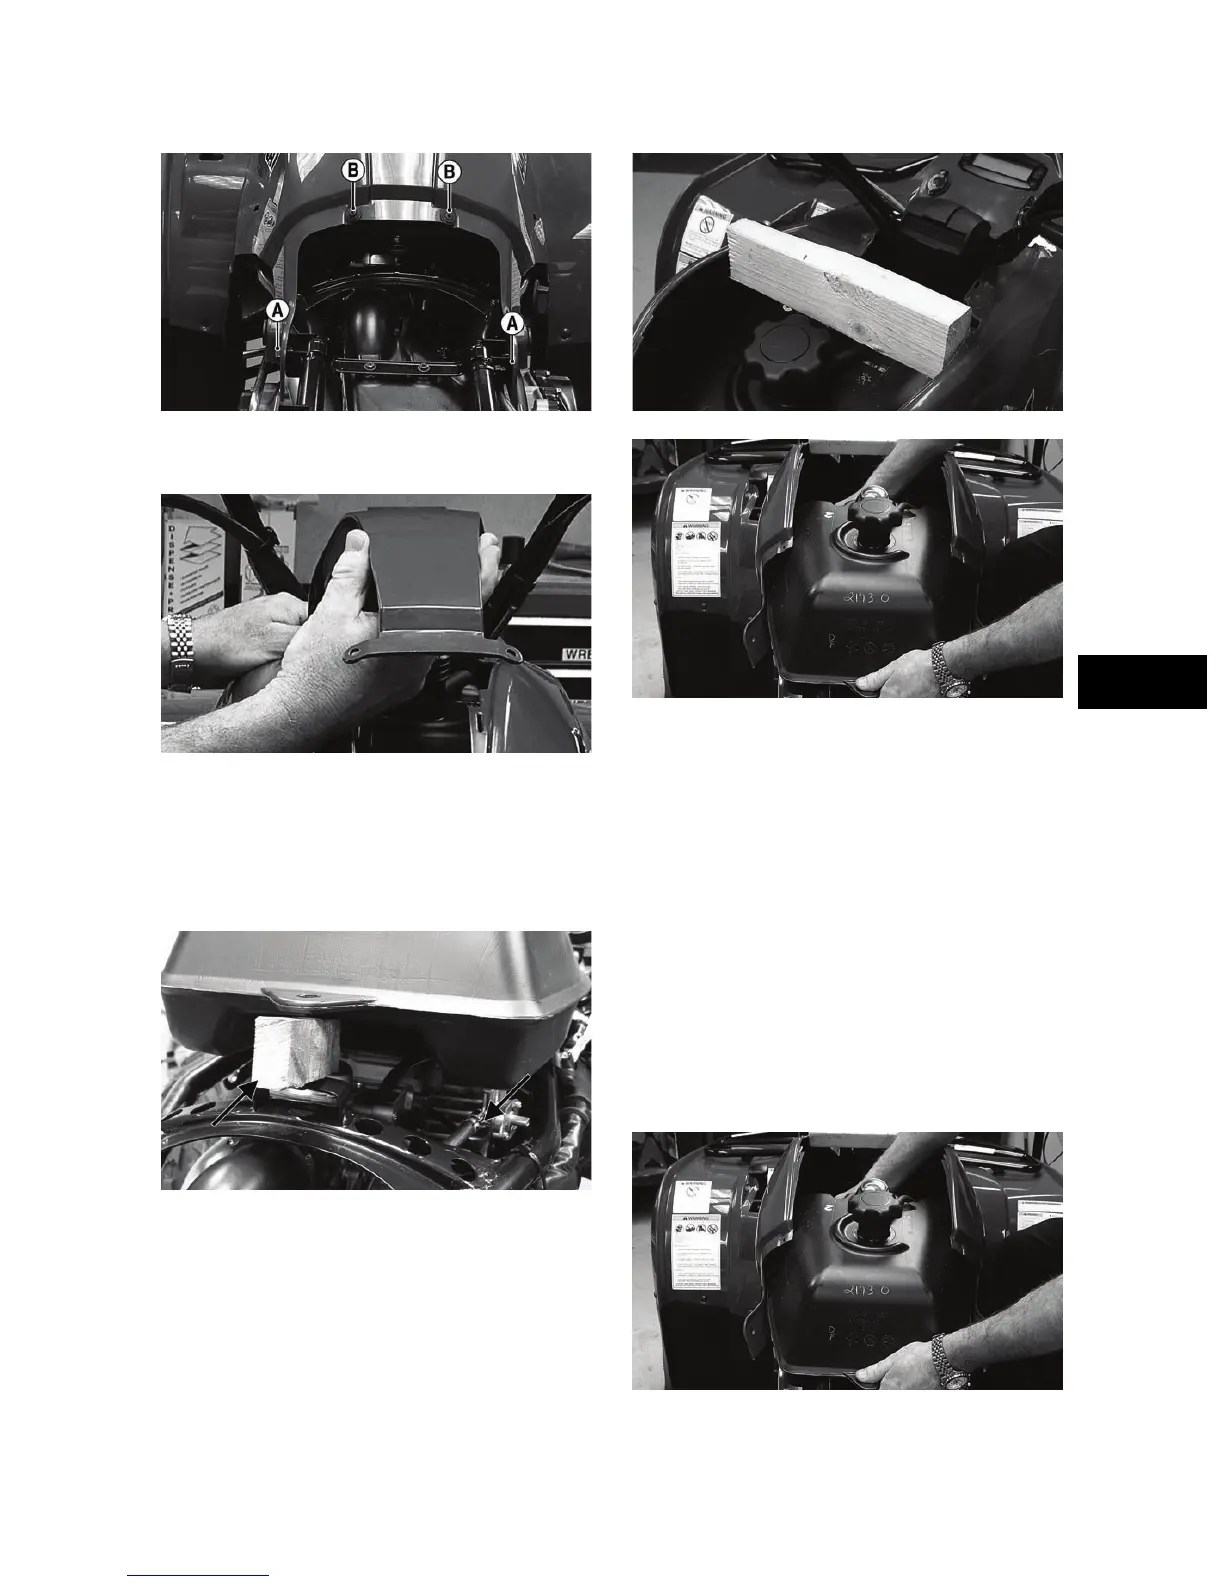
3. Remove the gas tank cap; then remove the gas
tank cover. Place gas tank cap back on tank.
KC220
4. Remove the gas tank valve knob.
5. Remove the cap screw securing the gas tank to the
frame and using a suitable block, support the rear
of the tank; then remove the clamp securing the
gasline hose and remove the hose from the gas
tank valve.
KC241A
6. Using a suitable block, hold the front body open
and remove the gas tank to the rear. Account for
the heat shield.
KC260
KC262
CLEANING AND INSPECTING
NOTE: Whenever a part is worn excessively,
cracked, or damaged in any way, replacement is
necessary.
1. Clean all gas tank components with parts-cleaning
solvent.
2. Inspect all hoses for cracks or leaks.
3. Inspect tank cap and tank for leaks, holes, and
damaged threads.
INSTALLING
1. Using a block to hold the front body open, place
the gas tank into position in the frame making sure
the heat shield is in position.
KC262