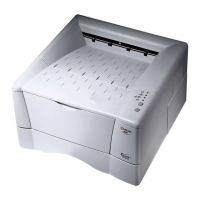
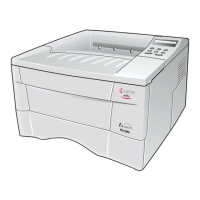
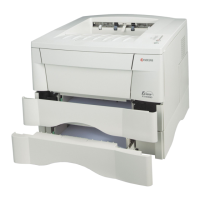
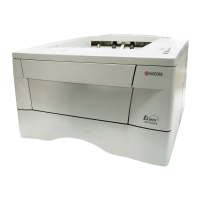
2-5
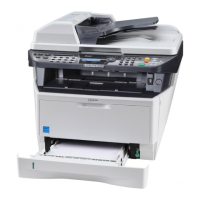
Connecting and Printing
2 Select the printer you want to install, select the Driver Package, and
click Install.
3 A message appears saying that your software is ready to use. To
print a test page, select the Print a test page checkbox and select
the printer.
Click Finish to exit the printer installation wizard.
This completes the printer driver installation procedure.
Custom Mode
Use Custom Mode if you want to specify the printer port and select the software to be installed.
1 Select Custom Install tab.
2 Select the device to be installed, and click the arrow button to move
it to the Products to Install list.
3 Select the software to be installed, and click the arrow button to
move it to the Products to Install list.
4 Click Install.
5 A message appears saying that your software is ready to use. To
print a test page, select the Print a test page checkbox and select
the printer.
Click Finish to exit the printer installation wizard.
This completes the printer driver installation procedure.
Installation on a Macintosh
This section explains how to install the printer driver in Mac OS.
1 Turn on the printer and the Macintosh.
2 Insert the included Product Library disc into the disc drive.
3 Double-click the Product Library disc icon.
4 Double-click OS X 10.5 or higher.
5 Double-click Kyocera OS X 10.5+ xxxxx.
Note If the Found New Hardware Wizard appears, click
Cancel. If a hardware installation warning message appears,
click Continue.
If the Windows security window appears, click Install this
driver software anyway.

 Loading...