LAARS Heating Systems
Page 60
WARNING
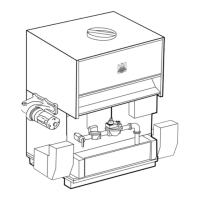
If the ap valve identications are not congured
correctly, this could cause the equipment to
malfunction. This could lead to personal injury or
death, and could damage the equipment. If the
conguration is not correct, the control system
will present an error – “HOLD 119 – Control
Interaction Fault” on the display, and will prevent
the boiler(s) from operating.
1. Let’s start by setting the Flap Valve ID for the
Primary control for Boiler 1. To do this, start
at the ‘home’ screen (Fig. 68). (To reach
the ‘home’ screen, press the Home icon in the
upper left corner of any screen.)
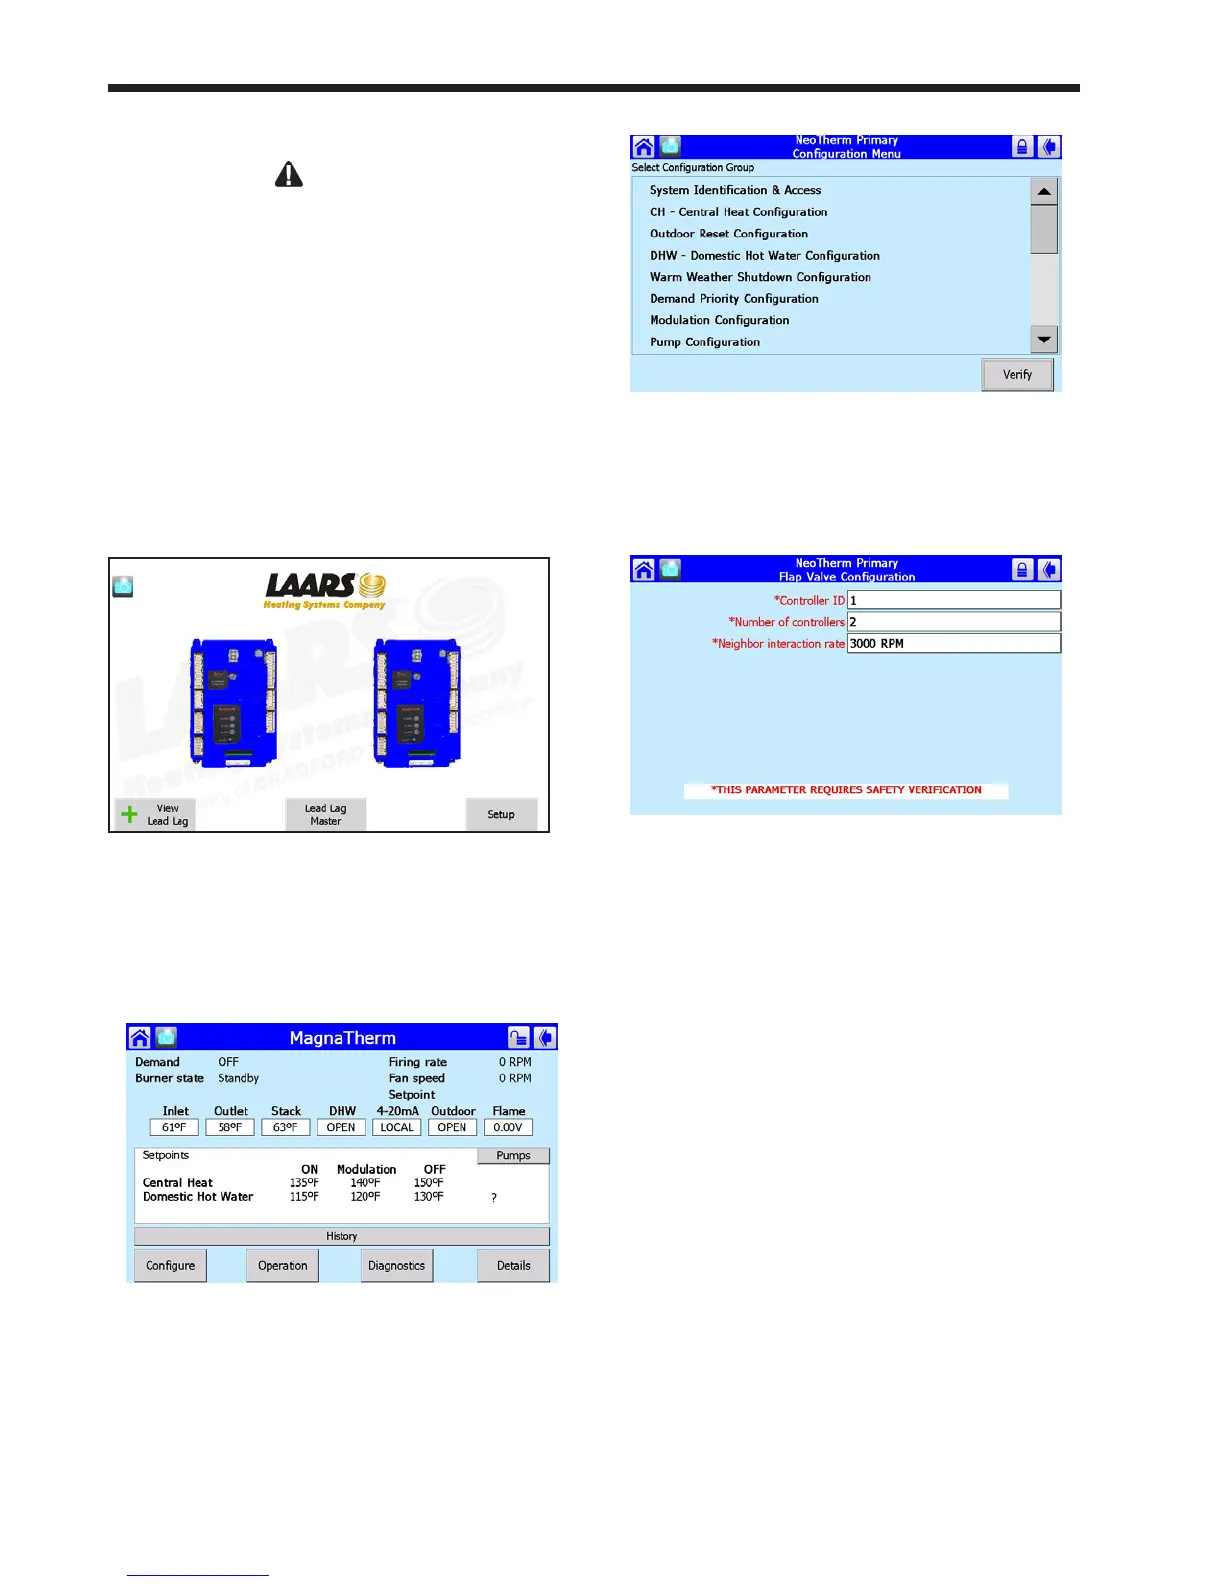
Fig. 68 – ‘home’ screen
2. Press the icon for the controller you want to
work with. The system will take you to the
Status Summary screen for that controller.
Fig. 69 – Status Summary Screen
3. Press the Congure button. Figure 70 shows
the Conguration screen.
Fig.70–CongurationScreen
4. Scroll through the listing on the Congure
menu to Flap Valve Conguration, and select
that line. See Fig. 71.
Fig.71–FlapValveCongurationScreen
Two of the items on this screen can be
changed:
Controller ID -
This is the ID number of the ap valve
associated with this controller. (We will set
the ID number for the other controller in this
boiler in a moment.)
Number of controllers -
This is the total number of controllers
in the whole system. (For example, in a
system with four boilers, there will be eight
controllers.) See Table 14.
You need to set both of these values on the
Flap Valve Conguration screen for each
controller in the system.
 Loading...