Activity Guide
10 Tech-Design by Lab-Volt
Methods of Programming Automation & Robotics
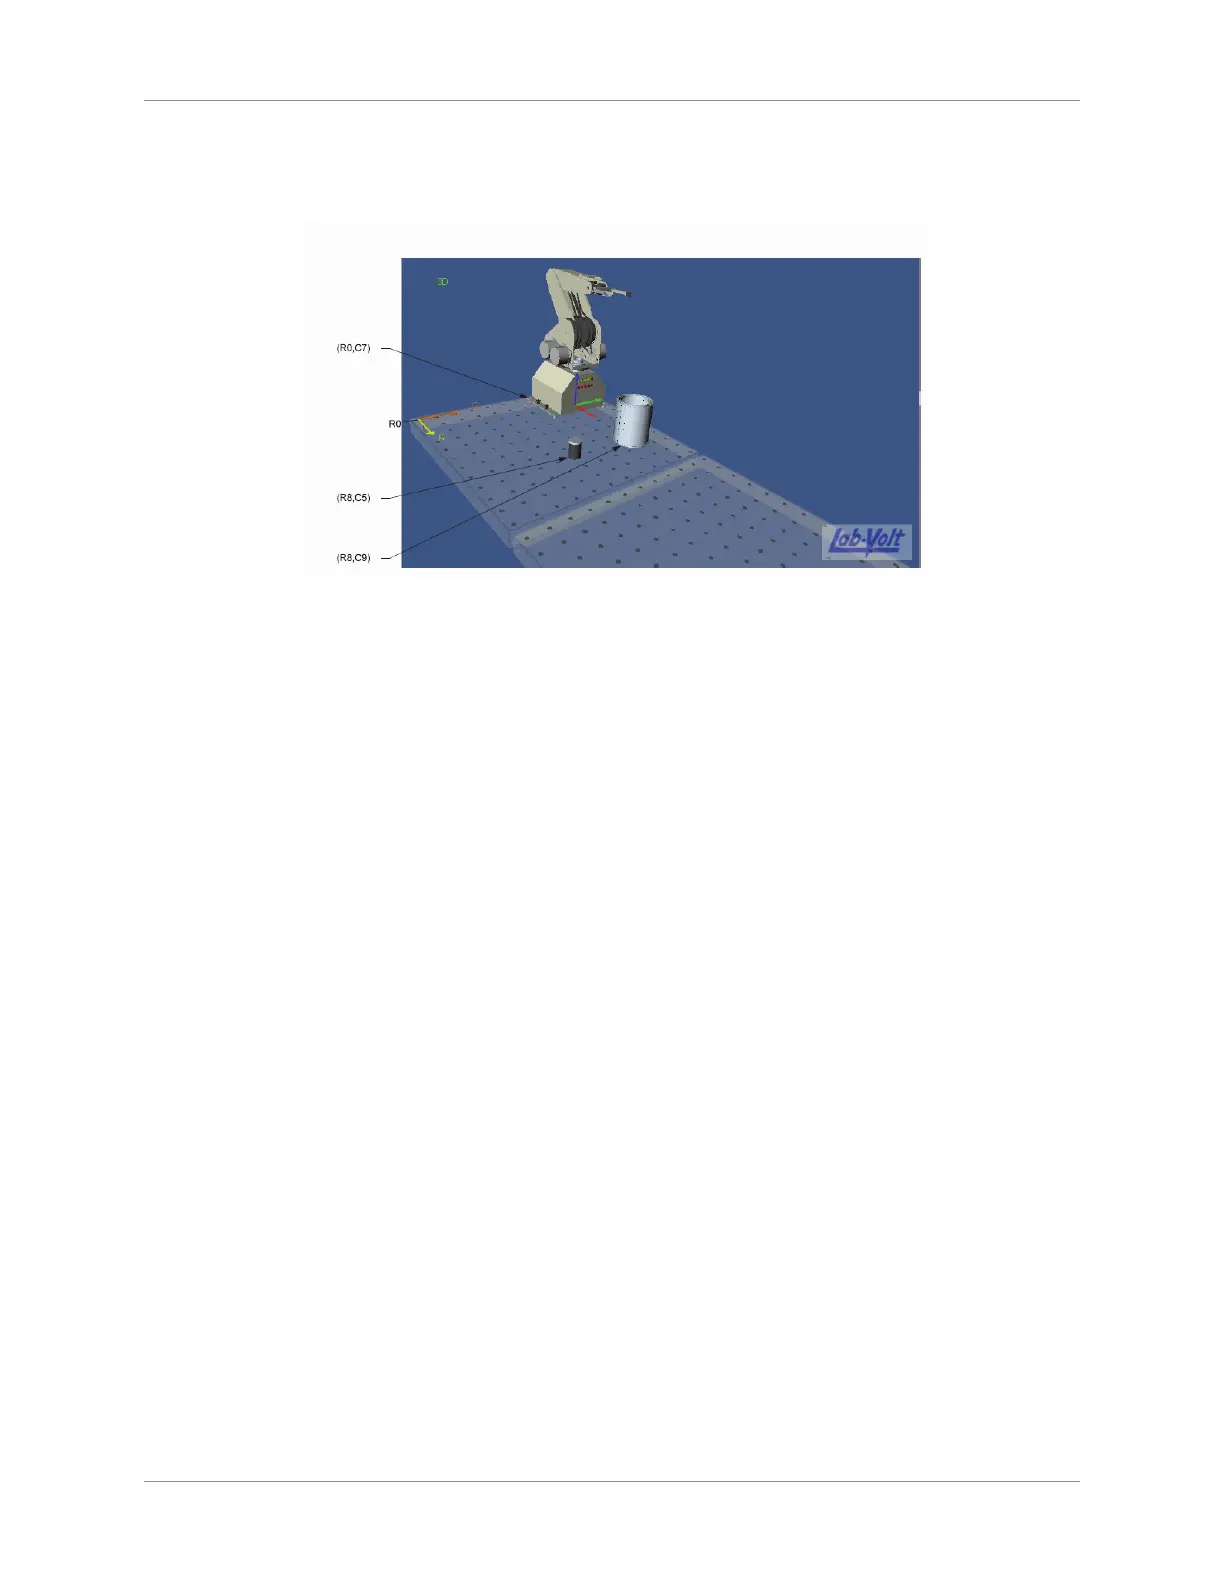
Set the robot to position (R0, C7) by changing the C value to “7” in the Position eld. Leave the b.
robot orientation set to 0 degrees. The robot position is now as shown below:
Display Area
You will now add a metallic can to the view display area:4.
In the header section of the Object window, click on the New button. The New Object selection a.
box appears.
Click on the icon of the metallic can (Model 77123) to select it. Leave the default name in the b.
dialog box that now appears. Click OK. In the view display area, the newly added can now
appears at position (R0, C0).
In the basic parameters (bottom) section of the Object window, set the can to position (R8, C9). c.
Leave the can orientation set to 0 degrees. The can is now positioned as shown is the gure
above.
You will now add a lm canister to the view display area:5.
Click the New button. In the New Object selection box, click on the icon of the lm canister a.
(Model 95183) to select it. Leave the default name and click OK to close the dialog box that now
appears. In the view display area, the newly added lm canister now appears in position (R0,
C0).
In the basic parameters section of the Object window, set the position of the lm canister to (R8, b.
C5). Leave the orientation of the lm canister set to 0 degrees.
Save your work by selecting Save from the File menu. Enter Example and your last name for the 6.
lename. For example, ExampleSmith. Then click the Save button.
Record Points
You will now record four points that will establish the path the robot will go through to perform its tasks
without collisions.
The starting (and arrival) point (point A)•
The height clearance point (point B)•
The point over the approximate center of the metallic can (point C)•
The point down to which the canister is lowered within the can (point D)•
These points will then be used to edit a program for control of the robot motions. Note that the robot arm
is at its soft home position in the view display area, which is the default arm position when a workspace is
created.