Network Computing Platforms
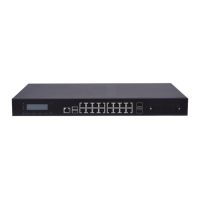
Release the inner bracket as shown below.
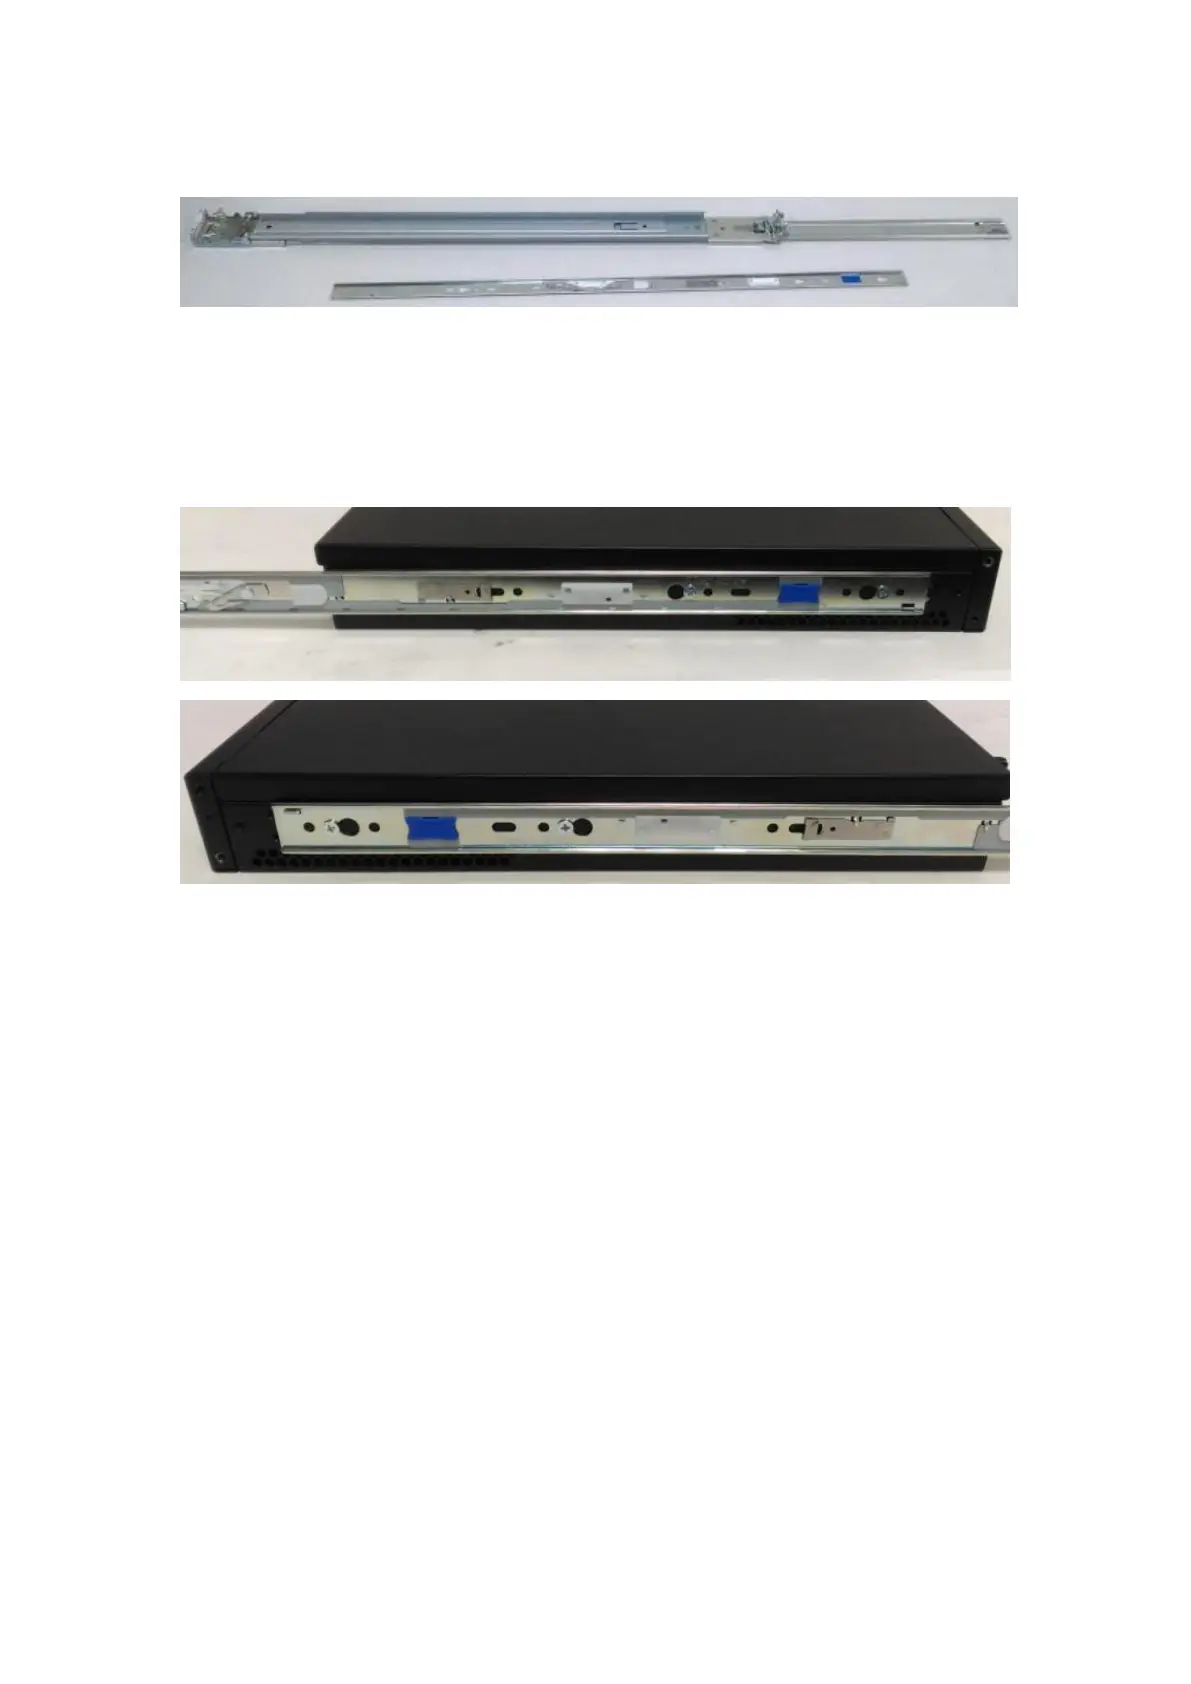
7. Align the inner bracket to the side of the chassis and make sure the screw-holes are
matched. Then secure the bracket onto the chassis with provided screws.
8. Repeat Steps 2 to 7 for another slide-rail and attach its inner bracket onto another
side of the chassis.
Installing Slide Rails
1. In the previous section, you have already detached the inner brackets and attached
them onto the chassis of your purchased model. By now, you shall install the slide-rail
assemblies onto the rack.
As the image below, this slide-rail kit does NOT require screw-fixing. Simply aim at 3
available screw holes on the rack-front and lock it by clipping the slide-rail assembly
to the rack-front as shown in the image below. You should hear a “click” sound once it
is firmly attached.