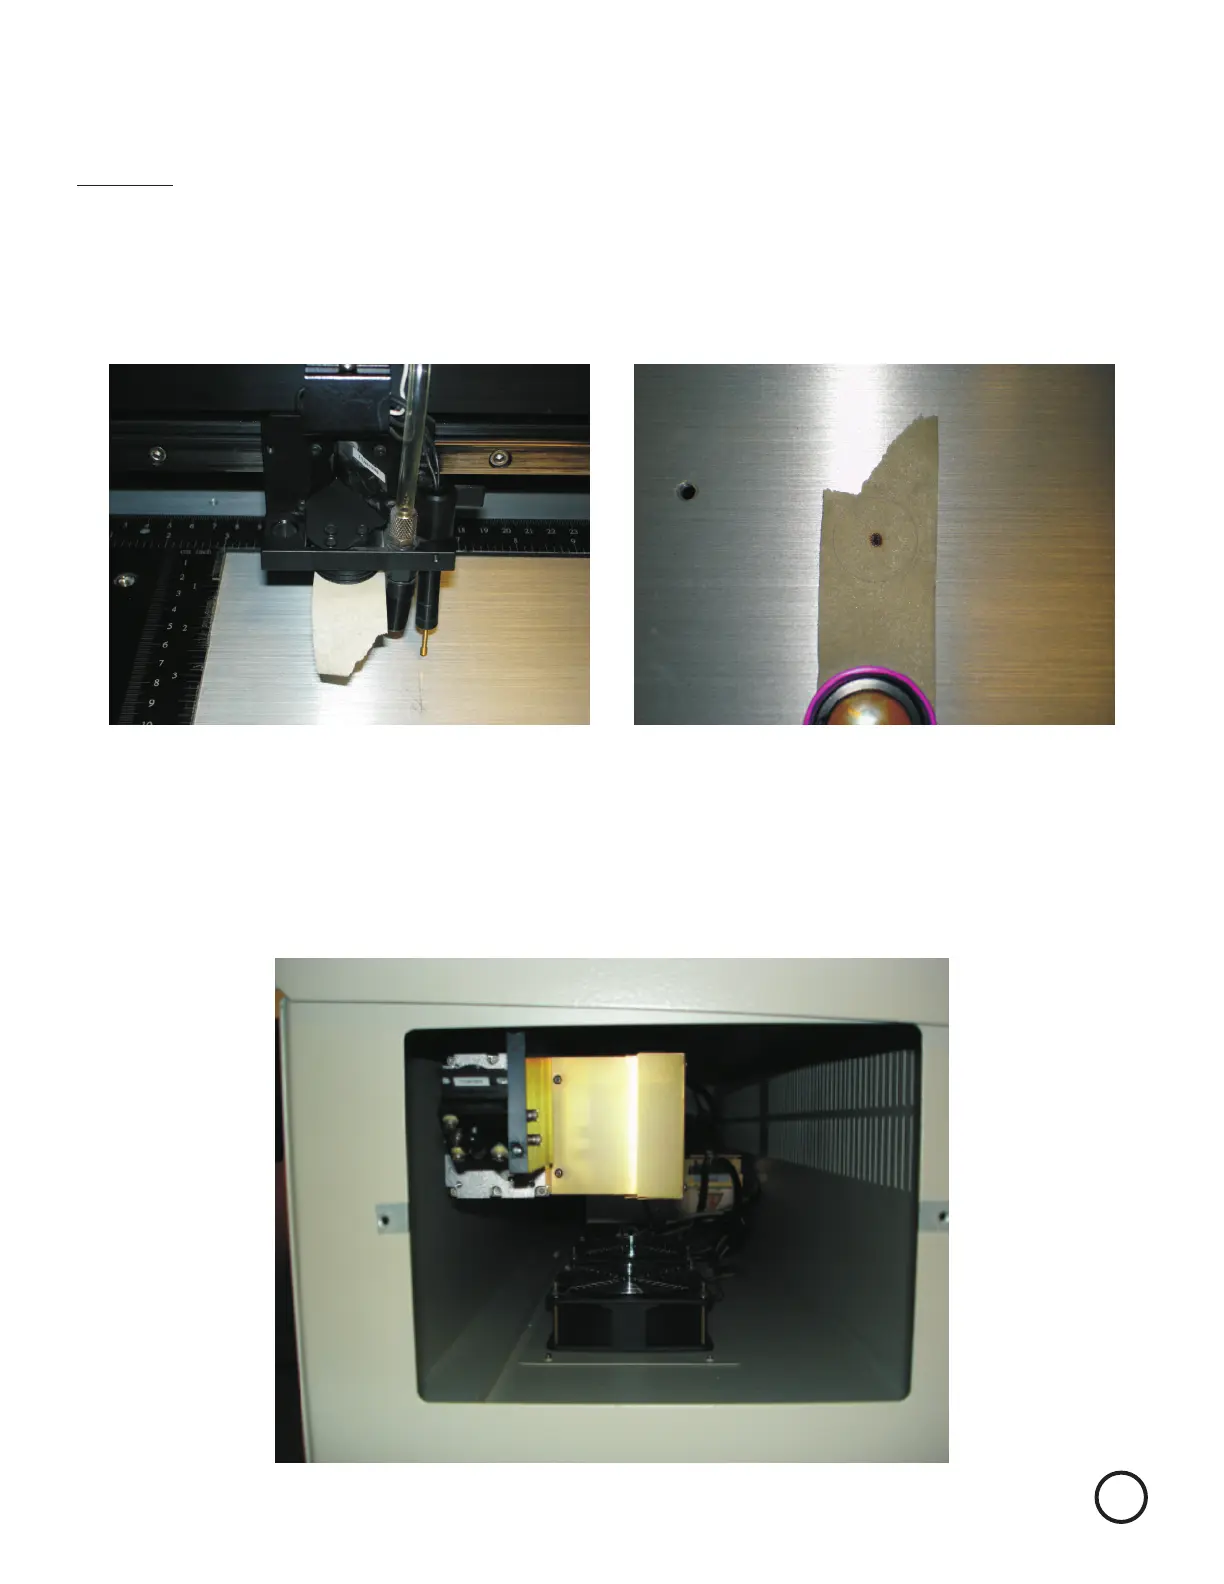
Remove the lens form the lens holder. Place a piece of tape on the bottom of the Lens Carriage.
Rub it to leave an impression of the opening.
Make sure you remove the tape from the side of the carriage and fire for 1 second.
Remove the tape from the bottom of the . The burn mark should be near the center
of the impression of the air nozzle opening. (A mirror may be used as well if placed on table below
Lens Carriage to see the orientation of the burn mark.) Looking through the top of the lens carriage
will not give you an accurate location.
You will need to adjust mirror 1 to move the beam to the center. Once completed re-check P1-P4
once more. Any adjustments at this point should be quite minor.
Lens Carriage
To adjust mirror 1 you need to open up Access Panel on the left side of the Explorer See Previous
page for location. Mirror 1 only determines that the beam hits the center of the lens.
Remember to always wear safety glasses while doing any open beam tests.
Burn mark in center of lens carriage bottoms impression.
(Lens is just holding tape for photo)
8