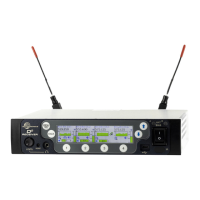
Digital Receiver
Rio Rancho, NM
5
IR (infrared) Port
Frequency and settings can be transferred to and from
the DSQD receiver via this port to an IR enabled trans-
mitter to simplify setup.
USB Port
For firmware updates and connection to Wireless De-
signer software.
Reset Button
For MCU recovery in the event of an interrupted firm-
ware update.
Headphone Volume Adjustment
Adjusts the monitor loudness of the output channel
selected with the numbered buttons below the LCD.
Antenna Bias LEDs
Glow green with antenna bias power is turned on.
Channel Selector Buttons
From the main screen, pressing a Channel Selector
Button will show a detailed transmitter screen (see
Quick Start for more information).
From the Sync Settings screen, pressing a Channel
Selector Button will initiate a sync with the transmitter
via the IR port.
Antenna Loop-thru
For multiple DSQD installations in a rack, a “loop-thru”
is available to feed two or three receivers from a single
antenna pair. Connect coaxial cables from the multicou-
pler loop-thru outputs on the first receiver to the anten-
na loop-thru inputs on the next receiver in the stack.
WARNING: Do not enable antenna power if
connecting antenna loop-thru outputs on one
receiver to the antenna inputs on another
receiver.
Dante Ports (if Dante module is installed)
Connects to a Dante digital audio network.
Ethernet Port
Used for setup, monitoring and control with Wireless
Designer software or 3rd party control systems con-
nected via a network.
Multi-Frame Communication
Allows offline, multi-frame communication and frequen-
cy coordination (coming soon).
Power Inlet
The locking DC coaxial inlet requires 7-18 VDC and
draws 2.5A maximum.
Operating Instructions
To begin using the DSQD quickly, follow the steps be-
low. The other settings can be adjusted as needed.
1. Set Channel Frequency: Assign a frequency to
each channel, which will correlate to the accom-
panying Channel Selector Button (1-4). From
the Quick Access Menu or the RF Setup Menu,
manually set frequency on the RF Frequency
screen or scan for available frequencies and assign
a frequency to each channel from the Frequency
Scan screen.
2. Set Compatibility Mode: From the Quick Access
Menu or the Audio Setup Menu, set compatibility
modes for each channel.
3. Set Encryption Keys: From the IR Sync & En-
cryption Menu, select a key type and then create a
key (if needed).
NOTE: See Encryption Key Management for
more instruction.
4. Sync Settings: From the Quick Access Menu or
the IR Sync & Encryption Menu, initiate sync for
each channel via the IR port. Hold the target trans-
mitter close to the IR port on the front panel of the
DSQD. Select SEND ALL. A message will appear
on the main screen letting you know the sync was
successful. Messages will appear letting you know
if the sync was successful.
NOTE: See Sync Settings for more instruction.
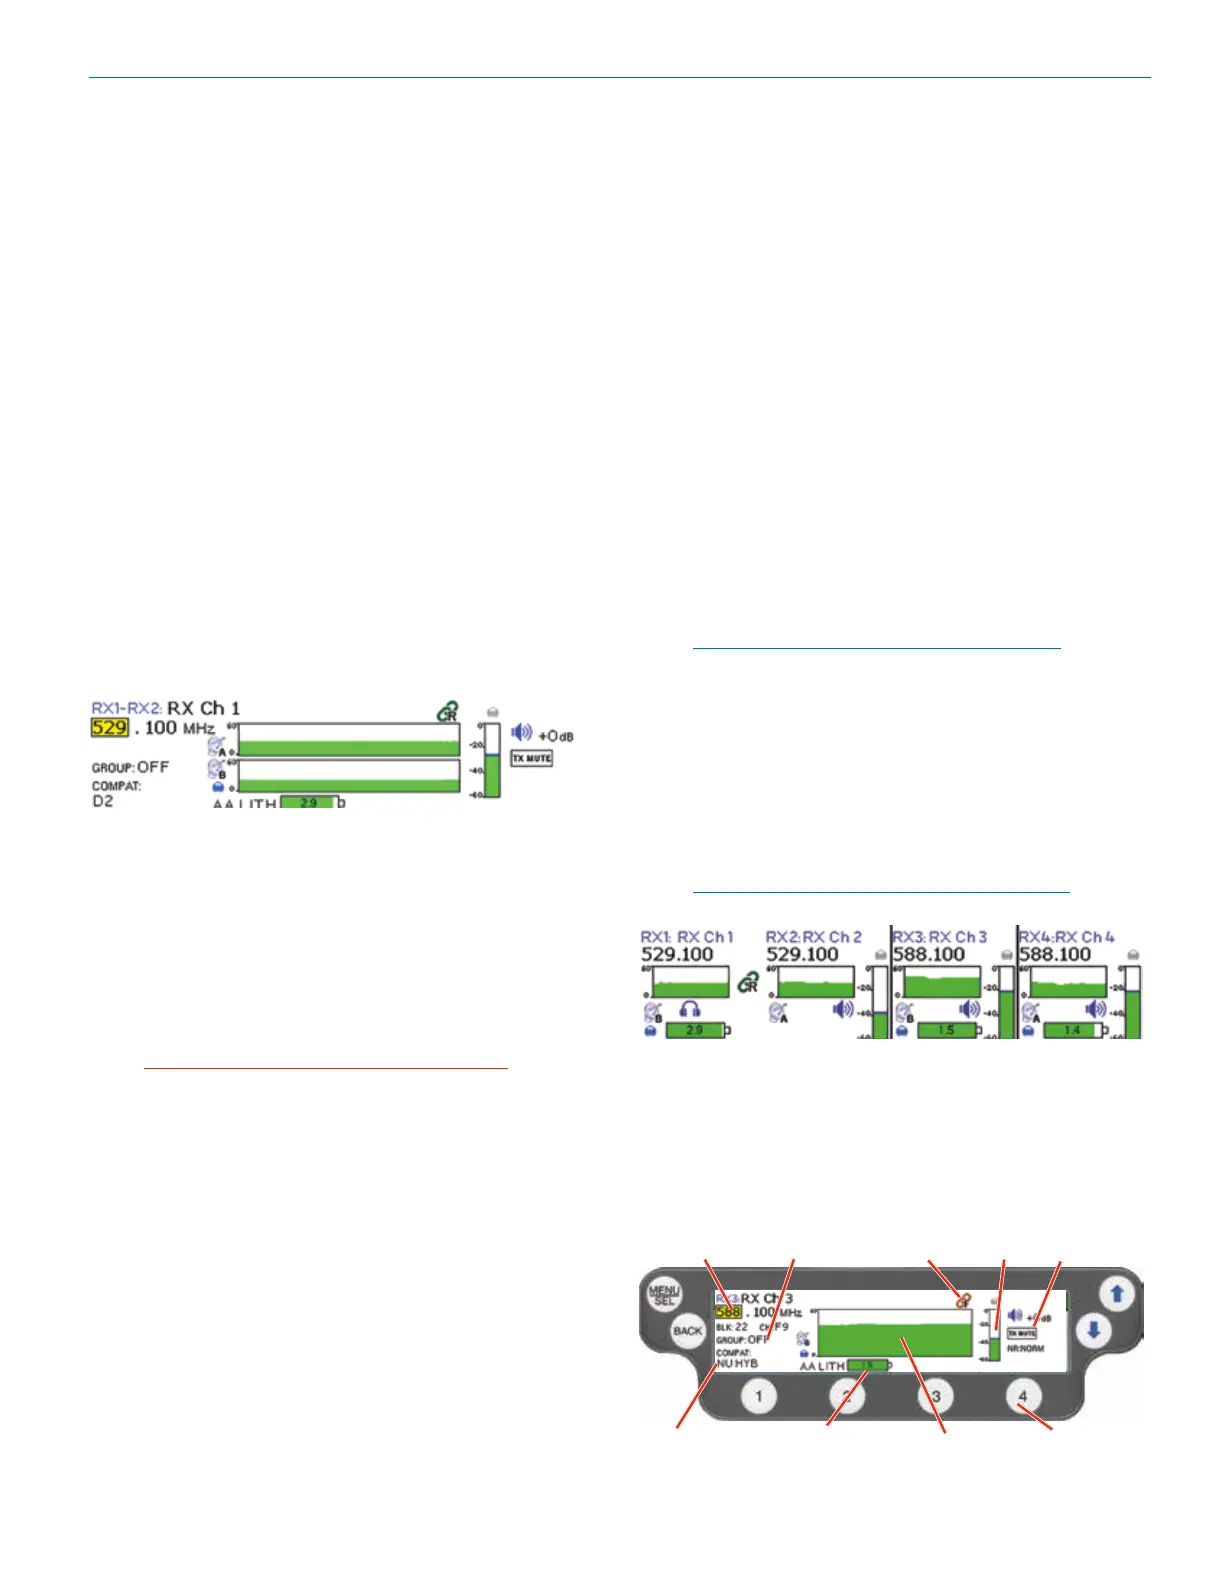
5. You can also quickly check a channel’s status by
pressing a Channel Selector Button from the
DSQD home screen. This screen allows you to
change frequency and turn Group Tune on/off. In
addition, you can check the status of the compat-
ibility mode, diversity setting, transmitter battery
status, audio level and audio mute status.
Carrier
frequency
Compatibility
Mode
Audio
Level
Channel Selector
Buttons
Transmitter
Battery Status
Group Tune
On/Off
Mute
On/Off
Diversity
Setting
RF Level
with 10 seconds
of history