NEW ILLUSTRATION
Stand-alone record-
ing and afterwards
data transfer to PC
via USB-C
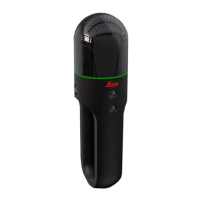
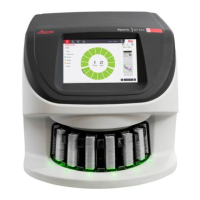
1. Press the power button to turn on the BLK360.
2. The BLK360 is starting. The ring-shaped LED is blinking yellow.
3. If the ring-shaped LED is continuous green, the BLK360 is ready for
operation.
4. Connect the computing device with the BLK360.
5. Start the recording and simultaneous data transfer via computing
device. The ring-shaped LED is blinking yellow.
6. Start the processing of data on the computing device.
☞
If the USB-C cable is plugged in the BLK360 cannot capture data.
NEW ILLUSTRATION
...........................................................
...........................................................
...........................................................
014420_001
1. Steps need to be reviewed and adapted.
Start the BLK360 and wait until the LED is continuous green.
2. On the computing device select Settings and tap Wi-Fi.
3. Select the network BLK360-35xxxxx in the Wi-Fi settings to be
connected.
☞
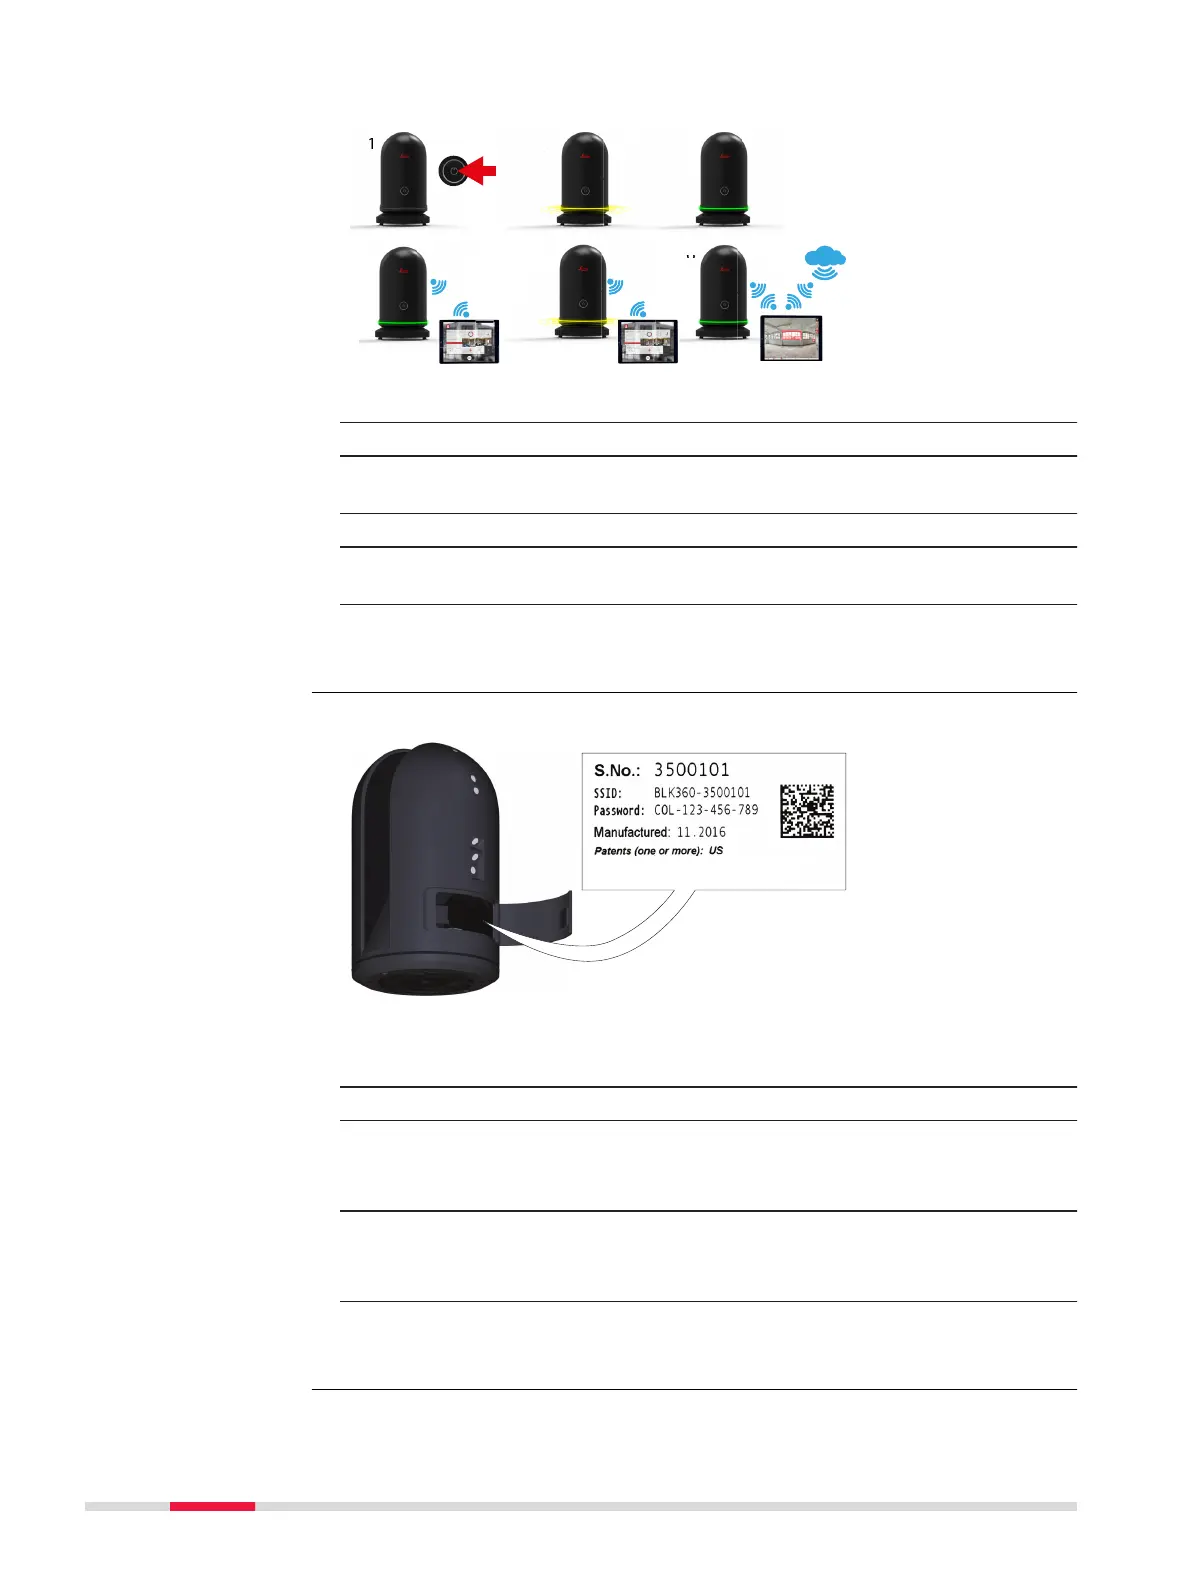
The number 35xxxxx is the serial number of the BLK360.
4. Enter the password.
☞
The instrument specic password is printed on the label in
the battery compartment (e.g. COL-123-456-789)
5. Start the app and connect the instrument.
☞
For further information, refer to the help menu in the app.
Connecting to a com-
puting device using
Wi-Fi
step-by-step
22 Operation
 Loading...