Camera Software – Detailed Notes
• The software is referred to as the Leica Application Suite (LAS).
• Right-click when starting the software, to run in “Administrator” mode, which gives more
options and runs the camera faster than “User” mode.
• After moving the camera, you must tell the software which microscope you are using. To
switch between hardware configurations, first exit the LAS by going to: File > Exit LAS.
Then select the correct microscope by going to Option > Select Hardware Configuration.
Then quit the LAS software and re-open.
• The software has various tabs:
o Setup - you should never need to modify this!
o Acquire ("Live" mode) - this will always display a live image when the software is open.
The tab for "Mic" detects the microscope, the zoom and the iris. Loading the different
hardware configurations will modify the contents of this tab. The software can auto-
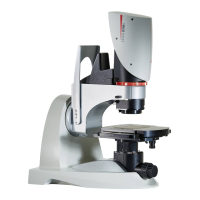
detect the zoom and objective for the stereomicroscope. On the petrographic microscope,
the objectives are not auto-detected but there are pre-set scales for the different
magnifications. The tab for "Camera" contains all other settings for taking
photomicrographs and is described in detail below.
o Browse - Post-image processing.
• File names - Can either enter each time or select auto numbering:
Options>preferences>image tab> (un)check always confirm image tag
• Save images as Tiffs as these are completely uncompressed.
Specific settings to check
• Always do a white balance after moving the camera
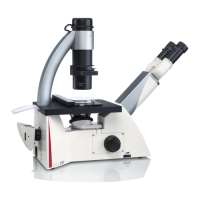
• Stereomicroscope: make sure the boxes for horizontal and vertical flip are checked under
processing
• Petrographic scope: make sure the boxes for horizontal flip are checked under processing
• Petrographic scope: Check the box "Confirm Microscope Setting" to always check the
magnification/objective when taking a photo.
The various options under "Camera":
Auto Exposure – useful for getting roughly in the right range, but in general you will always need
to adjust this manually. You should aim to have the brightest areas be just at saturation (white
but not burnt out). This can be adjusted either with the slider or by using the arrow keys on the
 Loading...