Detailed guide/ Record mode / 147
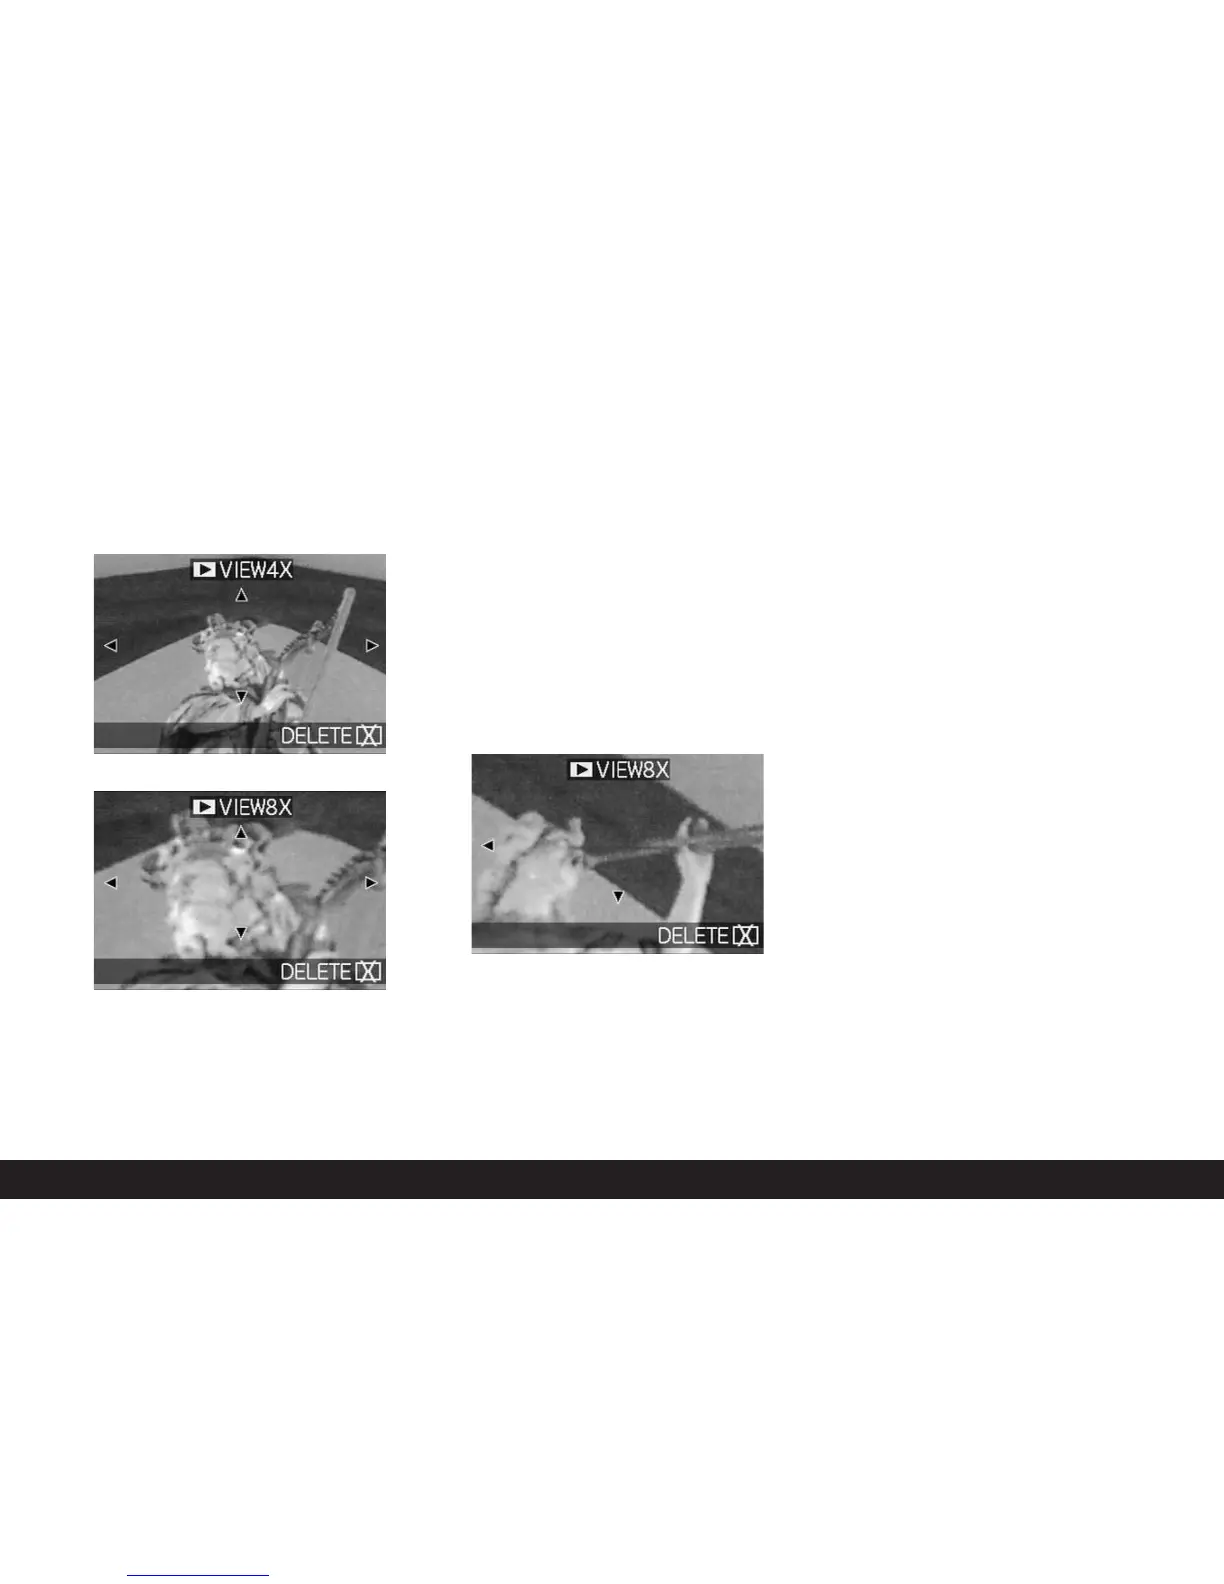
• Arrows appear on the 4 edges of the picture, to
indicate how the trimmed area can be moved.
The display in the header specifies the currently
displayed enlargement level.
Notes:
•For as long as a picture is displayed in enlarged for-
mat, the direction pad is not available for selecting
other pictures (see point 4).
• In review mode
8
(see p. 155) the picture can be
enlarged up to 16x.
4. You can select any trimmed area of an enlarged
view using the direction pad. To do this, press the
direction (repeatedly) in which you want to move
the trimmed area.
• If the edge of the picture is reached in one or two
directions, this is indicated by the fact that the
corresponding arrows go out.
Deleting pictures during viewing
While a picture is shown in the monitor using this
function, you can take this opportunity to delete it if
you wish to do so. You can also delete several or all
pictures simultaneously.
In all cases, this is done as described in the section
“Deleting pictures”, p. 158 described from point 2
onwards.
Important: Picture data is permanently deleted. You
cannot subsequently retrieve it.

 Loading...


