27
Leica IP C
Instrument Setup 4
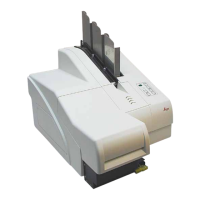
Fig. 10
1. Unscrew the 8 screws (→ "Fig. 11-2") on the sides of the wooden box and loosen the cover.
2. Remove the accessory box (→ "Fig. 12-1") (includes accessories and packaging material)
directly under the lid.
3. Unscrew the 8 screws (→ "Fig. 11-3") at the bottom of the wooden box on the exterior.
1
2
3
Fig. 11
1
Fig. 12
4. Remove the interior carton around the instrument.
5. Carefully remove the wooden box from the baseplate.
6. The printer is secured to the wooden floor of the box with 4 plates (→ "Fig. 13-2"). Loosen the
two screws (→ "Fig. 13-1") on the base of the instrument. Remove the plates from the bottom.