40
Version 2.0, Revision I
Instrument Setup
4
4.8 Electrical connection
Warning
The instrument must be connected to a grounded mains socket.
Of the set of power cords supplied, be sure to use only the one that is appropriate for the local power
supply (plug must fit on-site wall outlet).
Connecting to mains
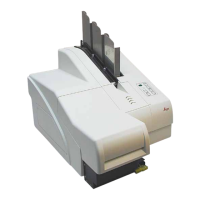
L The electrical connenctions are located at the back panel of the instrument (→ "Fig. 32").
1. Make sure the printer is switched OFF, mains switch (→ "Fig. 32-3") in position "0" = OFF.
2. Insert the correct power cord into the mains input socket (→ "Fig. 32-4").
3. Switch on mains switch (switch to position "I" = ON).
1
2
3
4
Fig. 32
Note
Once switched on for the first time, the mains switch (→ "Fig. 32-3") should always remain in position
"I" = ON.
Setting up the data connection
L To use the printer, a serial data cable (→ "Fig. 33") is required (→ p. 29 – 4.3 Standard
delivery).
1. Connect the cable to printer port (→ "Fig. 32-1").
2. Connect the cable to one of the serial ports (COM 1, COM 2) of the computer containing the
control software.