IOM / ROOF-TOP FLEXY™ Series - Page 53
GAS BURNERS
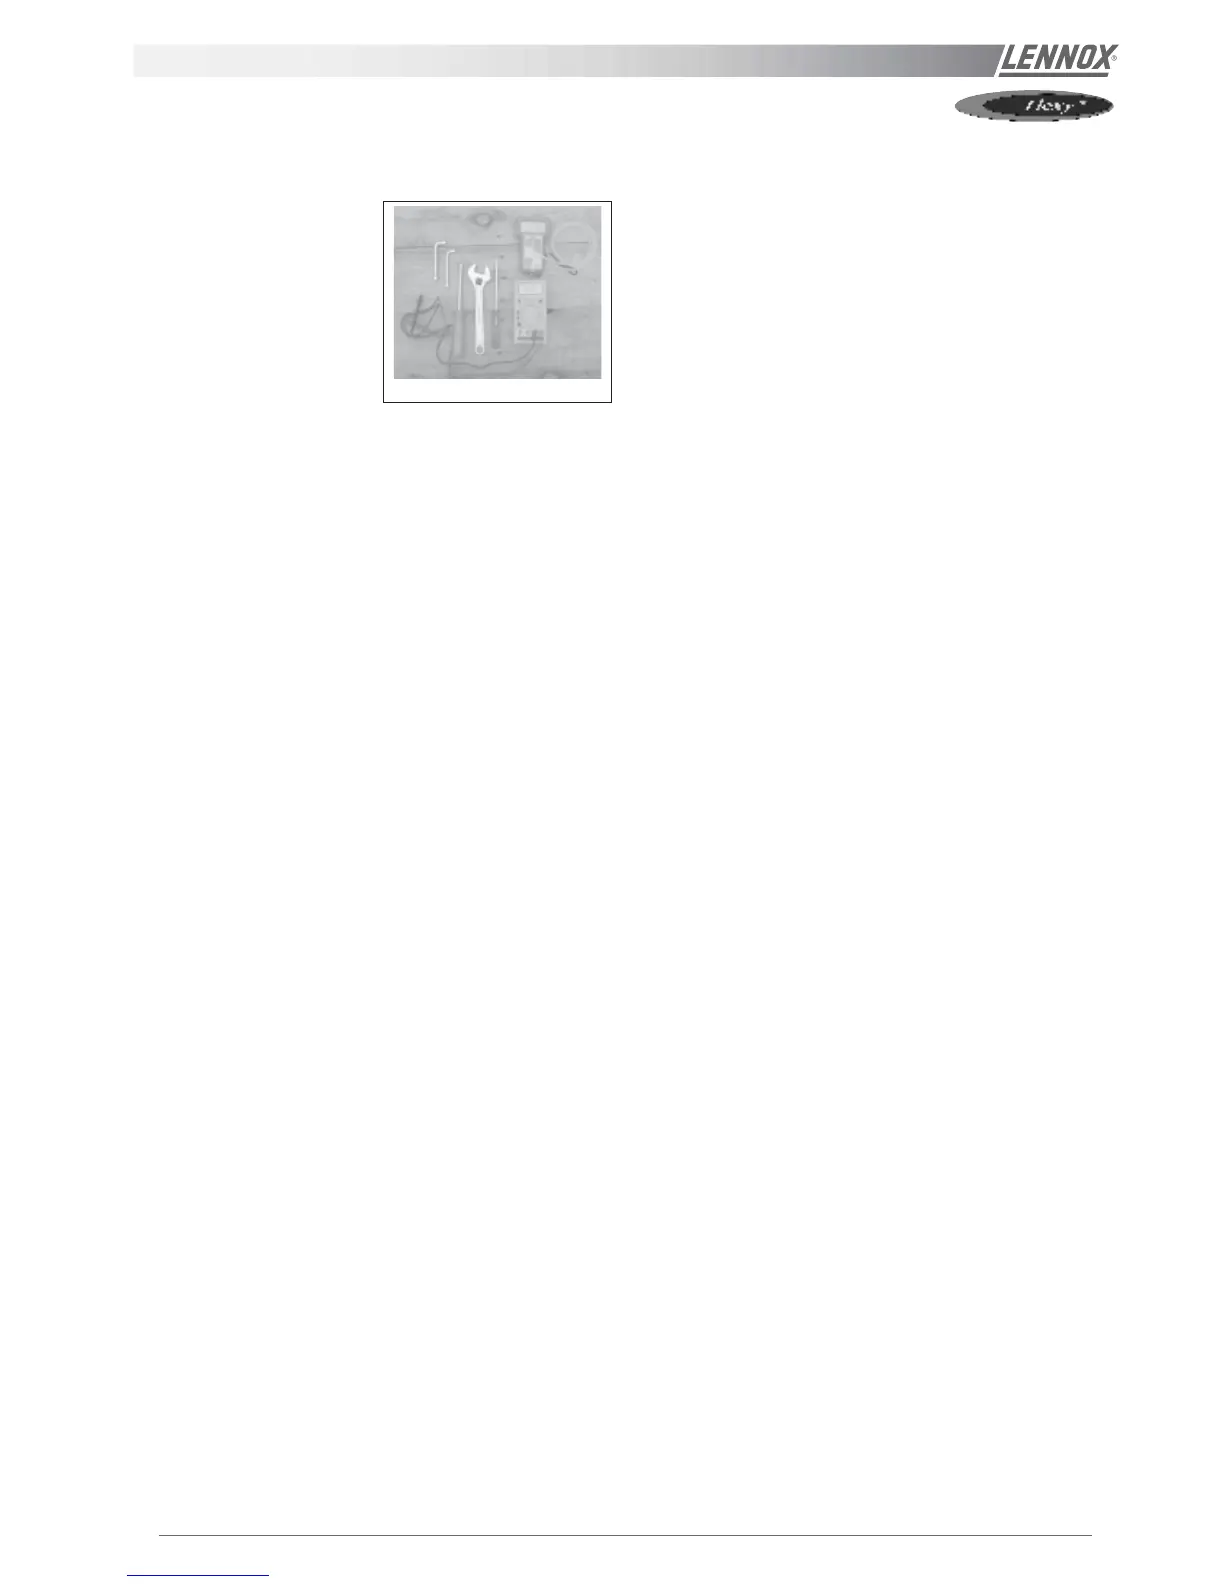
7. REQUIRE EQUIPMENT LIST
6.1 Adjustment ans
start-up
- An accurate manometer
from 0 to 3500 Pa (0 to
350 mbar) : 0.1% full
scale.
Example Ref :
DRUCK DPI 705
19, rue Maurice Pellerin
92600 Asnières.
Tel +33 1 41 32 34 64.
Fax: +33 1 47 93 00 48
- A multimeter with ohmmeter and micro-amps scale
(ionisation)
- Adjustable spanner
· Tube spanner Set : 8, 9, 10, and 13.
- 1 Flat screwdriver diameter 3,4, Fillips n°1
6.2 Maintenance
- Vacuum cleaner
- Paint brush / nylon brush diameter 50
8. CHANGING GAS TYPE
8.1 Modification of the gas burner to run propane
instead of natural gas
- Disconnect electrically the GAS burner
- Disconnect GAS supply
- Remove the gas rail with the injectors
- Replace GAS Injectors (natural GAS = 2,3 mm by
Propane = 1,37 mm)
- Replace the pilot high/how (natural GAS reference
V4336A 2204 1) by the propane version (yellow
reference V4336A 2212 1).
- BE CAREFULL : DO NOT REPLACE THE PILOT SEAL,
keep the seal from the natural gas installation.
8.2 Modification of the pressure regulator (if
option 148 mbar)
- Replace the pressure regulator of neutral colour with a
YELLOW spring
- Start again all pressure adjustments (§4)
9. REGULAR MAINTENANCE
9.1 Preliminary safety recommendations
- Isolate the unit electrically
- Isolate the gas burner using the appropriate shut-off
valves
9.2 Cleaning the components
- Disconnect the gas burner electrically
- Disassemble the gas pipe-work.
- Disassemble the gas burner and remove dust using a
paintbrush and a vacuum cleaner.
9.3 Sweeping
- Disassemble the gas burner (refer to previous
paragraph)
- Disassemble the exhaust extraction fan.
- Disassemble the exhaust box
- Sweep the inside of the box using a paintbrush and a
vacuum cleaner.
- Remove the dust inside the heat exchanger tube using a
nylon brush diameter 50 and vacuum the dust away.
Figure 62