Page 32
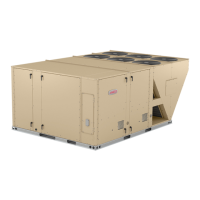
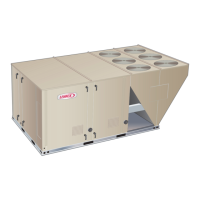
II-PLACEMENT AND INSTALLATION
Make sure the unit is installed in accordance with the in-
stallation instructions and all applicable codes. See acces-
sories section for conditions requiring use of the optional
roof mounting frame (T1CURB-AN or C1CURB-AN).
III-START UP - OPERATION
A-Preliminary and Seasonal Checks
1 - Make sure the unit is installed in accordance with
the installation instructions and applicable codes.
2 -
installed for loose connections. Tighten as required.
Refer to unit diagram located on inside of unit
compressor access panel.
3 - Check to ensure that refrigerant lines are in good
condition and do not rub against the cabinet or
other refrigerant lines.
4 - Check voltage at the disconnect switch. Voltage
must be within the range listed on the nameplate.
If not, consult the power company and have the
voltage corrected before starting the unit.
Recheck voltage and amp draw with unit running. If
voltage is not within range listed on unit nameplate,
stop unit and consult power company. Refer to unit
nameplate for maximum rated load amps.
B-Heating Start up
FOR YOUR SAFETY READ BEFORE LIGHTING
BEFORE LIGHTING smell all around the appliance area
WARNING
Electric shock hazard. Can cause injury
or death. Do not use this unit if any part
has been under water. Immediately call a
qualied service technician to inspect the
unit and to replace any part of the control
system and any gas control which has
been under water.
WARNING
Danger of explosion. Can cause injury
or product or property damage. If
overheating occurs or if gas supply
fails to shut o, shut o the manual gas
valve to the appliance before shutting o
electrical supply.
CAUTION
SMOKE POTENTIAL
The heat exchanger in this unit could be a source
of smoke on initial ring. Take precautions with
respect to building occupants and property. Vent
initial supply air outside when possible.
The gas valve may be equipped with either a gas control
lever or gas control knob. Use only your hand to push the
lever or turn the gas control knob. Never use tools. If the
the lever will not move or the knob will not push in or turn
or explosion.
This unit is equipped with an automatic spark ignition sys-
tem. There is no pilot. In case of a safety shutdown, move
thermostat switch to OFF and return the thermostat switch
to HEAT to reset ignition control.
WARNING
Danger of explosion. Can cause injury or
death. Do not attempt to light manually.
Unit has a direct spark ignition system.
Gas Valve Operation (gure 23)
1 - Set thermostat to lowest setting.
2 -
3 - This appliance is equipped with an ignition device(s)
which automatically lights the burner. Do not try to
light the burner by hand.
4 - Open or remove the heat section access panel.
Move gas valve switch(es) to OFF
6 -
then smell gas, STOP! Immediately call your gas
supplier from a neighbor’s phone. Follow the gas
supplier’s instructions. If you do not smell gas, go
to the next step.
7 -
8 - Close or replace the control access panel.
9 - Turn on all electrical power to appliance.
10 - Set thermostat to desired setting.
NOTE - When unit is initially started, steps 1 through
9 may need to be repeated to purge air from gas
line.
11 - The ignition sequence will start.
12 -
not fully purged), it will attempt up to two more
ignitions before locking out.
13 - If lockout occurs, repeat steps 1 through 10.
14 - If the appliance will not operate, follow the
your service technician or gas supplier.
 Loading...