Hot-swap drive replacement
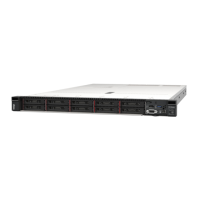
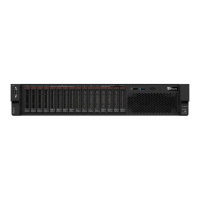
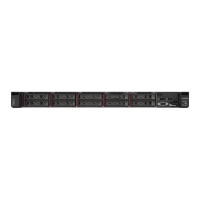
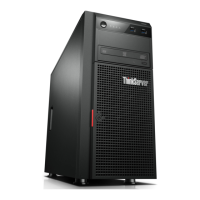
Follow these instructions to replace a front HDD/SSD in theThinkAgile HX1321, and HX3321 Series server.
Each ThinkAgile HX1321, and HX3321 Series server supports solid-state-drives (SSDs) and hard-disk-drives
(HDDs).
As user data are striped across these drives, they are referred to as data drives. While a node might be able
to self-correct for a data drive failure, it does lead to system degradation. To prevent this, always replace
failed data drives as soon as possible.
Following are the indications of a failed front HDD/SSD:
• The Nutanix Prism Web console shows a disk alert.
• The amber LED on the node front panel is illuminated.
Remove a hot-swap drive
Use this information to remove a hot-swap drive.
“Read the
installation
Guidelines” on
page 43
“ATTENTION:
Static Sensitive Device
Ground package before opening”
on page 45
Attention: To ensure that there is adequate system cooling, do not operate the server for more than two
minutes without either a drive or a drive filler installed in each bay.
To remove a hot-swap drive, complete the following steps:
Step 1. Identify the failed drive to be replaced using the procedure
Data Drive Failure in Hardware
Replacement Documentation
.
Step 2. Remove the hot-swap drive.
a. Slide the release latch to open the drive tray handle.
Figure 18. Opening the drive tray handle of a 3.5-inch hot-swap drive
b. Grasp the handle and slide the drive out of the drive bay.
Chapter 8. Hardware replacement procedures 47

 Loading...


