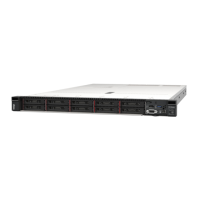
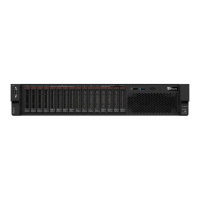
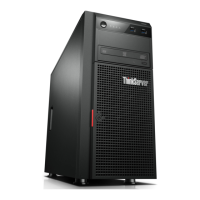
Figure 19. 3.5-inch hot-swap drive removal
After removing a hot-swap drive:
1. Install the drive filler or a new drive to cover the drive bay. See “Install a hot-swap drive” on page 48.
2. If you are instructed to return the old hot-swap drive, follow all packaging instructions and use any
packaging materials that are provided.
Install a hot-swap drive
Use this information to install a hot-swap drive.
“Read the
installation
Guidelines” on
page 43
“ATTENTION:
Static Sensitive Device
Ground package before opening”
on page 45
Before installing a hot-swap drive:
1. If the drive bay has a drive filler installed, pinch the two tabs to remove the drive filler. Keep the drive filler
in a safe place.
Figure 20. 3.5-inch drive filler removal
2. Touch the static-protective package that contains the new drive to any unpainted surface on the outside
of the server. Then, take the new drive out of the package and place it on a static-protective surface.
48
User Guide for ThinkAgile HX1321 Node ThinkAgile HX3321 Node

 Loading...


