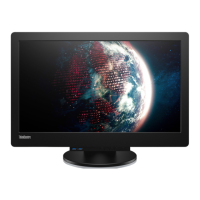
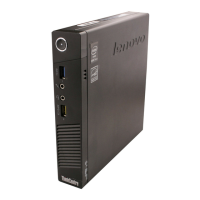
Note: Have your monitor powered on for about 15 minutes, until the monitor warms
up.
1.Press at the bottom of the monitor to open the OSD menu.
2.Use or to select and press to access.
3.Use or to select Clock and Phase adjustment.
● Clock (pixel frequency) adjusts the number of pixels scanned by one
Horizontal sweep. If the frequency is not correct, the screen shows vertical
Stripes and the picture does not have the correct width.
● Phase adjusts the phase of the pixel clock signal. With a wrong phase
adjustment, the picture has horizontal disturbances in light picture.
4.When the image no longer looks distorted, save the Clock and Phase adjustments.
5.Press to leave the OSD menu.
Manually installing the monitor driver
Below are steps for manually installing the monitor driver in Microsoft
®
Windows 7,
Microsoft Windows 8, Microsoft Windows 8.1 and Microsoft Windows 10.
Installing the monitor driver in Windows 7
To use the Plug and Play feature in Microsoft Windows 7, do the following:
Note: You must download file from the Reference and Driver CD to use the Plug and
Play feature in Windows 7.
1. Turn off the computer and all attached devices.
2. Ensure that the monitor is connected correctly.
3. Turn on the monitor and then turn on the computer. Allow your computer to
boot into Windows 7 operating system.
4. Open the Display Properties window by clicking Start, Control Panel and
then click the Hardware and Sound icon.
5. Click the Display icon.
6. Click the Adjust Resolution button.
7. Click the Advanced Settings button.
8. Click the Monitor tab.
9. Click the Properties button.
10. Click the Driver tab.
11. Open the "Update Driver Software-Generic PnP Monitor" window by clicking on
Update Driver and then click the "Browse my computer for driver software" button.
12. Select “Let me pick from a list of device drivers on my computer”.
13. Insert the Lenovo Monitor CD into the CD drive and click the Have Disk button.
14. Click on the Browse button and navigate to the following directory:
X:\Monitor Drivers\ (where X is the drive letter designator for the CD-ROM drive).
15.
Select the “TinyinOne24.inf”file and click the Open button. Click the OK button.
16.
Select ThinkCentre Tiny-in-One 24 and click Next. The files will be copied
from the CD to your hard disk drive.
17. Close all open windows and remove the CD.
18. Restart the computer.
24 ThinkCentre Tiny-in-One 24 User Guide

 Loading...
