Fel! Använd fliken Start om du vill tillämpa 見出し 1 för texten som ska visas här.
34
6. FUNCTIONS
The following table shows the setting items and their default values.
SETTING ITEM DEFAULT VALUE SETTING ITEM DEFAULT VALUE
Printed material MAX tube Sequence No setting
Size of printed material No setting Justification CENTER
Character size AUTO: ON (TAPE:3mm) 6, 9 mark (6_ 9_)
Character width STANDARD Printing density 4
Character space STD Cutting position 0.0mm
Line space STD Printing alignment 0mm
Pitch length
TAPE: 10.0 mm LCD brightness 4
TUBE: 20.0 mm Auto power-off YES
Pitch cut
TAPE: LINE Position of printing line 0
TUBE: HALF-CUTTING
Printing style of
[RPT]&[SEQ]
A: 11,22,33
Vertical or horizontal HORIZONTAL
Frame NO Feed the head of tube YES
Printing length AUTO Low temp mode NO
Margin 2 mm each LCD backlight LIGHT
Repeat
TAPE: 1
TUBE: 2
Note: ● By pressing SHIFT → BS (INIT.) in [INPUT screen], all of setting items can be
returned to the default values.
● The italic characters show that these setting items are unable to return to the default
value by initializing.
6-1 SIZE
Setting the “CHARCTER SIZE” of the line at the cursor position.
The size can be set in each line. But, the different sizes cannot be set in the same line of
the same block.
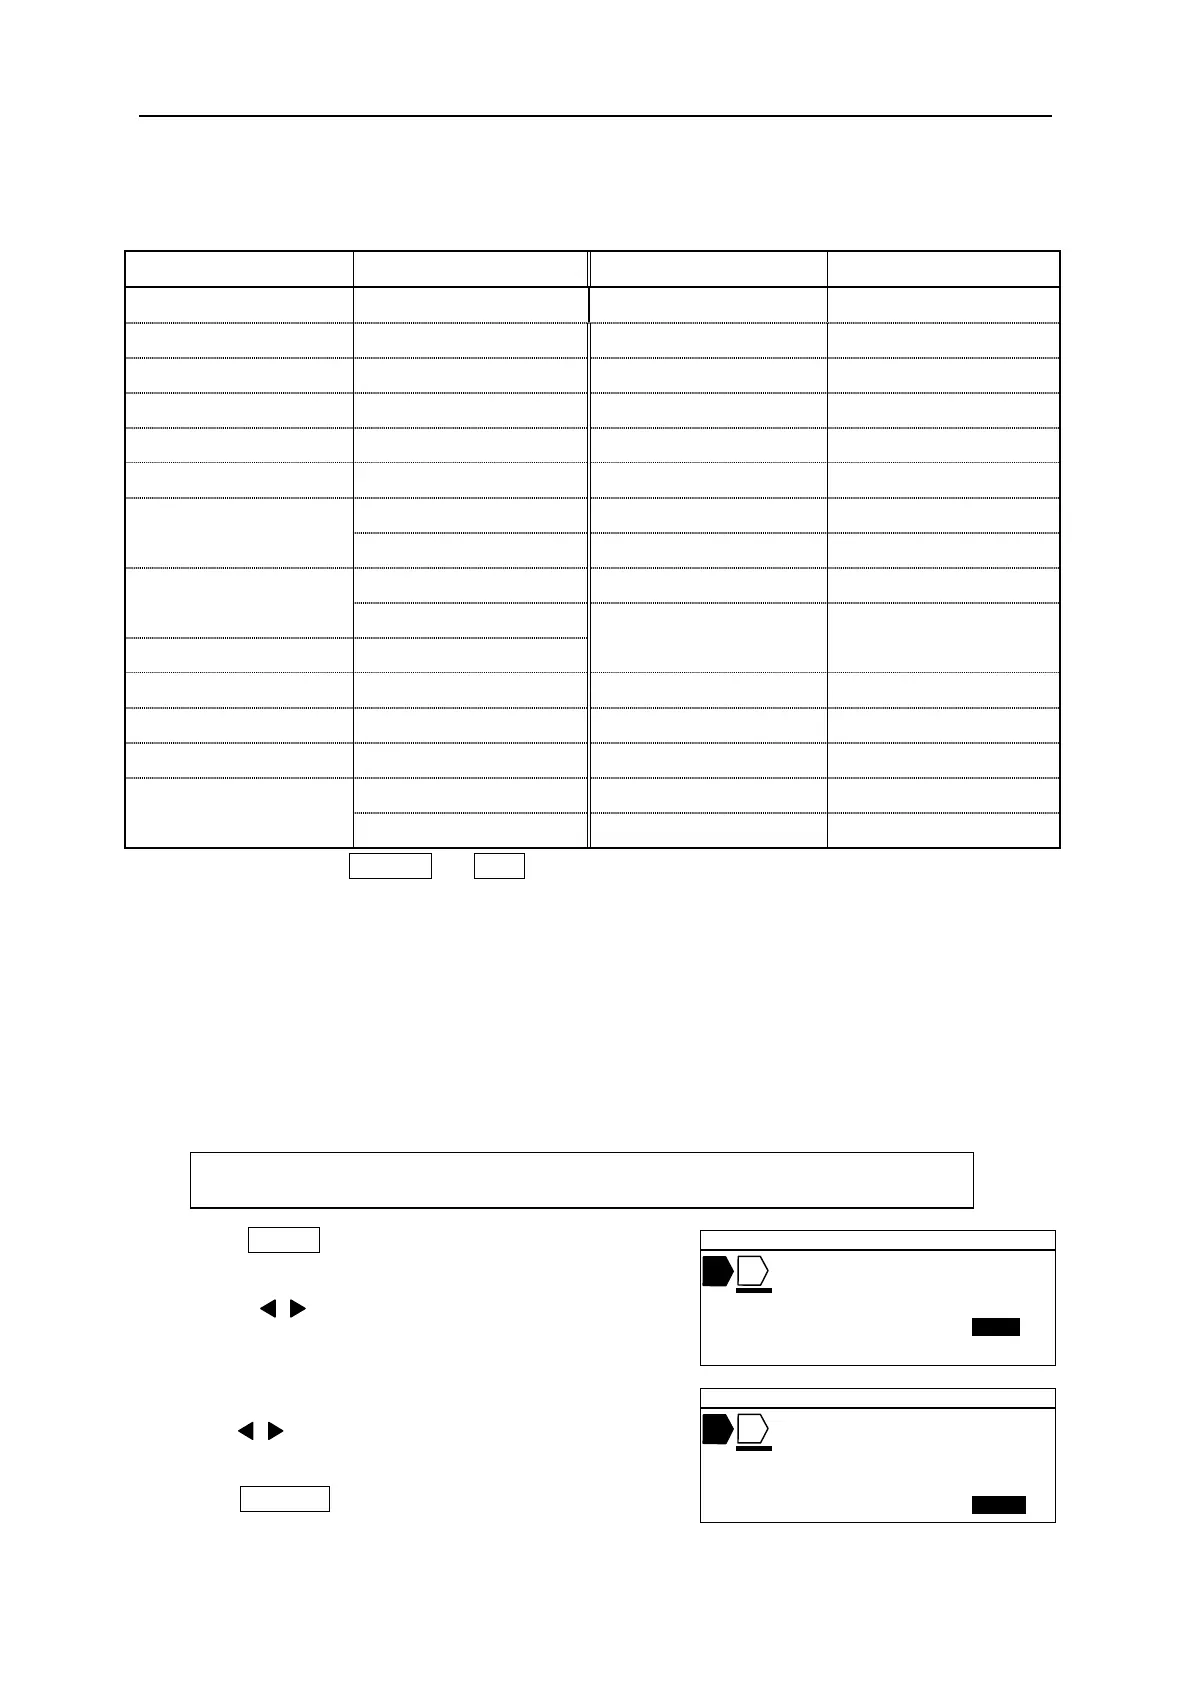
1. Press SIZE . The [CHARACTER SIZE setting
screen] appears.
2. Press / key to select the value of the
“CHARACTER SIZE.”
3. Press ▼ key to move the cursor to “AUTO.”
Press / key to select “OFF.”
4. Press ENTER .
Selectable items: “SIZE” = 2.0, 3.0, 4.0, 6.0 “AUTO” = ON, OFF
▲ 2 0 .0 C U T 0 0 1
A B C
C H A R A C T E R
S I Z E = 4 .0 m m
A U T O = O N
▲ 2 0 .0 C U T 0 0 1
A B C
C H A R A C T E R
S I Z E = 4 .0 m m
A U T O = O F F
 Loading...