13
4.1.5 Direct Connection
When a PC is directly connected to a VerifEye
®
meter via an Ethernet cable,
no DHCP service exists. This conguration can be made to work, but requires
changes to either the meter communication settings or the PC network
conguration.
LCD Display
For units equipped with an LCD display, navigate to Communications >
Ethernet Settings > DHCP > OFF.
Change the IP address in the meter to match the subnet of your PC’s IP
address, which makes the meter's IP address unique. You can also note the
current address on the meter and prepare to congure your PC’s IP settings
as shown below.
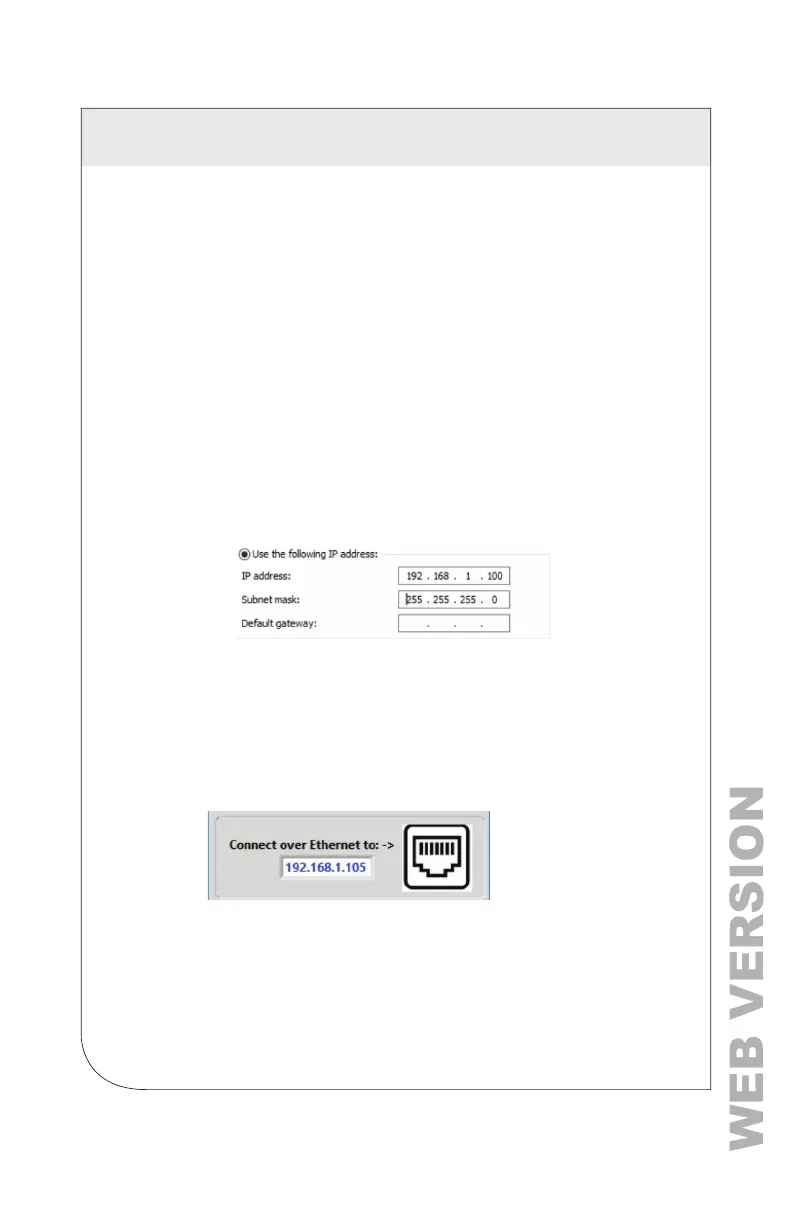
Go to PC's Control Panel
> Network and Sharing Center
> Change Adapter Settings
> Properties
> Internet Protocol Version 4 (TCP/IPv4)
> Properties
Change Computer IP Address and Subnet Mask to 192.168.1.100 and
255.255.255.000 respectively.
Once the PC and VerifEye
®
meter are set to communicate on the same IP
subnet:
1. Launch the Power Meter Viewer Utilities application and enter the IP
address of the meter (shown as the factory default).
2. Select [Connect over Ethernet to:] in the pop-up window.
The meter starts to communicate.
For more information on conguring the meter, see the Power Meter Viewer
Utilities overview section.
No LCD Display
If the IP address of the meter is set to static, a VerifEye
®
meter without a
display can only communicate directly with a PC over Ethernet. You must set
the IP address prior to using another interface, such as USB or serial.
4 METER CONFIGURATION