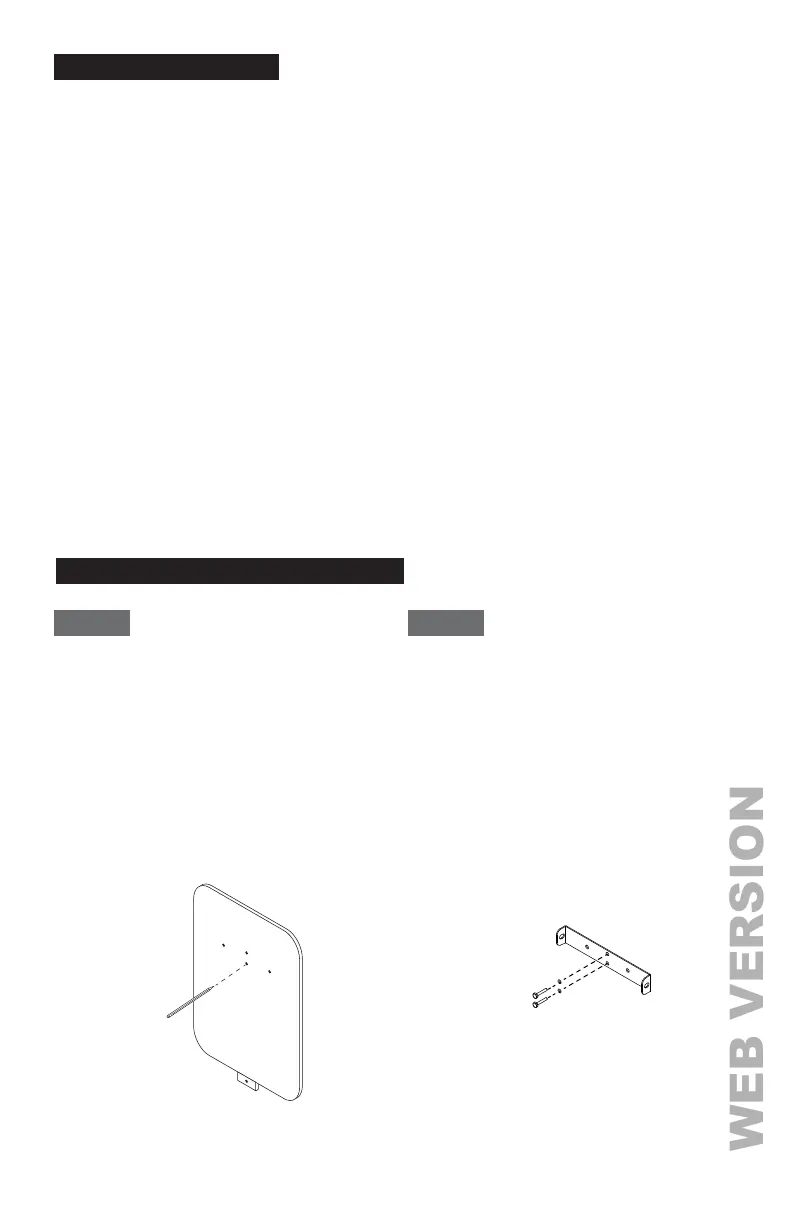
INSTALLING THE CHARGING STATION
STEP 1 STEP 2
Use the supplied template to drill bolt holes in the
wall for the mounting bracket and the optional
cable hanger (not supplied).
NOTE: Follow applicable accessibility requirements
for the mounting position. The unit shall be mounted
at a sufficient height from grade such that the height
of the storage means is located between 24 inches
(600 mm) and 4 feet (1.2 m) from grade per NEC
Article 625.
• For masonry walls use 1/4 in. expansion bolts and
torque to 78 lb·in (8.8 N·m).
• For finished walls supported by wood studs use #8
wood screws of 2 in. or above screw length and
torque to 26 lb·in (3 N·m).
Secure the mounting bracket and optional cable
hanger
(not supplied)
bracket to the wall with
appropriate bolts as follows:
3
RECOMMENDED TOOLS
• Supplied accessories and components:
- Mounting bracket
- Mounting template
- Torx T30 bolts (x2) for securing the Charging Station to the mounting bracket
- 1/4 inch expansion bolts (x3)
- No. 8 wood screws (x3)
- Terminal crimps (x3)
• Installer-supplied components:
- Conduit of appropriate trade size for power wire
• Recommended tools:
- Torx T30 screw driver
- Torx T20 screw driver
- Phillips #2 screw driver
- Flathead slotted #5 screw driver
- Terminal crimper
The following tools are recommended for Charging Station installation:
UP
UP
www.leviton.com/evrgreen