MPX G2 Service Manual
4-26
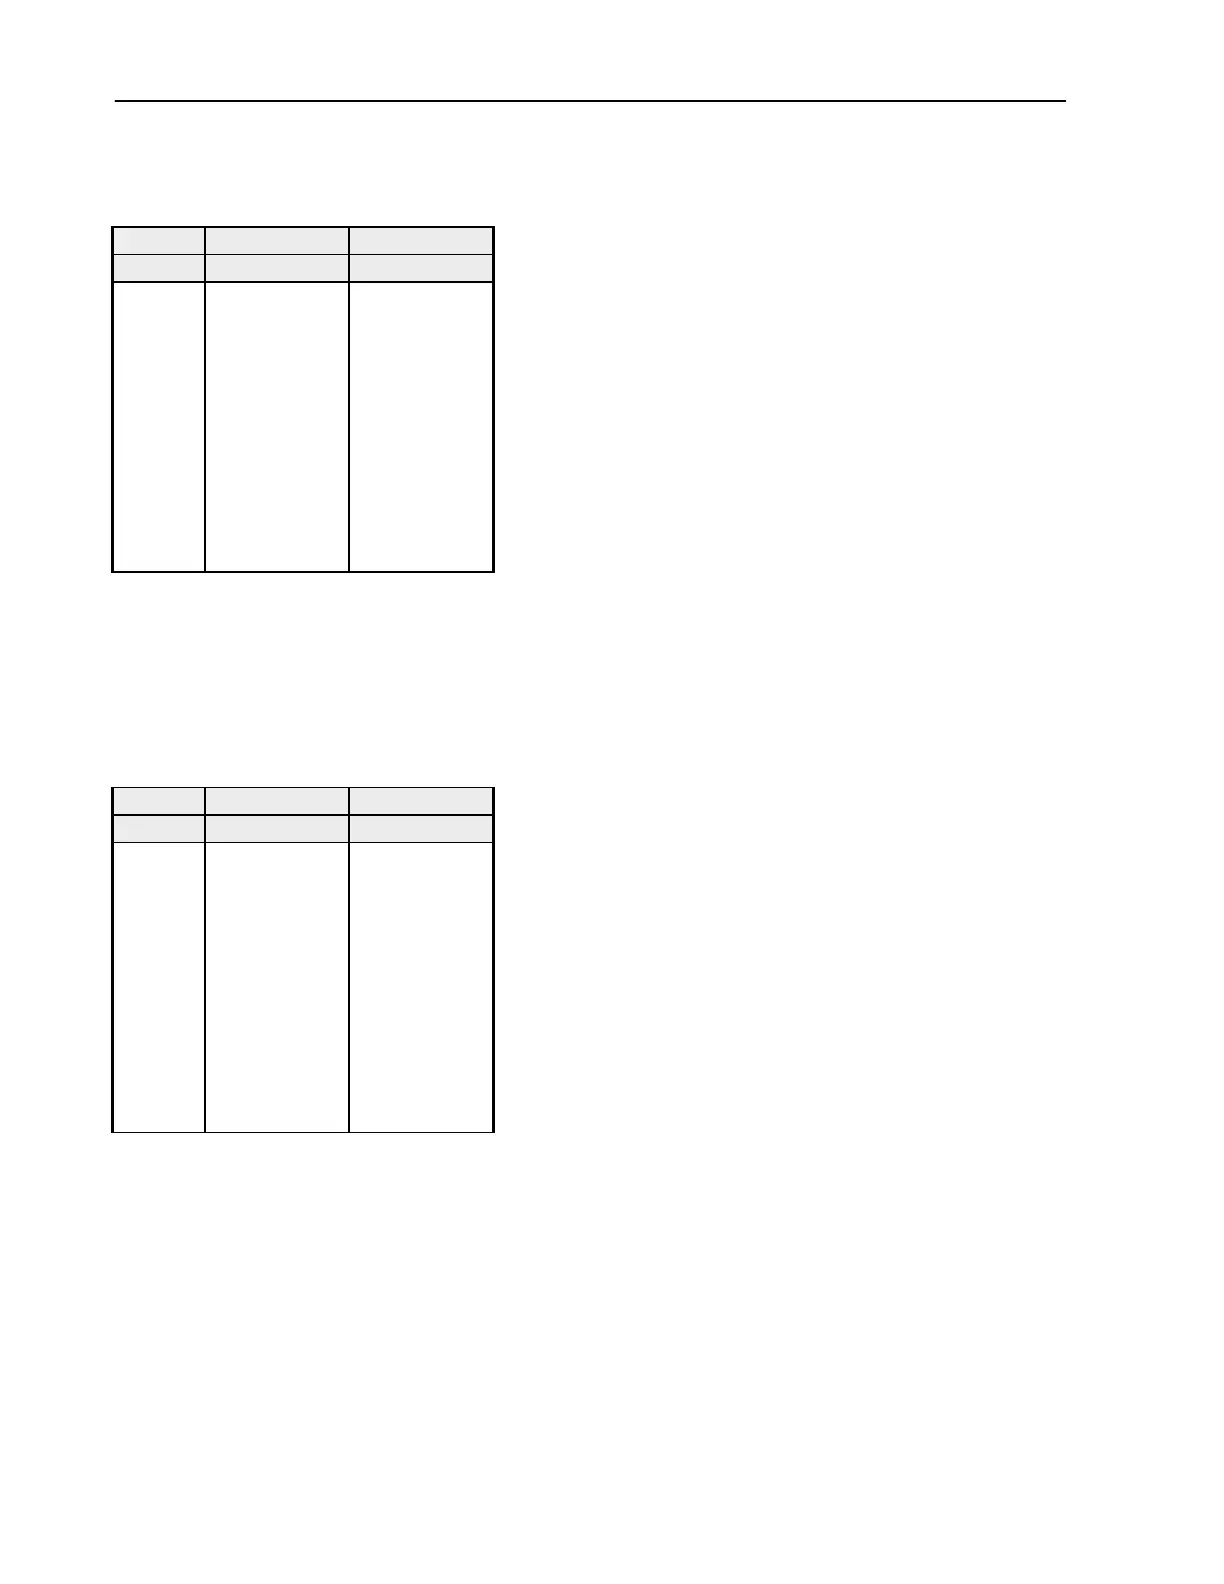
5. Verify the output level reading is between at the following frequency settings.
Freq. Upper Lower
Hz (Vrms) dBu (Vrms) dBu
20,000 (.020) -32.55 (.010) -35.67
16,000 (.045) -24.76 (.030) -28.88
12,000 (.15) -14.98 (.085) -19.10
10,000 (.25) -9.41 (.015) -13.53
4,000 (.75) -0.31 (.50) -4.43
2,000 (.80) 0.22 (.50) -3.90
997 (1.0) 2.06 (.60) -2.06
250 (1.8) 7.07 (1.1) 2.95
100 (3.4) 12.94 (2.1) 8.82
60 (.70) -1.09 (.40) -5.21
20 (.055) -22.92 (.040) -27.04
Frequency Response Measurement set at 8.0 K:
1. Turn the knob CW to set the SFreq to 8.0k.
2. Disable all Filters on the Distortion Analyzer.
3. Apply a 1kHz-sinewave signal at -17dBu (109 mVRMS).
4. Set the Analyzer for a 0dB reference.
5. Verify the output level reading is between at the following frequency settings.
Freq. Upper Lower
Hz (Vrms) dBu (Vrms) dBu
20,000 (.025) -29.76 (.015) -33.88
16,000 (.065) -21.68 (.040) -25.80
12,000 (.20) -11.91 (.10) -16.03
10,000 (.40) -6.38 (.20) -10.50
4,000 (1.8) 2.45 (.65) -1.67
2,000 (1.0) 2.14 (.60) -1.98
997 (1.0) 2.06 (.60) -2.06
250 (1.2) 3.46 (.70) -0.66
100 (2.1) 8.75 (1.3) 4.63
60 (.40) -5.31 (.25) -9.43
20 (.035) -27.13 (.020) -31.25
Inputs to Outputs Post DSP:
This test will verify the Input to Outputs with Post DSP. The following parameters must be set up before
testing.
Setup:
1. On the front panel of the MPX G2 set the Low, Mid, and High Gain pots to 0.
2. Press the System button until the display reads: System Select Development.
3. Press the Yes button once. The display reads: Devel Split. Verify that it is set to Off 0.
4. Press the Yes button once. The display reads: Devel DSP Bypass On 1. Turn the Knob CW to set it to
Byp 0.
5. Press the Yes button once. The display reads: Devel Sum. Verify that it is set to Off 0.
6. Press the Yes button once. The display reads: Devel DSP R Sw. Turn the Knob CCW to set it to
Nrm10.