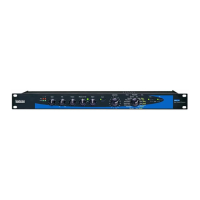
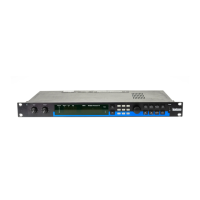
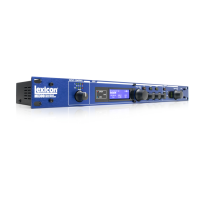
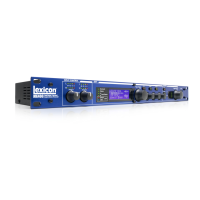
MPX G2 Service Manual
5-2
Test Descriptions:
FPGA Test:
This test verifies that the address and data lines are functional. If this test passes, the DONE signal line on
U85 pin 55 will go high causing RESET1/ signal to go high allowing the Z80 (U90) to boot.
In the event of a failure, the CPU will not be able to display any messages. The MPX G2 will not function
and service will be needed.
Z80 CPU Test:
This test checks for stuck CPU register bits. The Z80 (U90) passes a value through its internal registers,
then reads the value back to verify the data sent matches the data it received. In the event of a failure, the
CPU will not be able to display any messages. The MPX G2 will not function and service will be needed.
1 ROM Checksum Test:
The ROM Checksum, which is a byte size value, is located in the last location of Bank 0. The test adds the
entire ROM (U93) including the Checksum byte, expecting 0 as the result.
Before the test is executed, a 1 is displayed in the rightmost 7-segment display on the MPX G2.
If a failure occurs, a E is then displayed in the leftmost 7-segment display along with the 1 on the MPX G2
indicating an Error E 1 has occurred.
If an error occurs, there are two options:
Press the Program Button on the front panel to continue the Power On Diagnostics sequence.
or
Press the Store Button, which will start a walking 1’s pattern that is applied to the Address and Data
busses of the CPU to help in troubleshooting the problem.
2 Stack RAM Test:
This test checks a portion of the volatile area of the Z80 SRAM (U89) (address 6000-67FF). It verifies that
this portion of the SRAM is available as a temporary storage location for diagnostic tests.
Before the test is executed, a 2 is displayed in the rightmost 7-segment display on the MPX G2.
If a failure occurs, E is then displayed in the leftmost 7-segment display along with the 2, indicating an Error
E 2 has occurred.
At this time you will have the option to press the Program Button on the front panel to continue the Power
On Diagnostics sequence`
3 ADSP2186 Test:
This test verifies that the Lexichip Crystal Oscillator Y1 is working. It does this by reading the generated
frequencies and making sure they are within tolerance (22.1MHz - 23.1MHz).
Before the test is executed, a 3 is displayed in the rightmost 7-segment display on the MPX G2. If a failure
occurs, an E is then displayed in the leftmost 7-segment display along with the 3 on the MPX G2, indicating
an Error E 3 has occurred.
If an error occurs, there are two options:
Press the Program Button on the front panel to continue the Power On Diagnostics sequence.
or