Actions Yes No
Step 1
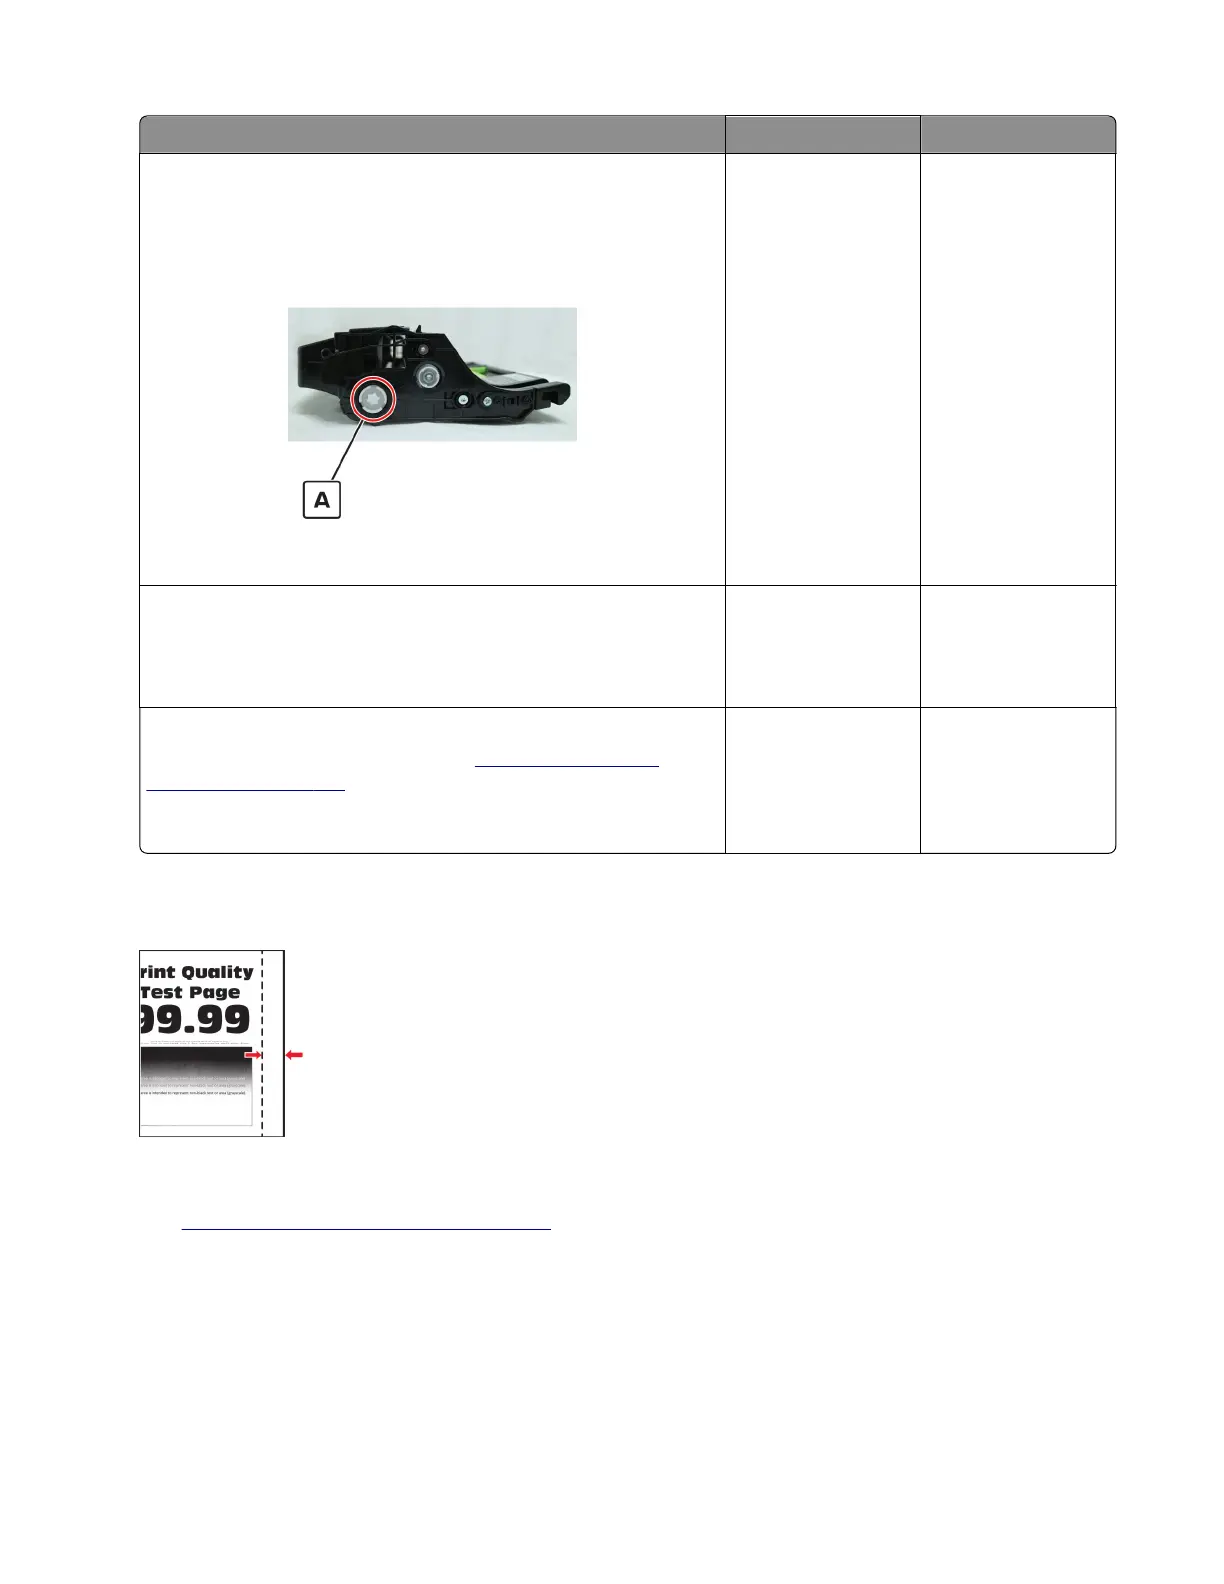
Remove the imaging unit, and then inspect the white
photoconductor coupler (A). The coupler should be firmly
connected to the imaging unit and should not freely rotate.
Does the coupler move freely or appear damaged?
Go to step 2. Go to step 3.
Step 2
Replace the imaging unit.
Does the problem remain?
Go to step 3. The problem is
solved.
Step 3
Replace the main drive gearbox. See
“Main drive gearbox
removal” on page 178.
Does the problem remain?
Contact the next
level of support.
The problem is
solved.
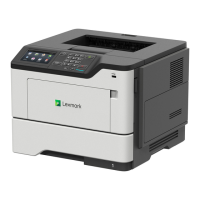
Incorrect margins on prints check
Note: Before performing this print quality check, go to the control panel home screen and navigate to
Settings > Troubleshooting > Print Quality Test Pages, and then perform the Initial print quality check.
See
“Initial print quality check” on page 26.
4600-830, -835, -895
Diagnostics and troubleshooting
62