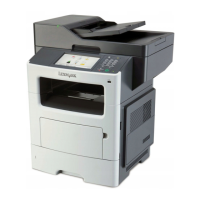
3 Turn the printer on its side (left side down), then remove the three screws (A) from the left guide.
4 Remove the left guide.
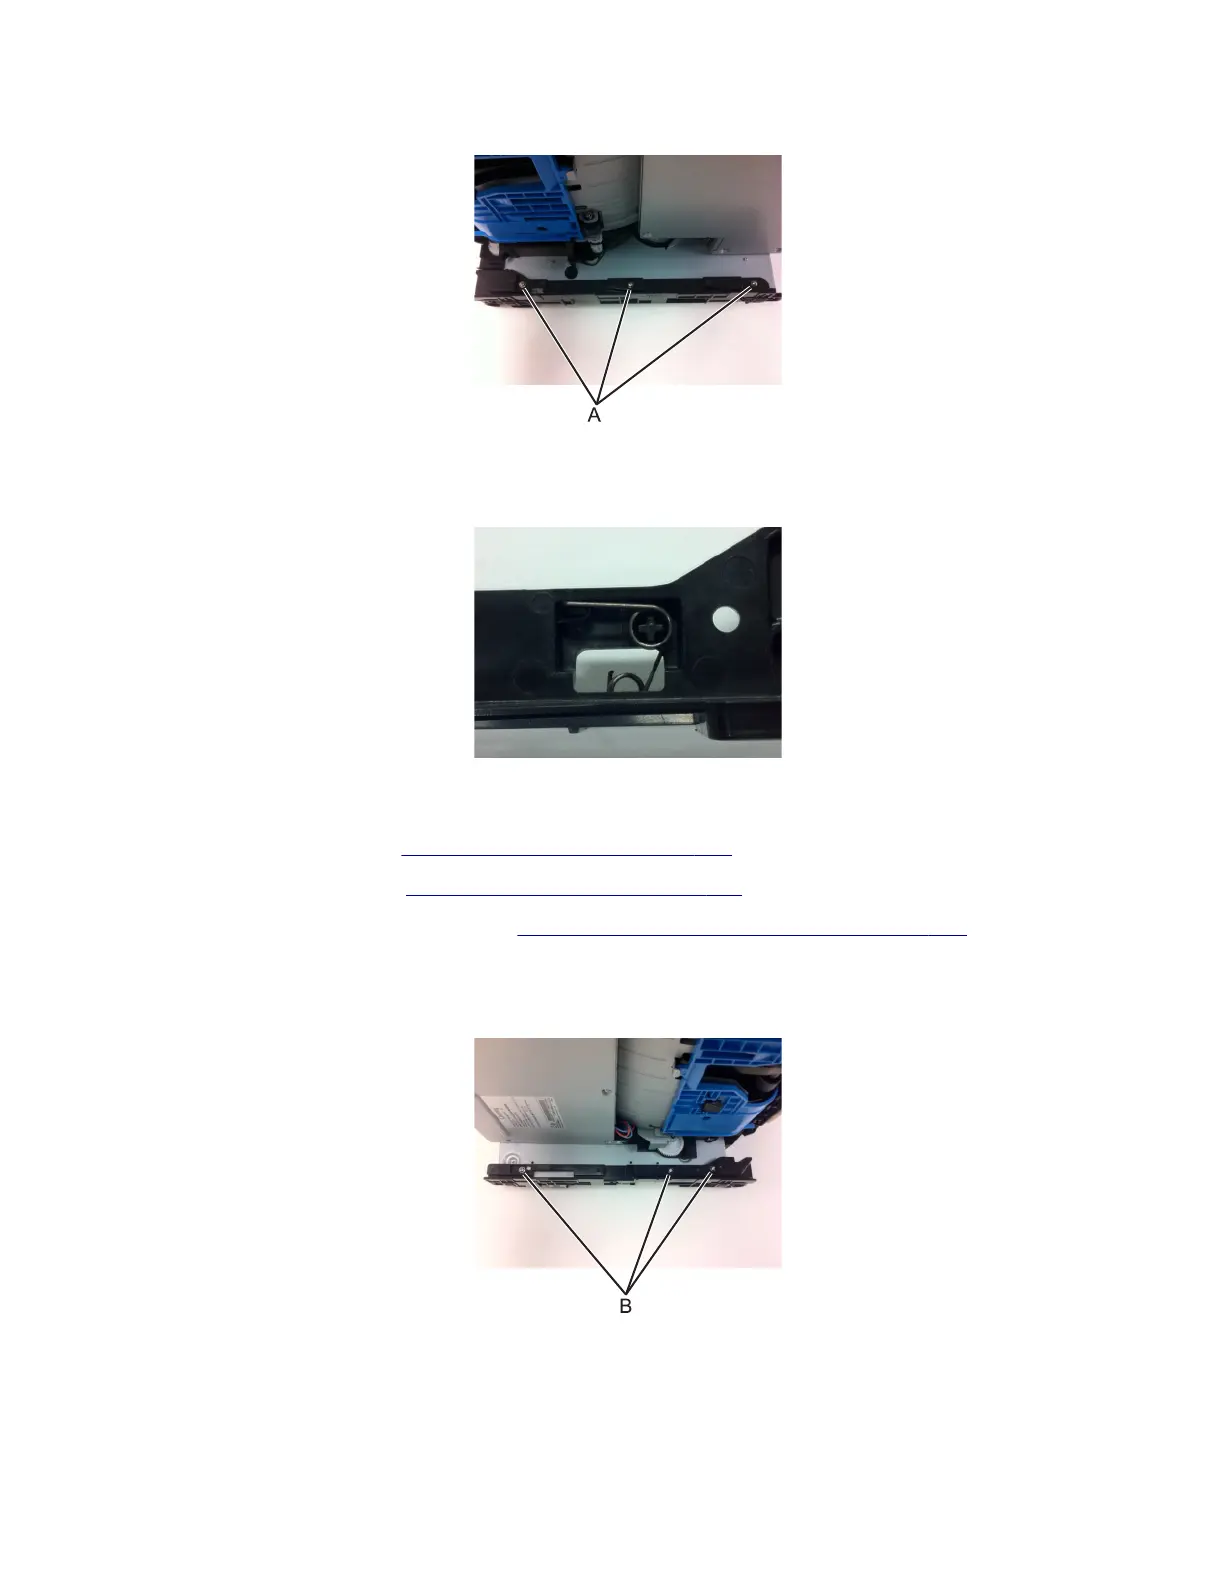
Installation note: When re‑installing the guide, insert the spring as shown.
Right guide
1 Remove the rear cover. See “Rear cover removal” on page 343.
2 Remove the right cover. See “Right cover removal” on page 277.
3 Remove the controller board shield. See “Controller board shield removal” on page 284.
4 Disconnect the option cable (JOPT1) from the controller board.
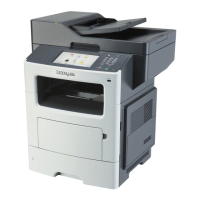
5 Turn the printer on its side (right side down), then remove the three screws (B) from the right guide.
6 Remove the guide from the frame.
7016
Repair information
340