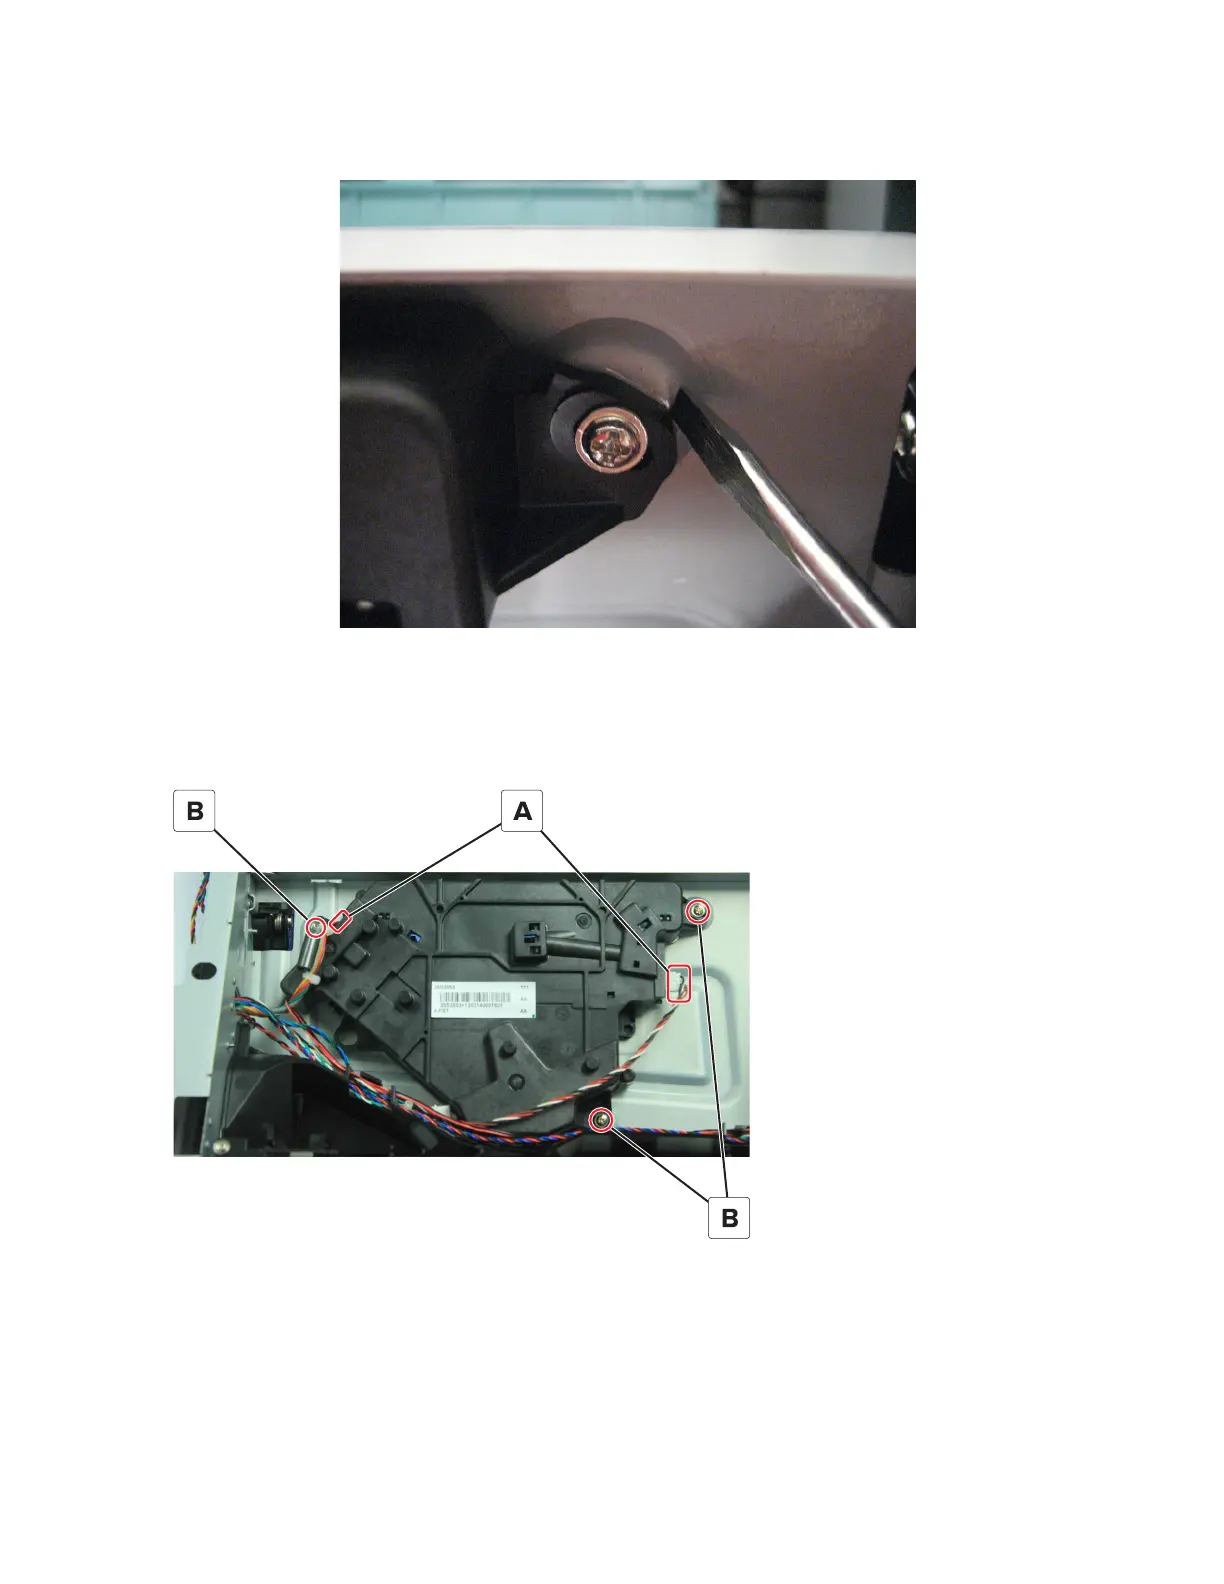
4 Before loosening the screws securing the LSU, use a sharp pencil or a small, flat-blade screwdriver to mark
the location of the LSU on the printer frame. This will be helpful in positioning the new LSU.
5 Remove the LSU.
The color and location of the cables as well as the screws vary depending on the type of LSU that the printer
supports.
• For the Galvo LSU, disconnect the two cables (A), and then remove the three screws (B).
7016
Repair information
357
 Loading...