22
Attach cables
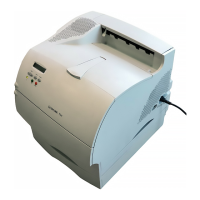
Step 7: Attach cables
CAUTION! Do not connect or
disconnect a communication
port, a teleport, or any other
connector during an electrical
storm.
The printer can be attached to a network or locally (directly to a
computer).
Setting up for
network printing
You can attach your printer to a network using standard network
cables.
Note: A 10BaseT/100BaseTX
Fast Ethernet port is standard
on the Lexmark T420n.
To attach the printer to a network:
1 Turn off the printer and unplug it.
2 Connect the printer to a LAN drop or hub using standard
cabling that is compatible with your network:
Ethernet 10BaseT/100 BaseTX networks (Category 5 Ethernet
cable with an RJ-45 connector)
The printer automatically adjusts itself for the network speed when
turned on.
Setting up for
local printing
You can attach your printer locally using either a USB port or a
parallel port.
 Loading...