E-7
_ Thoroughly clean the coupling housing
(11
L making certain
that
no
dirt
has
accumulated in the
crevices
of
the housing
(see
Figure 5-15).
E-S.
Carefully inspect all parts
for
excessive wear. Give particular
attention
to
the
following:
a.
The ends
of
each
rotor
(48/54) may
be
wearing against the inside surface
of
the
front
(44) and rear (60) end plates
or
against the center bearing (52). Inspect these surfaces
for
gouges
and wear
(see
Figure 5-S).
If
you observe scoring
or
wear, proceed
as
follows:
( 1 ) Replace the plate
that
is
scored.
(2) Check the rotors
for
burrs.
If
burrs
are
found,
sand
or
file
them smooth.
(3) Using calipers
or
micrometers, measure the length
of
each
rotor
(Dimension A
of
Figure 5-9).
If
the length dimension
of
either
rotor
is
less
than the dimen-
sion listed
for
your
pump model in Table
5-1
(on the
following
page), replace
that
rotor.
b.
The shaft rides in bronze bushings in the
front
(44)
and
rear (60) end plates
and
in the
center bearing (52) plate
(see
Figures 5-6, 5-8, and 5-9). Inspect the inside surface
of
these three bronze bushings
for
gouging
or
wear.
If
you observe deep gouging, replace the
gouged shaft
or
the plate containing the gouged bushing_
If
you
observe
minor
scratches
or
wear, proceed
as
follows:
(1) Using calipers
or
micrometers, measure the inside diameter (I D)
of
the bronze
bushing_
If
the
lOis
greater than the dimension listed
for
your
pump in
Table 5-1, replace the end plate
or
center bearing plate containing the worn
bushing.
(2) Using calipers, measure the outside diameter
(00)
of
the shaft at
each
area
of
wear.
If
the shaft
00
at any
point
of
wear
is
less
than the dimension listed
for
your
pump model in Table 5-1, replace the shaft.
c.
Three rectangular
vanes
(49/53)
fit
into
slots in
each
rotor
(48/54).
(See
Figures 5-7
and
5-8.) Using calipers
or
micrometers, measure the length and thickness dimension
of
each
vane.
If
either dimension
is
greater than the
maximum
or
less
than the
minimum
dimen-
sion listed
for
your
pump
model in Table 5-1, replace
that
vane.
If
a vane dimension
is
greater than the maximum,
it
is
the result
of
swelling due
to
chemical attack.
E-9. Using a paint brush, cover
all the
pump
parts with a light coat of the proper pump fluid. (see Section
5-A-1).
5-F REASSEMBLING
THE
PUMP
New
seals, gaskets, and O-rings and a new valve disk (67) and elastic element (36) should be used when
re-
assembling the pump. Use a new valve plate (50) only if wear is visible on the old valve plate. For extreme-corrosive
service pumps, new vanes
(49/53) and a new oil filter (35) are also used.
Wet the O-rings, gaskets, and seals with a
film of the proper pump fluid before installing. Make certain that all
0-
rings, gaskets, seals, and all pump parts are clean before reassembly.
F-1
CAUTION: IF
THE
PUMP ROTATES IN THE WRONG DIRECTION FOR TOO LONG, PUMP FLUID IS EJECTED
OUT
OF
THE INTAKE
TUBE
(1) AND THE VALVE DISK (67)
OR
THE
MOTOR
MAY
BE DAMAGED.
Ensure that the direction of rotation of the motor is correct as
follows:
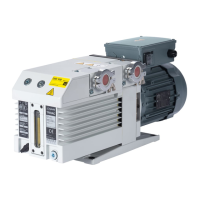
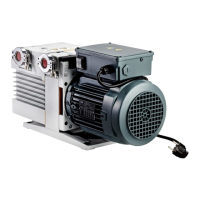
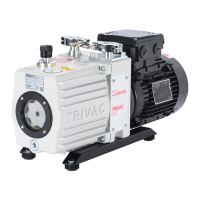
a.
Steps a(1) and a(2) are
for
the D30A pump models with single-phase motors and
for
all D2A, D4A,
DBA,
and D16A
pump
models:
See plate on motor for motor specifications.
TRIVAC "A" Manual, Edition L
29
 Loading...