9
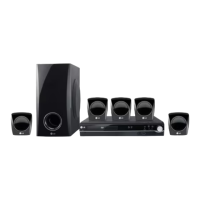
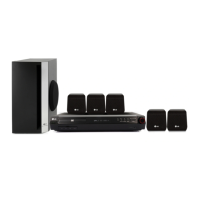
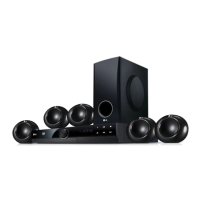
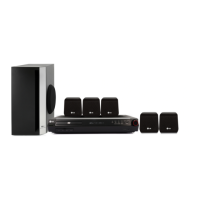
Installation and Setup
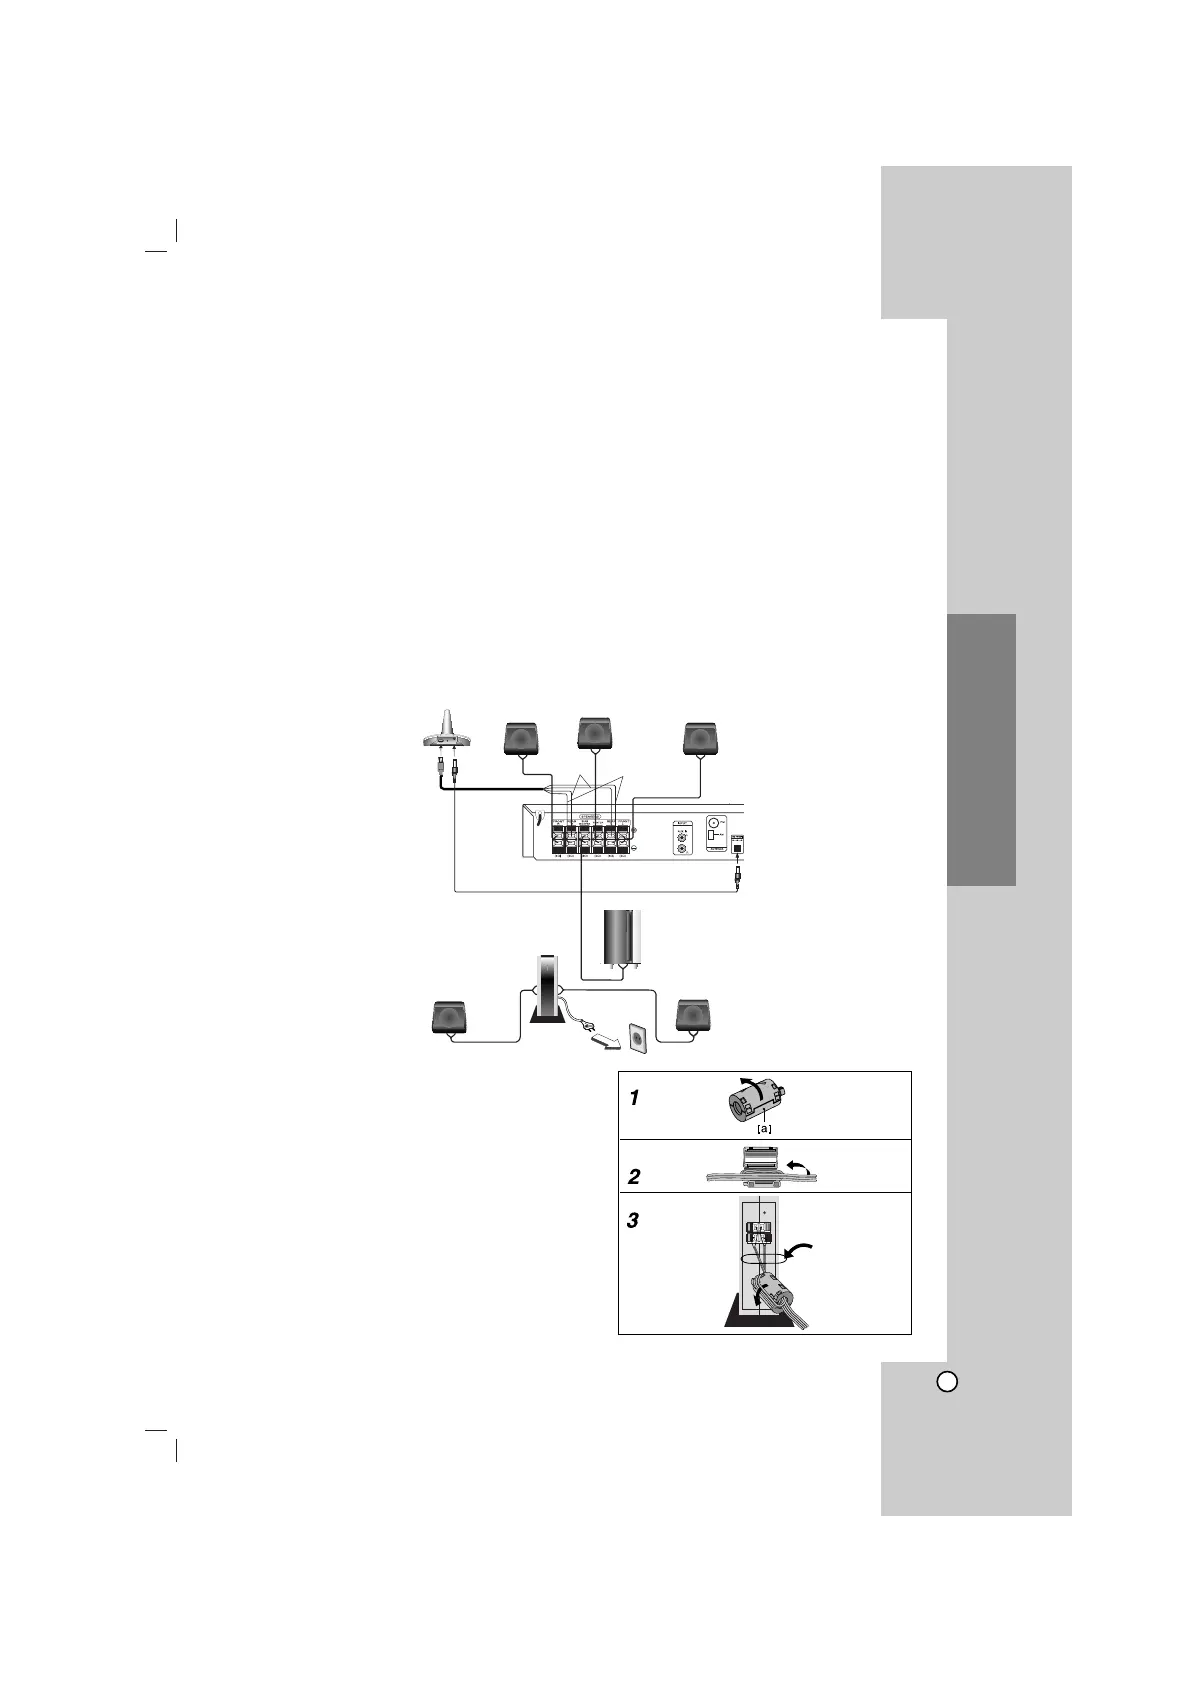
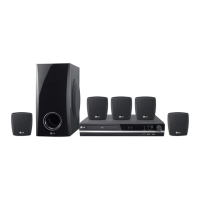
Speaker System Connection
Connect the speakers to the front (right, left) or
center speaker connectors at the main set.
Connect the subwoofer to the woofer connector.
Connect the power cord of the Wireless Receiver
to the outlet, then connect the Wireless Receiver
and the rear speaker (right, left) with the speaker
cable.
Connect the DC IN connector of the Wireless
Transmitter and the Wireless Transmitter (DC 7V
OUT) connector at the main set with the DC power
cable.
Connect the SOUND SIGNAL connector of the
Wireless Transmitter and rear (right, left) speaker of
connectors of the main set with the sound signal
cable.
Set the distance between this unit and Wireless
Receiver within 10m.
Notes:
Optimum performance can be implemented only
when the Wireless Transmitter and the Wireless
Receiver within distance of 2m to 10m is used
since communication failure may occur if longer
distance is used.
Be sure to match the speaker cable to the
appropriate terminal on the components: + to + and
– to –. If the cables are reversed, the sound will be
distorted and will lack base.
It takes about a few seconds (and may take longer)
for the
Wireless Transmitter
and
Wireless Receiver
to communicate with each other.
When the unit is turned off, the Wireless
Transmitter is in standby mode (off) automatically
after about 10 seconds.
If the Wireless Transmitter is turned off, the
Wireless Receiver will not function.
About Ferrite Core (optional)
Be sure to attach the ferrite core to the speaker cables (for
connecting to this unit).
This ferrite core can reduce noises.
How to attach the ferrite core
1 Press the stopper [a] of the ferrite core to open.
2 Wind the cable once on the ferrite core.
3 Close the ferrite core unitl it clicks.
Note:
Attach the ferrite core near the unit (Refer to the fig.3 and comment.).
ID./CH. DC IN