TABLE OF CONTENTS
2
4 IMPORTANT SAFETY
INSTRUCTIONS
4 READ ALL INSTRUCTIONS BEFORE USE
4 Safety Messages
4 Anti-tip Device
5 WARNING
5 Installation
5 Operation
6 Maintenance
6Risk of Fire and Flammable Materials
7CAUTION
7 Operation
7 Maintenance
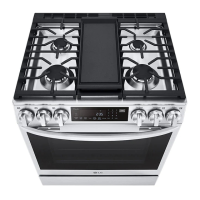
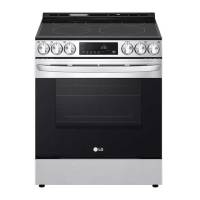
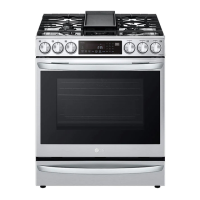
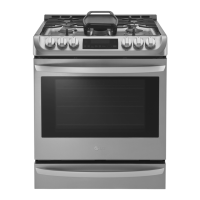
8 PRODUCT OVERVIEW
8 Product Features
8 Exterior & Interior
9 Product Specifications
9 Accessories
10 INSTALLATION
10 Before Installing
10 Installation Overview
10 Tools Needed
11 Parts
11 Unpacking and Moving the Range
13 Choosing the Proper Location
13 Dimensions and Clearances
15 Electricity
15 Flooring
15 Ambient Temperature
15 Leveling
15 Leveling the Range
16 Connecting Electricity
16 Electrical Requirements
17 Connecting the Power Cord / Conduit
21 Optional Rear Filler
21 Installing the Rear Filler
21 Anti-tip Device
21 Installing the Anti-tip Device
22 Test Run
22 Test the Range Before Use
23 OPERATION
23 Control Panel
23 Control Panel Features
24 Cooktop Control Panel Features
25 Changing Oven Settings
25 Clock
25 Oven Light
25 Timer On/Off
25 Wi-Fi
26 Settings (Hour Mode, Convection Auto
Conversion, Calibrating the Oven
Temperature, Preheat Alarm Light, Beeper
Volume, Fahrenheit or Celsius, Wi-Fi On/
Off)
27 Control Lock
28 Cook Time (Timed Cook)
29 Minimum & Maximum Default Settings
29 Cooktop
29 Precautions When Using the Cooktop
31 Cooking Areas
31 Benefits of Induction Surface Cooking
31 Induction Cookware
32 Cookware Placement
33 Pan Sensing
33 Minimum and Maximum Pan Size
33 Cookware Compatibility Indicator
34 Home Canning
34 Using the Cooking Elements
35 The Recommended Surface Cooking
Setting
35 Power Management
36 Oven
36 Before Using the Oven
36 Oven Vent
36 Using Oven Racks
37 Bake
37 Convection Mode
38 Recommended Baking Guide
38 Broil
39 Recommended Broiling Guide
41 Air Fry
43 Recommended Air Frying Guide
44 Remote Start
en-us_main.book.book Page 2 Wednesday, March 27, 2024 11:27 AM