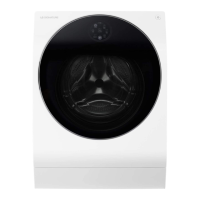
Select a proper place for
the washer installation.
Install on a solid and level floor surface.
Install the washer with at least 2 cm space
from the wall.
The location must secure a space to be
able to open the washer door fully.
1
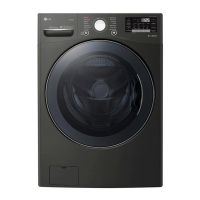
Select a proper place for
the washer installation.
Install on a solid and level floor surface.
Install the washer with at least 2 cm space
from the wall.
The location must secure a space to be
able to open the washer door fully.
1
Check the gap.
Check the gap between the
four level adjustment legs
and floor surface. (Shake the
washer to check for any move-
ment by the gap.)
2
Check for the
contact of level
adjustment legs.
Check the vibration while the
washer is spinning, and read-
just the legs until no vibration.
Once leveling the washing ma-
chine is done, tighten the lock
nuts. (4 pcs of level adjustment
leg)
4
Adjust the level adjustment leg to
the floor surface.
Adjust the 4 level adjustment
legs of the washer to the floor
surface.
Extend the legs no more
than necessary to level the
washer.
3
Level adjustment (without auto height adjustment device)
Level adjustment (with auto height adjustment device)
If a leg has to be
extended over 10 mm,
use height control plate
(plastic or rubber).
The height control
plates are available at
a service center. (sold
separately)
Rubber plates
Lock nut
Check the
right rear leg.
Check the gap between
the right rear leg and
floor surface.
2
Auto
height
control
leg
※ If the auto height control
leg is unscrewed to adjust
the height for leveling, it
may cause failure.
Check the extension of the auto height control leg.
Check the gap and
install as the fig
1
.
3
[Correct installation]
[When it is lifted up from
the floor]
[When it is pressing the
floor]
Level
adjustment
leg
Lock nut
If the leg is like fig
2
or
3
, adjust the front legs
to make as the fig
1
using the spanner.
In case of fig
2
Loosen and adjust the front left
leg to press the auto height control
device.
In case of fig
3
Loosen and adjust the front right
and rear left leg to release the auto
height control device.
Instructions for Installation
 Loading...