Do you have a question about the Lifescan OneTouch Select Plus Simple and is the answer not in the manual?
Lists the meter, lancing device, and lancets included in the kit.
Details items like test strips and control solution that must be purchased separately.
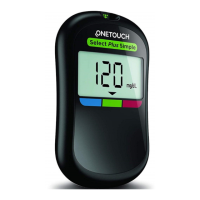
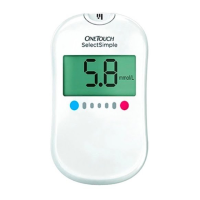
Explains the various parts and indicators of the OneTouch Select Plus Simple® Meter.
Details the OneTouch Select® Plus Test Strip, including its application edge and confirmation window.
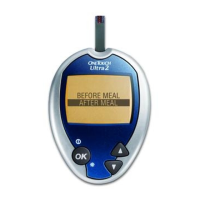
Explains how the meter uses arrows and color bars to indicate glucose result ranges.
Lists necessary items and important precautions before performing a blood glucose test.
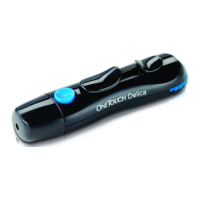
Details the lancing device components and how to prepare it for obtaining a blood sample.
Covers meter activation, sample collection, application, and confirmation.
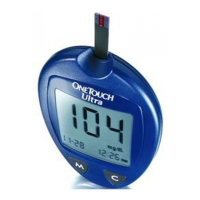
How to read the displayed glucose result and interpret unexpected readings.
Instructions for safely removing and disposing of used lancets and test strips.
Important notes and cautions for performing control solution tests to ensure accuracy.
Steps to prepare the meter and control solution, and how to apply the sample.
How to read control solution results and check if they fall within the expected range.
Explains causes for out-of-range control solution results and actions to take.
Recommendations for storing the meter, test strips, and control solution to maintain performance.
Detailed instructions for cleaning the meter, lancing device, and cap with mild detergent.
Steps for disinfecting the meter, lancing device, and cap using a diluted bleach solution.
Step-by-step guide on how to replace the CR2032 lithium coin cell battery in the meter.
Explains LO/HI glucose, and too hot/too cold temperature messages and their solutions.
Details various error codes (Er1-Er5) displayed by the meter and their meanings.
Explains the low battery icon and the importance of replacing the battery.
Guidance on comparing meter results with lab tests and factors influencing differences.
Provides technical details of the system, including assay, operating ranges, and dimensions.
Presents system accuracy, user performance, and precision data compared to lab standards.
Information on product guarantee, safety standards, and customer care contact details.
| Brand | Lifescan |
|---|---|
| Model | OneTouch Select Plus Simple |
| Category | Blood Glucose Meter |
| Language | English |