Step 4: Handlebars/Display/Pedals
Parts Required
Pedals
Handlebars
Display Console
Hardware Required
Part # Size Description Quantity
A5 M10 * 16 Dome Head Screw 4
A-6 Phillips Head Screw 4
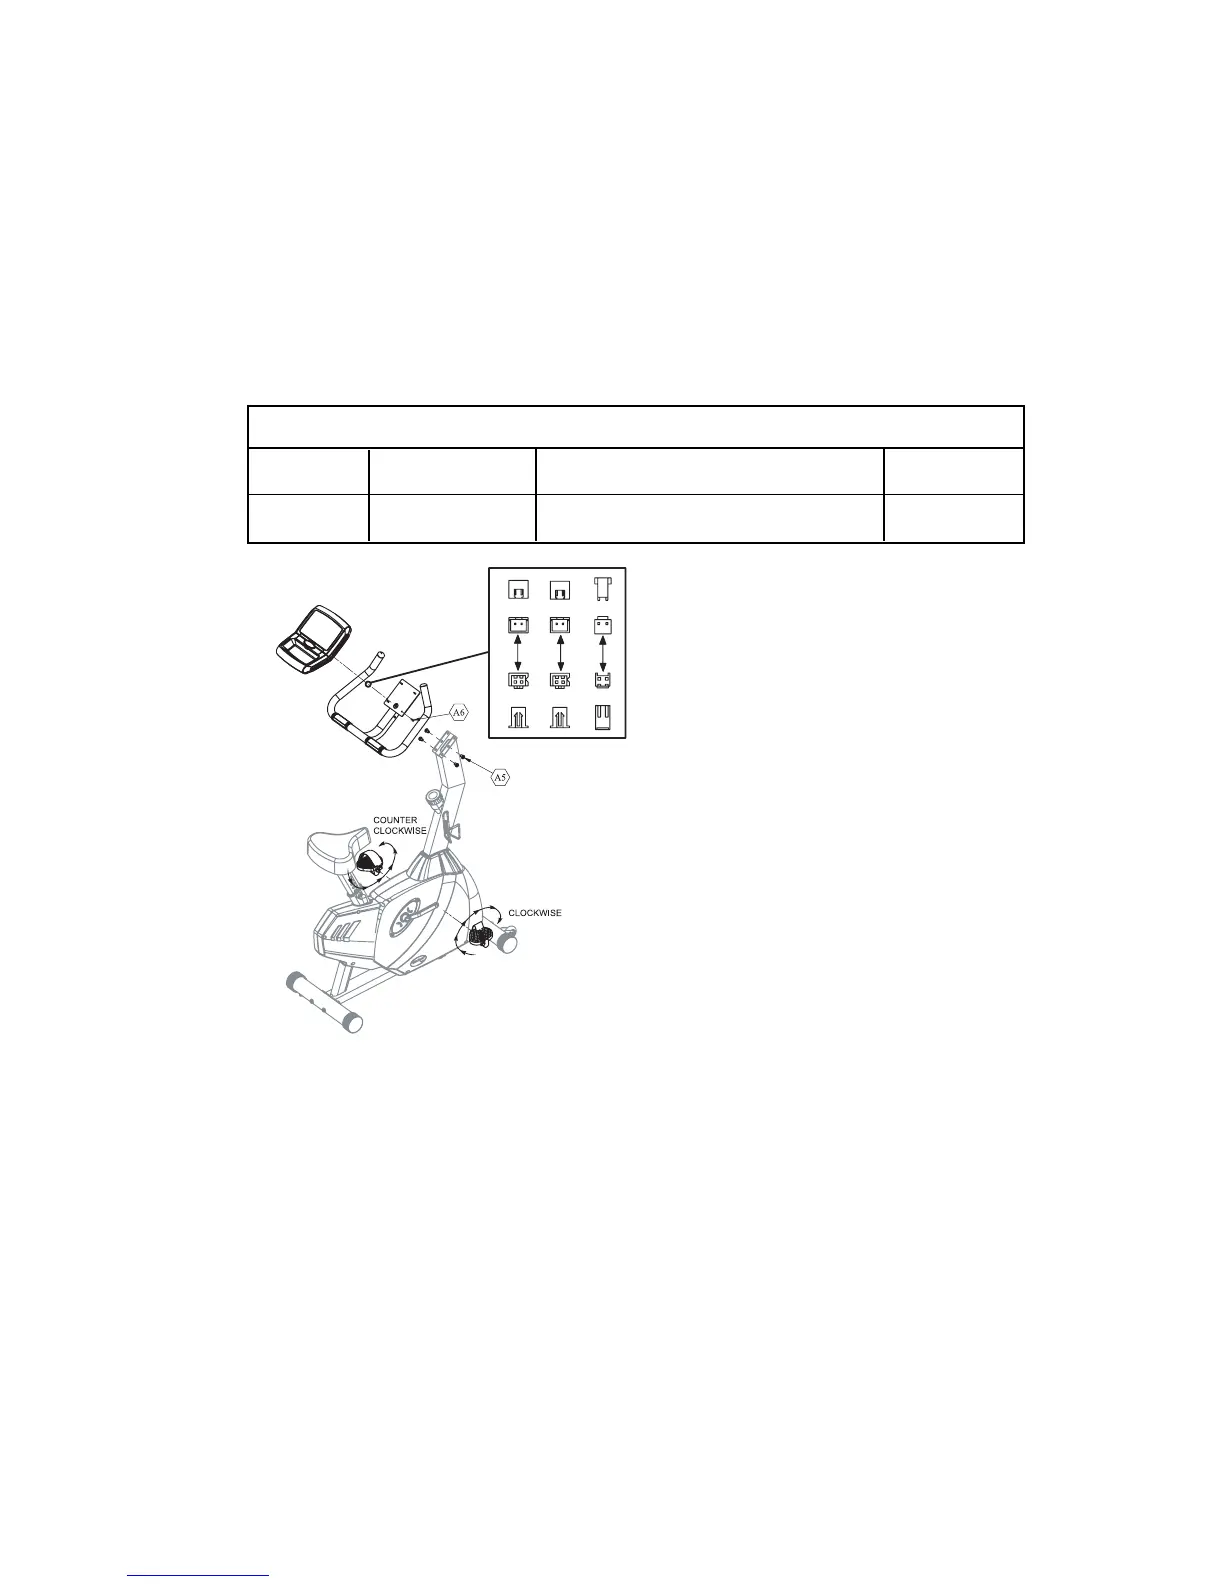
Install Pedals
1. Pay attention to make sure the Pedal with
an “R” goes on the right side. This pedal is
screwed in clockwise. The Pedal labeled “L”
screws in counter clockwise.
2.Install the pedal straps.
Handlebars
Note: The handlebars come with two different
installation positions. Tall users and users who
prefer to lean further forward when they ride
should use the more forward position. Users who
prefer to ride in a more relaxed position should
ride with the handlebar further back.
1. Place the handlebars over the top of the handlebar bracket and insert the wiring
harness from the handlebar post through the hole in the handlebar bracket.
2. Align the four holes on the side of the bracket with the four holes in the post bracket.
Install the 6 mm Screws and tighten securely.
Display Console
1. Attach the connectors for the three wiring harnesses to the back of the display.
2. Tighten the four Phillips head screws at the back of the display.
3. Install the batteries by removing the door located on the top of the display console
directly above the storage tray.
17