-12-
LIFEWARMER
™
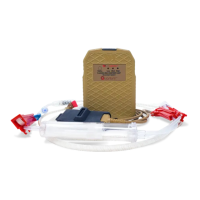
CHARGING/CONNECTING THE BATTERY
STEP1: Charging the Battery
•
Plug the Charger into an AC wall outlet using the AC power cord provided.
The Charger is powered from 100 to 264 Vac, 50/60 Hz
•
Connect the Battery to the Charger as shown.
•
A solid green LED on the Charger indicates ready for use. A ashing blue
LED on the Charger indicates battery charging failure and the battery
should be removed/replaced.
•
Charge status progression is displayed by green LEDs on the battery. This
may be delayed when battery is warm and will initiate automatically once
the battery temp is safe to charge. When fully charged, the battery enters
sleep mode and the LEDs turn o.
•
Allow the Battery to charge for 90 minutes (if fully discharged).
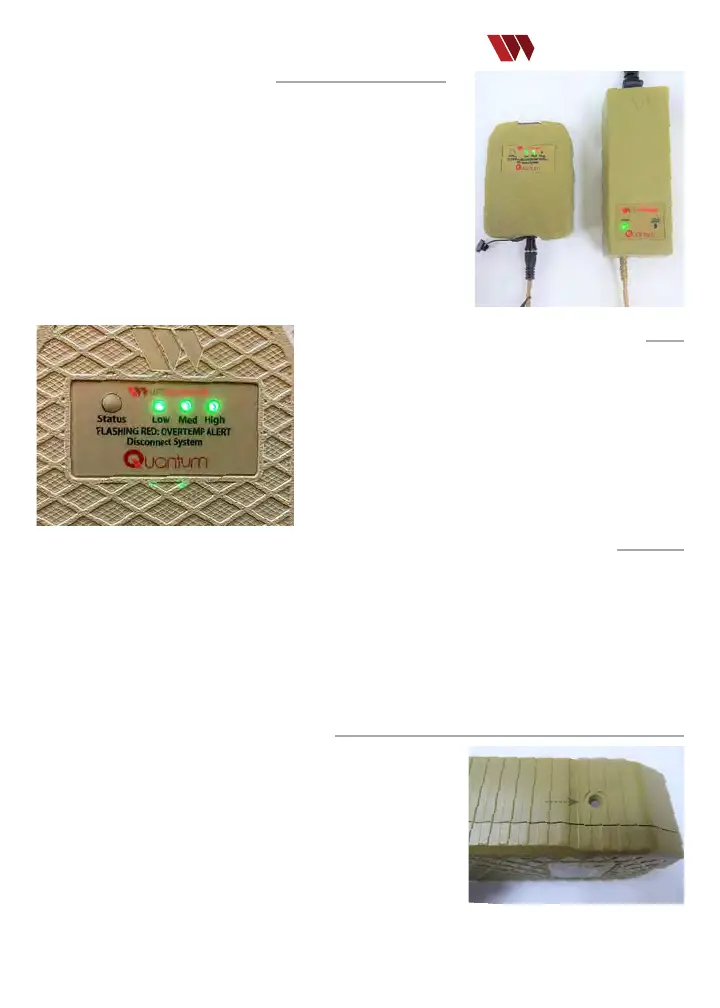
STEP2:Checking Battery Charge Status
Verify the charge status of the Battery by briey pressing the Status
button and observing the LED indicators:
•
1 LED illuminated: Battery charge is “Low”. Battery has insucient
charge to operate the device. Charge or replace the Battery.
•
2 LEDs Illuminated: Battery is approximately 50% charged.
•
All 3 LEDs illuminated: Battery is fully charged. Allow the Battery
to charge for 90 minutes (if fully discharged).
Note: Battery charge status should be checked prior to each use.
STEP3:Connecting the Battery to the Controller (if preparing to warm uids)
•
Remove the protective cover from the Battery.
•
Connect the Controller to the Battery by inserting the barrel connector end.
•
Upon connection, all three (3) Battery RED LEDs will blink simultaneously with or without an audible tone
(depending on whether the Audible Alert System is enabled) while the Controller initiates its start-up sequence
(i.e., LED ash sequence: blue, yellow, green).
•
A green, blinking LED indicates the controller is ready for use
•
The Controller (with connected Battery) is now ready for connection to the TIS or TTS-B
Important Battery Use Information:
•
The Battery should be FULLY charged on receipt and prior to each use.
•
Recharge the Battery after each use – even if not fully discharged.
•
Replace the Battery if no green LEDs are illuminated on status check.
•
Connect to charger to troubleshoot.
•
A fully charged Battery should provide sucient power to warm two (2)
units of refrigerated blood products or approximately 1.0 L of intravenous
solution or at a ow rate of 100 mL/minute (based on a uid input
temperature of 4ºC (38ºF).
•
The waterproof vent on the bottom of the Battery is important to maintaining protection from moisture and
Vent
particles. Before use, ensure the vent is intact. If the vent is worn, frayed, or not securely attached,
obtain a new Battery).