11
Displaying Set Temperature:
1. Short-press the SET button. The display will show the set value.
2. To return the display to the current temperature, again short-press the SET button or wait
5s.
Changing Set Temperature:
1. Hold the SET button for more than 2 s.
2. The set temperature will be displayed and the °C indicator will begin ashing.
3. The set temperature can be changed by pressing
or (within 10 s).
4. The newly set temperature can be saved by pressing the SET button again or automatically
by waiting 10 s.
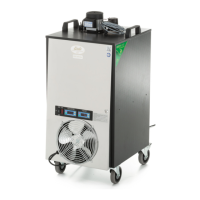
14. Dixell XR20CX THERMOSTAT:
gure 11 a
15. HOW TO WORK WITH SPEED FITTINGS:
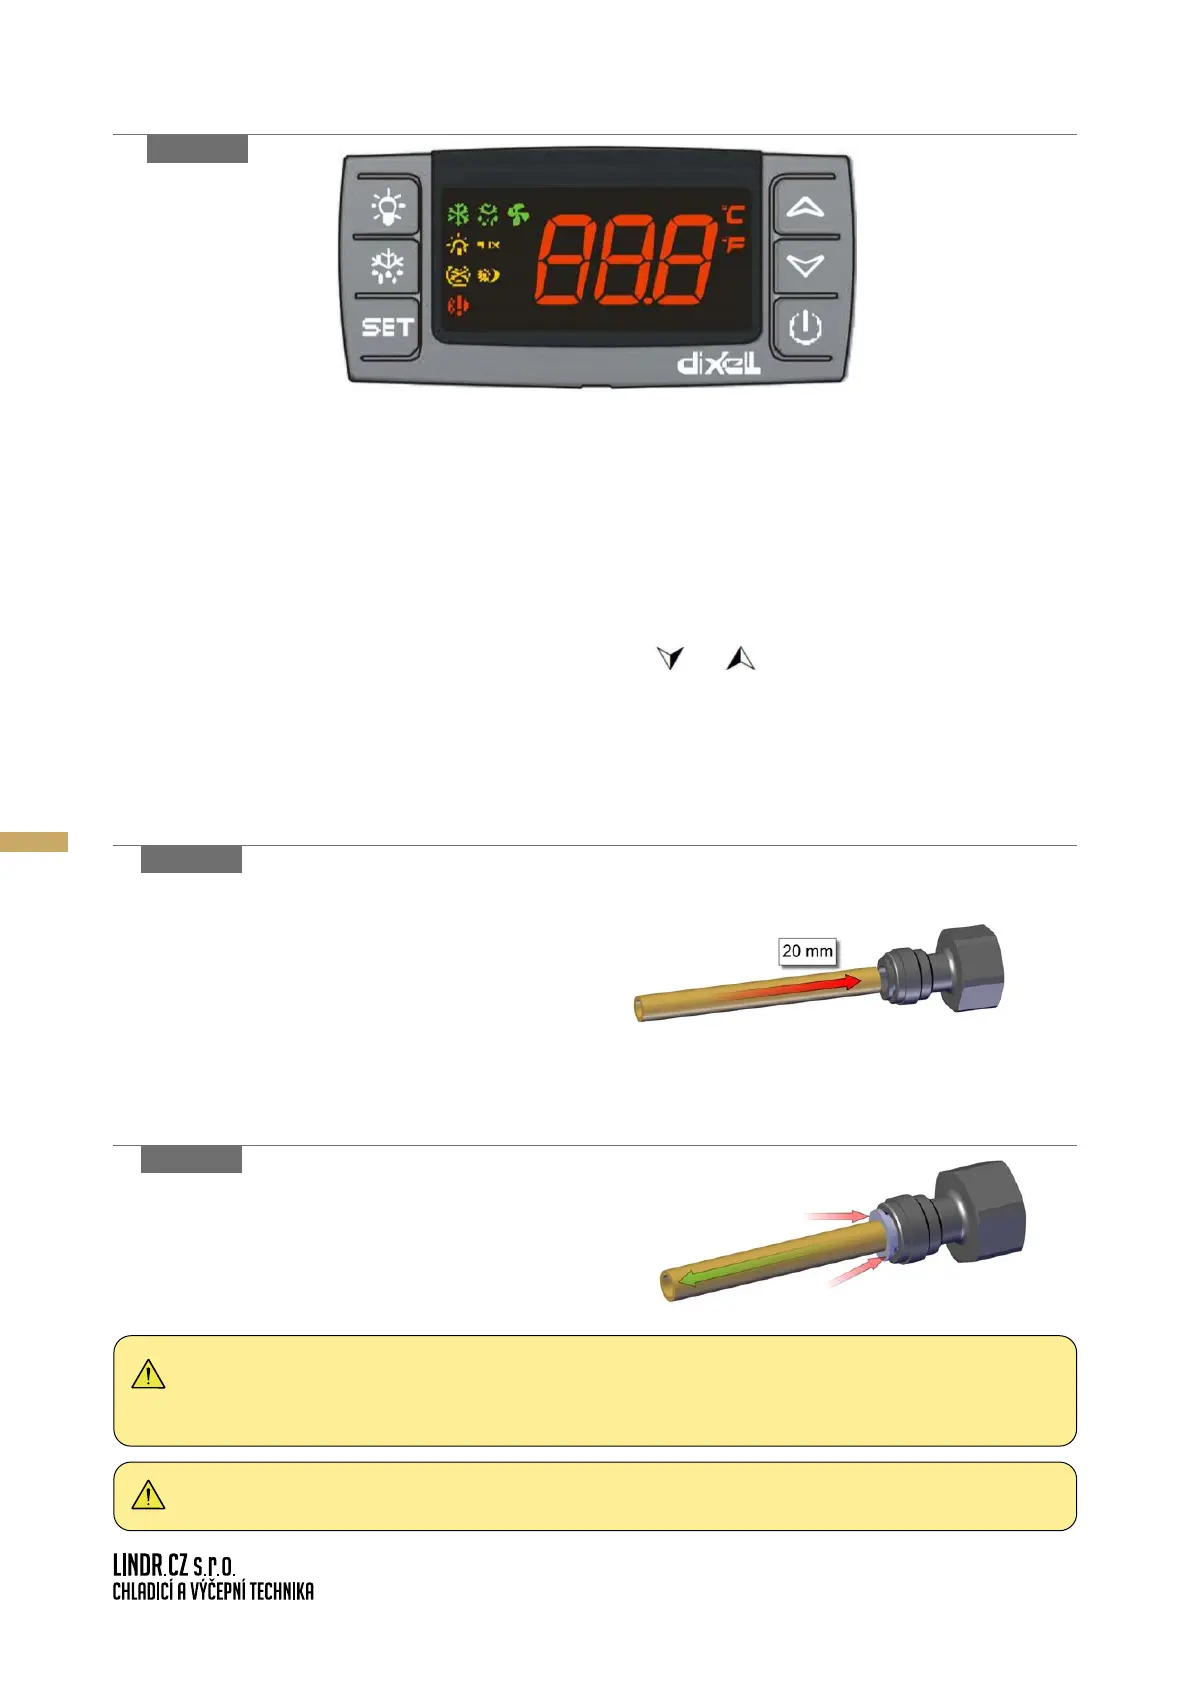
15.1 Speed Fittings Installation:
Grasp the rapid coupling and insert the hose
all the way inside the speed tting body (ca. 20
mm). The end of the hose must be straight so
that it plugs fully into the coupling. If the hose
will not go in, moisten the end of the hose.
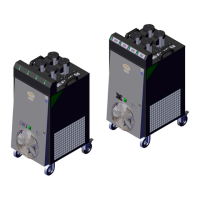
Hold the grey ring tight against the body of
the speed tting and pull out the hose.
15.2 Speed Fittings Removal:
WARNING: If you do not hold the grey ring but pull at the hose, the speed tting will cut
even deeper into the hose.
WARNING: Hoses must not be pressurised during removal.
gure 11 B
gure 11 C