Page 6 of 7 FA69384–2 English
Jun 2013
7
How To Use Advanced Editing
Linx 5900 & 7900
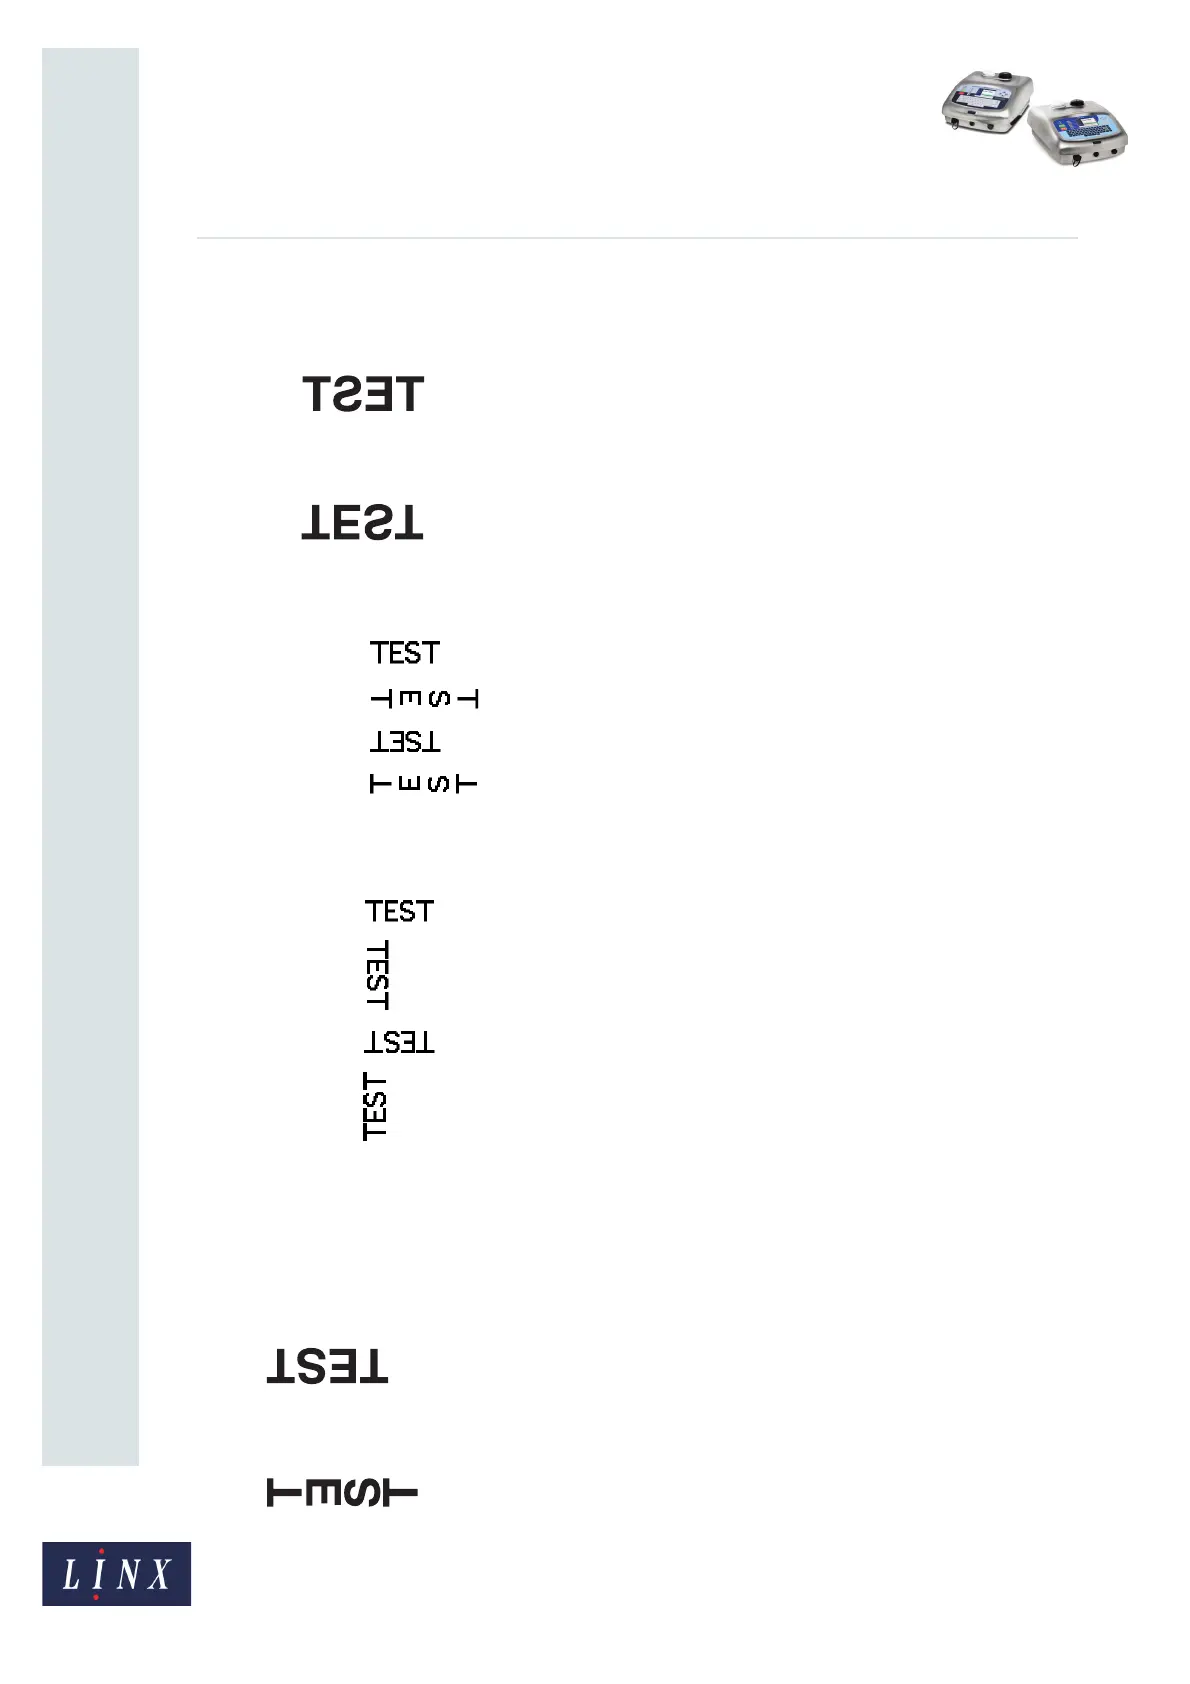
The orientation options are as follows:
• Horizontal Flip (Reverse)—select either ‘Yes’ or ‘No’. If set to ‘Yes’ the field orientation
is turned horizontally (reversed) as shown below.
• Vertical Flip—select either ‘Yes’ or No’. If set to ‘Yes’ the field orientation is turned
vertically as shown below.
• Character Rotation—rotates the characters in the selected field by 0, 90, 180, or 270
degrees to the right. The example below shows all of these rotations.
• Field Rotation—rotates the selected field by 0, 90, 180, or 270 degrees to the right. The
example below shows all of these rotations.
NOTE: You must make sure that there is enough space to fit a rotated field within the
message boundary. If part of a field is outside the message boundary, the printer
highlights that part of the field in red, and does not print that part.
You can use the options together, as shown in the following examples.
When the ‘Horizontal Flip (Reversed)’ and ‘Vertical Flip’ options are both set to ‘Yes’, the
field orientation is set as shown below.
When the ‘Vertical Flip’ option is set to ‘Yes’ and a ‘Character Rotation’ of 270 degrees
applied, the field orientation is set as shown below.
6110