Page 10 of 23 FA69350–2 English
Jun 2013
23
How To Create a Production Schedule
Linx 7900
3.1.3 Edit Item page
The Insert Item page and the Edit Item page have the same options.
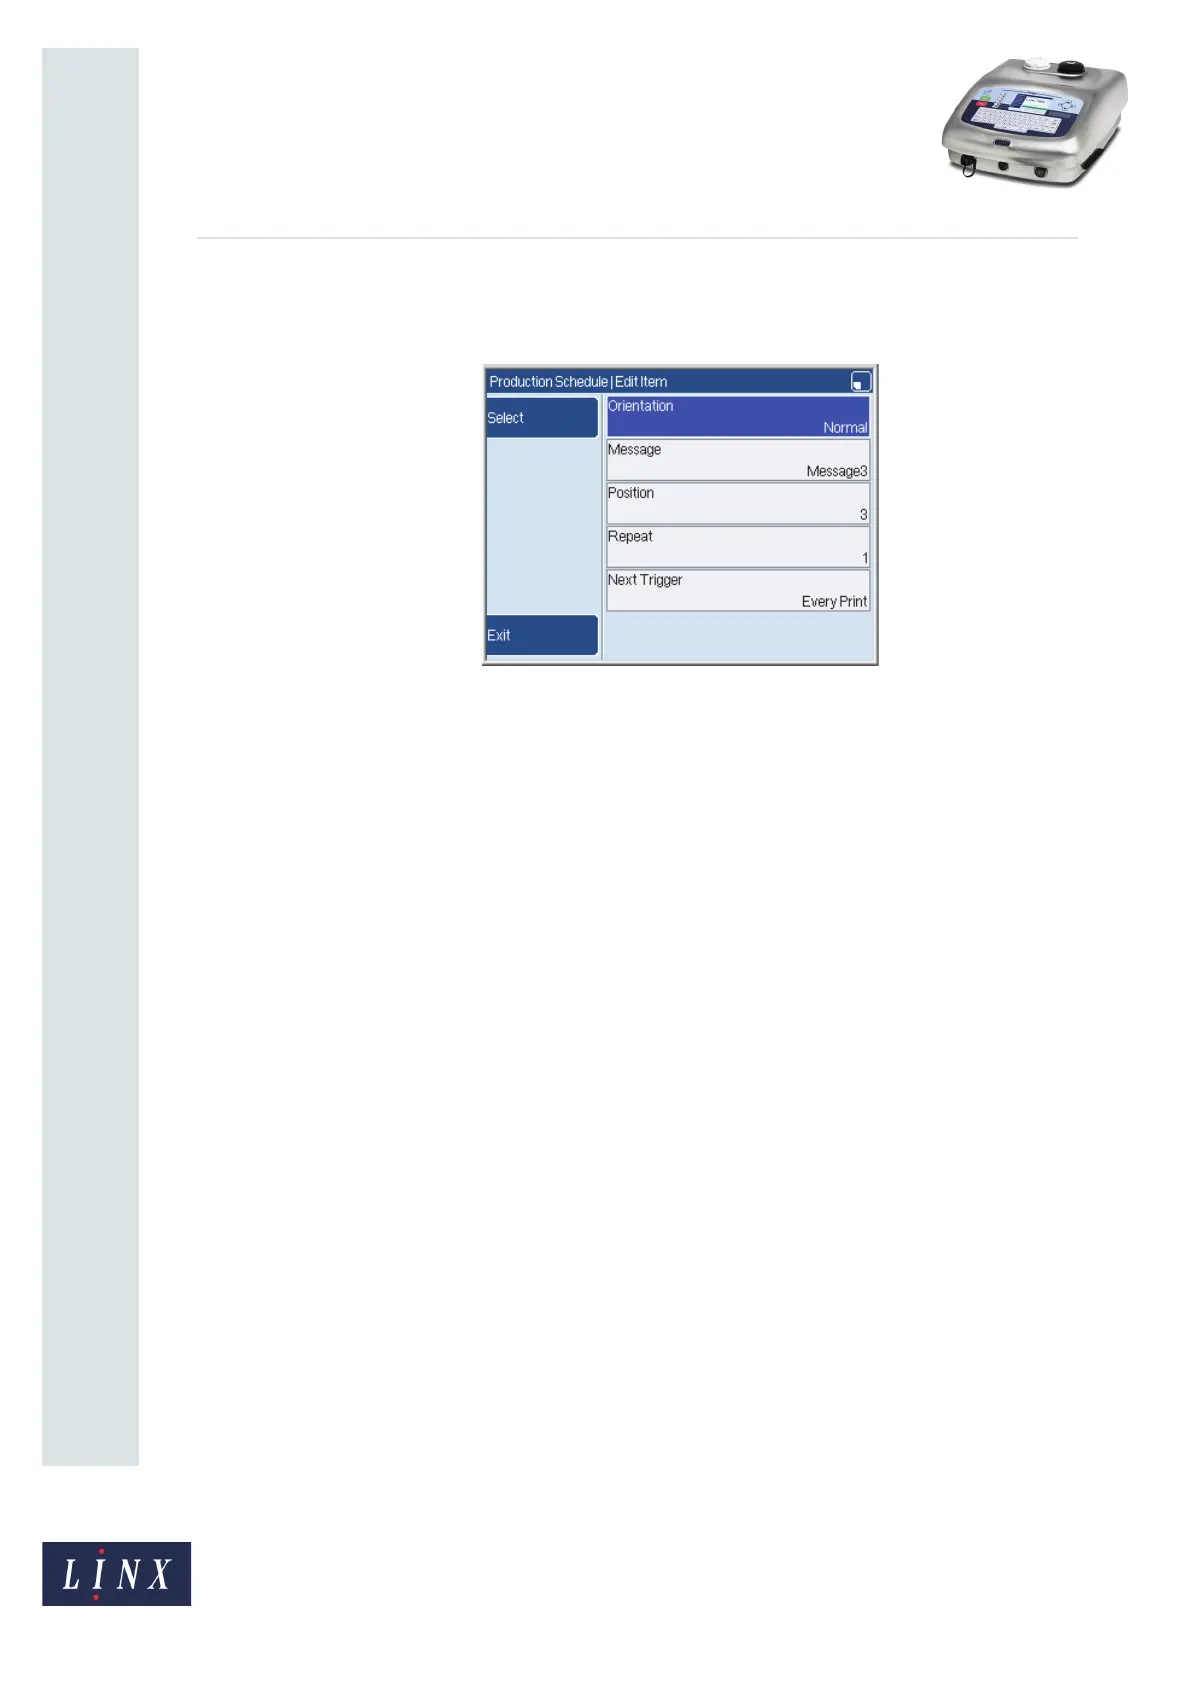
Figure 11. Edit Item page
Orientation
Use this option to define the orientation of this item. (Orientation is described in the Linx
5900 & 7900 Quick Start Guide.)
This option is not present unless the Dictate Orientations option in the Status page is set to
Yes (see page 11).
Message
Use this option to change the message that you use for this schedule item.
Position
Use this option to change the position of the item in the schedule. In Figure 10 on page 9
‘Message3’ is the third item in the schedule.
Repeat
Use this option to change the number of repeats for this item. The printer maintains a
counter to count the number of Next Trigger signals for each item in the schedule. For
example, if the value is 20, the printer prints the same message 20 times, then prints the next
message in the schedule. The default value is 1.
Next Trigger
Use this option to define the signal that tells the printer to update the counter that controls
the schedule position. If the Repeat value for the current item is reached, the schedule
moves to the next item. The Next Trigger settings are described on page 15.
69419